How to Check Soccer Ball Pressure: The 3 Methods That Work
To check if a soccer ball is properly inflated, you need an air pressure gauge for accuracy, a bounce test for a quick field check, or a thumb squeeze test for a rough estimate. Match the pressure to the ball’s size and the manufacturer’s printed PSI range, which for a regulation size 5 ball is typically 8.5 to 15.6 PSI.
Most people guess. They press the ball with their thumbs once, decide it’s fine, and play. The problem is your hands adapt. After ten minutes of handling a slightly soft ball, it starts to feel normal. Then your passes drag, your shots lack pop, and the ball wears out faster from internal stress.
This guide walks through the three proven methods, ranked by accuracy. I’ll show you how to use a gauge correctly, perform the official bounce test, and explain when the squeeze test actually works. You’ll also get the specific PSI numbers for sizes 3, 4, and 5, and learn how temperature and playing surface change what “properly inflated” means.
Key Takeaways
- An air pressure gauge is the only method referees and serious coaches trust. Digital gauges are more precise than analog ones for fine adjustments.
- The bounce test is the official quick-check: drop the ball from 80 inches (about chest height) onto a hard surface; a good rebound is 45 to 65 inches.
- The squeeze test (thumb press) is unreliable for exact pressure but useful for spotting extreme over- or under-inflation before you even get the gauge out.
- PSI is not universal. A size 5 match ball might need 13 PSI, a size 4 training ball 9 PSI, and a size 3 kids’ ball 7 PSI. Always check the print near the valve.
- Cold deflates, heat inflates. A ball checked at 10 PSI in a warm garage will drop to about 8.5 PSI on a cold, rainy pitch, affecting bounce and feel.
What Does “Properly Inflated” Actually Mean?
It means the air pressure inside the ball matches its intended use. That pressure creates the structure. A ball is a pressurized vessel, not just a rubber shell.
FIFA’s Laws of the Game state a match ball must have a pressure between 8.5 and 15.6 pounds per square inch (PSI) at sea level. The exact figure within that range depends on the ball’s size, construction, and the league’s specific rules.
For example, MLS match balls are set at 13 PSI. Your backyard training ball might have “8.7 – 11.6 PSI” stamped next to the valve. Youth leagues often lower the top end to 11 PSI so the ball isn’t too hard for smaller players. Ignoring these specifics is the first mistake.
TL;DR: “Properly inflated” is a PSI number, not a feeling. Find the number printed on your ball or set by your league, then measure it.
The Science Behind the Feel
The ball’s bladder, usually latex or butyl, stretches under pressure. At the correct PSI, the outer panels are taut but not strained. Overinflation stretches the bladder beyond its elastic limit. Micro-tears form. The ball loses air faster over time and the surface becomes unnaturally hard. Underinflation lets the panels sag. The ball doesn’t rebound properly, and internal friction between the bladder and the casing increases during deformation, wearing both layers out. That’s why a consistently underinflated ball feels dead after a few months.
The Three Checking Methods Ranked by Accuracy
You have a spectrum from laboratory precision to backyard guesswork. Pick your method based on how serious the session is.
| Method | Best For | Accuracy | Risk If Skipped |
|---|---|---|---|
| Air Pressure Gauge | Match preparation, training | High | Playing with a 2 PSI error, causing poor control and accelerated wear |
| Bounce Test | Quick field check, warm-ups | Medium | Misjudging rebound height by 10+ inches, leading to an unusable ball for drills |
| Squeeze Test (Thumb Press) | Spotting extremes only | Low | Believing a soft ball is “fine,” resulting in sluggish play and player frustration |
1. The Air Pressure Gauge: Your Gold Standard
This isn’t optional for competitive play. A gauge measures the force the air inside exerts on the valve. Good ones read within 0.5 PSI.
Digital vs Analog Gauges
Digital gauges, like the ones on higher-end ball pumps, are easier to read precisely. Analog gauges, the dial type, are more durable but can drift if bumped. I keep a digital gauge in my kit for match days and a sturdy analog one in the garage for weekly checks. The digital won’t survive a bag full of cleats, but it gives the number I need.
Common mistake: Using a dry needle on the valve — the rubber valve stem grips the dry metal and can tear on extraction. You’ll hear a faint ripping sound, and the ball will lose 1 PSI per day afterward.
You need a pump with a needle attachment and a gauge. Some pumps have the gauge built into the handle. Others require you to attach a separate gauge to the hose. Either works, but the separate gauge is often more accurate.
2. The Bounce Test: The Official Quick Check
FIFA and many coaching manuals describe this. It tests the ball’s energy return, which correlates directly with internal pressure.
The procedure is simple:
1. Find a hard, flat surface like concrete or a solid floor.
2. Hold the ball 80 inches (roughly 2 meters) above the surface. That’s about chest height for most adults.
3. Drop it straight down, don’t throw it.
4. Measure the rebound height. A properly inflated ball will bounce back to between 45 and 65 inches.
Why that range? The ball’s materials absorb some energy. A rebound to 55 inches (about 2/3 of the drop) indicates good pressure. Below 45 inches, it’s soft. Above 65 inches, it’s too hard. This test is surprisingly consistent if you do it on the right surface. Grass won’t work.
TL;DR: Drop from chest height, watch the bounce. Two-thirds of the drop height is the target.
3. The Squeeze Test: The Last-Resort Feel Check
Press the ball with your thumbs. You’re checking for extremes.
A properly inflated ball should feel firm but allow a slight dent. Your thumbs should meet resistance quickly, then stop after a millimeter or two of indentation. If your thumbs sink in deeply with little resistance, the ball is underinflated. If you cannot dent the surface at all, it’s overinflated.
The problem is calibration. Your hands adapt. After handling a soft ball, a correctly inflated one feels like a rock. After handling a hard ball, a correct one feels mushy. Use this test only to flag a ball for a proper gauge check, not to approve it for play.
I coached a U12 team for two seasons using only the squeeze test. By the end of the second season, we’d ruined three team balls. The players had quietly adjusted to increasingly soft balls, and our passing drills fell apart. We bought a gauge before the third season. The first check showed our “fine” balls were at 7.5 PSI, not the 10.5 PSI the league required.
Tools You Actually Need (And One You Don’t)
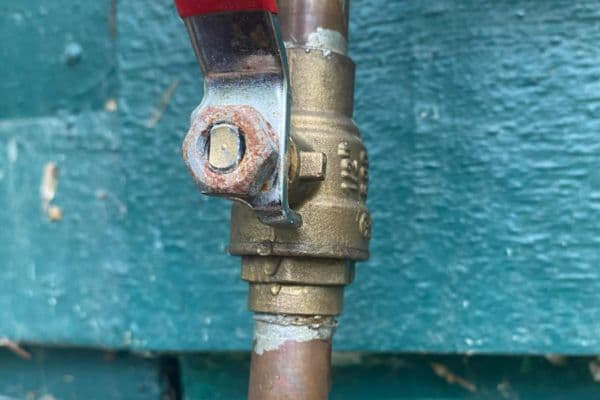
Gathering the right tools takes five minutes. Using the wrong one takes months to show its damage.
- A Ball Pump with a Needle Attachment: Standard equipment. The needle is the probe.
- An Air Pressure Gauge: Either digital or analog. This is the sensor.
- Water or Saliva: For lubricating the needle. This is the protector.
- A Tape Measure or Marked Wall: For the bounce test. Optional but helpful.
You do not need a special “soccer ball pressure checker” device sold online. Those are repackaged gauges with a soccer ball logo, often less accurate than a standard pump gauge. Save your money.
The pump needle is universal. It fits any soccer ball valve. The gauge is the critical part. Invest in one with a clear readout. I’ve seen coaches try to use bicycle tire gauges. They sometimes fit, but the range is wrong and they can damage the softer soccer valve.
TL;DR: Pump, needle, gauge, lubricant. The gauge is the piece worth spending on.
Step-by-Step: Checking Pressure with a Gauge
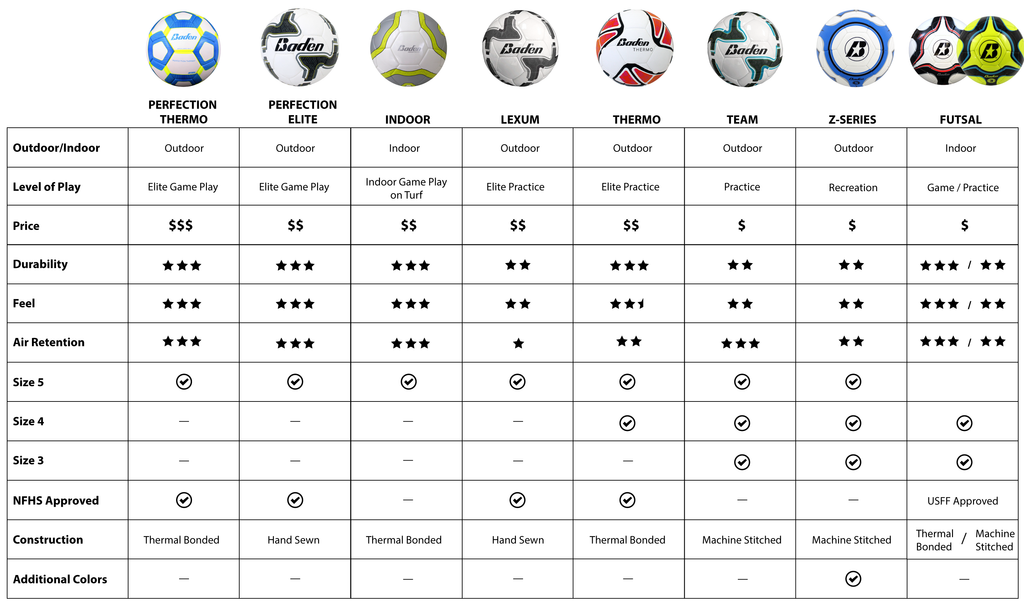
This is the sequence that prevents valve damage and gets a true reading. Missing a step here costs you a ball.
Before you start: The needle is sharp. Insert it straight to avoid puncturing the inner bladder. Lubricate it to prevent tearing the valve seal, which causes slow leaks. Check pressure at room temperature; a cold ball reads low, a hot ball reads high.
Step 1: Find your target PSI. Look at the ball. The recommended PSI range is often printed near the valve or on the manufacturer’s tag. If not, use these defaults:
– Size 5 (adult/match): 8.5 – 15.6 PSI (league matches often specify 12-13 PSI)
– Size 4 (youth U8-U12): 8.0 – 11.0 PSI
– Size 3 (young children): 6.5 – 9.0 PSI
Pick a middle value unless your league says otherwise.
Step 2: Lubricate the needle. Dip the tip in water or use a drop of saliva. This coats the metal. A dry needle sticks to the rubber valve. When you pull it out, it can tear the seal. The tear is invisible, but the ball will lose pressure steadily over the next week.
Step 3: Insert the needle straight into the valve. Push directly in, no angle. Angling the needle risks scratching or puncturing the bladder inside. You’ll feel a slight pop as it passes the valve core. Connect your pump hose to the needle if your gauge is on the pump.
Step 4: Attach and read the gauge. If your gauge is separate, connect it to the pump hose now. Press the gauge firmly to seal. The reading will stabilize after a second. Note the PSI.
Step 5: Adjust slowly if needed. If the pressure is low, pump in short bursts, checking the gauge after each burst. If it’s high, press the gauge’s release valve or gently depress the needle to let air out. Overshooting is easy. Add or remove air gradually.
Step 6: Remove the needle carefully. Pull it straight out. A slight twist can help if it feels stuck, but twist gently. Wipe the needle.
Step 7: Verify with a bounce or squeeze. Do a quick bounce test or thumb press to confirm the feel matches the number. This links the measurement to your physical sense for future checks.
Why Does My Ball Feel Different on Grass vs Turf?
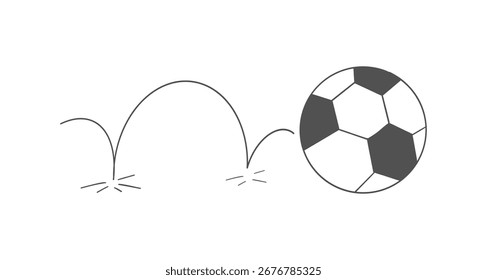
The surface changes everything. A ball inflated to 10 PSI for artificial turf might feel perfect. On soft natural grass, it can feel sluggish.
Artificial turf is firm and uniform. The ball rebounds predictably. You might prefer a slightly higher PSI (maybe 11 PSI) for a quicker response. Natural grass, especially if damp or long, absorbs energy. The same ball will bounce lower and roll slower. Some players drop the PSI by 0.5 to 1.0 for grass to get a softer, more controllable touch.
Indoor surfaces are the hardest. A ball at 10 PSI indoors can feel like a rock. For indoor play, consider the lower end of your ball’s range. The hard floor gives plenty of rebound, so you don’t need the extra pressure.
This is where personal preference meets the rules. In regulated matches, you must use the set PSI. For training, adjust within the printed range to suit the surface and your drill. Documenting your football ball recommendations for different conditions starts with understanding this pressure-surface interaction.
How Temperature Steals Your Pressure
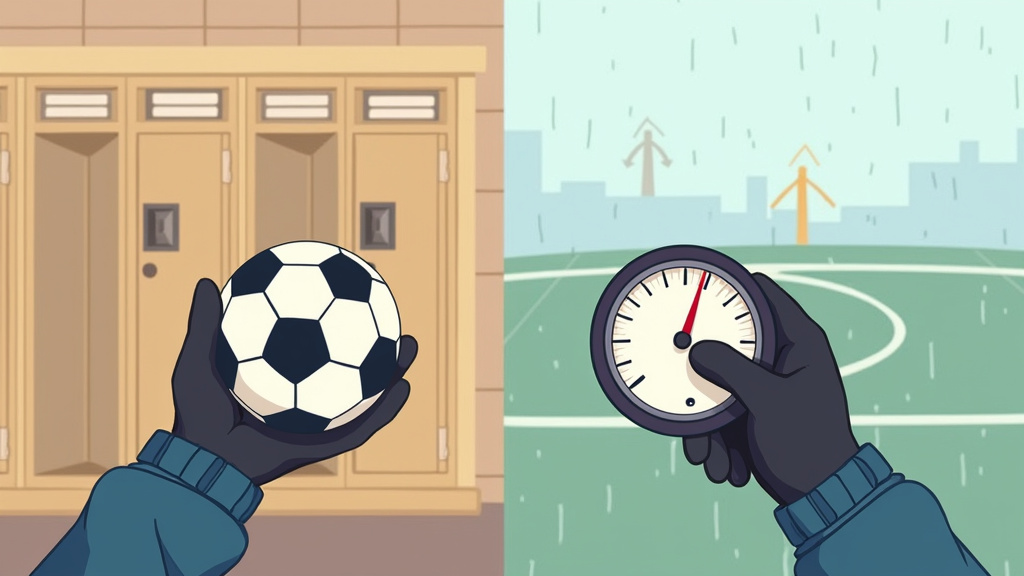
Air contracts when cold, expands when hot. A ball inflated in a 70°F garage to 10 PSI will drop to about 8.5 PSI on a 40°F rainy pitch. That’s a significant change.
The rule: check pressure in the environment where you’ll play. If you’re storing balls in a cold shed, check them after they’ve warmed up inside for an hour. Conversely, a ball left in a hot car can gain 2 PSI, pushing it over the limit.
I learned this during a winter tournament. We prepped our balls in a warm locker room at 12 PSI. Two hours later on the freezing field, they played like mush. Our passes fell short. We had to re-inflate on the sidelines between halves. Now I check the balls outside, ten minutes before kickoff.
TL;DR: Cold lowers PSI, heat raises it. Check your pressure where you’ll play, not where you store the ball.
Fixing a Leaky Valve and Long-Term Care
Sometimes the ball loses air too fast. The valve is the usual culprit.
First, ensure you’re lubricating the needle every time. Dry inserts damage the valve seal. If the ball is new and leaking, the valve core might be faulty. Some balls have removable cores. You can replace them with a generic sports ball valve core tool.
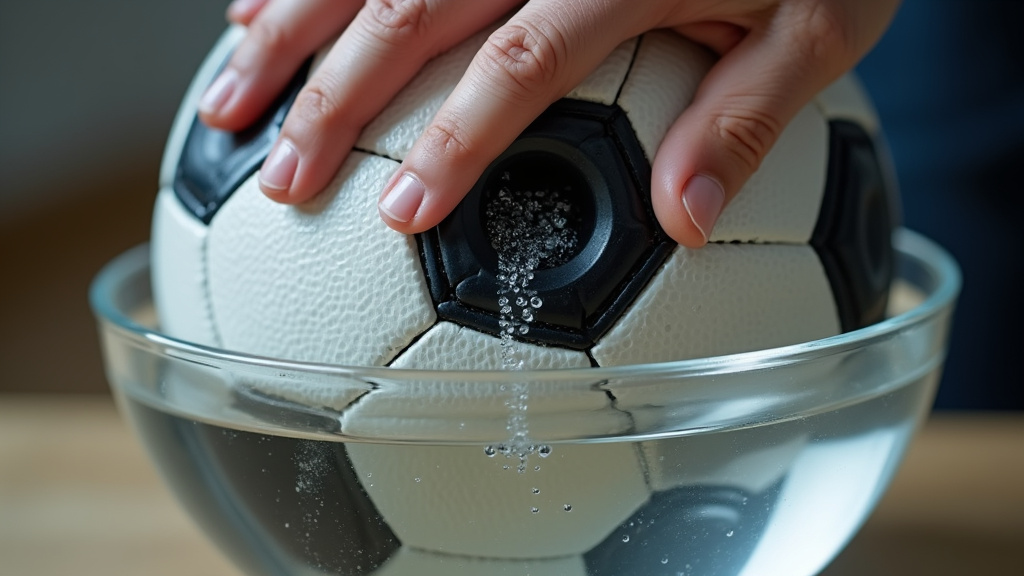
If the leak is slow (1 PSI per day), try this:
1. Inflate the ball to its correct pressure.
2. Submerge the valve area in water.
3. Look for tiny bubbles escaping.
If bubbles appear, the valve seal is damaged. Replacement is the only fix. A ball with a leaking valve is frustrating but not hopeless. Replacement cores are cheap.
For long-term care, store balls at room temperature. Extreme heat degrades the bladder and casing. Keep them away from direct sunlight. Regularly check pressure even when not in use. A ball sitting for months at low PSI develops permanent panel sag. The soccer ball construction relies on constant, even pressure to maintain shape.
Rotate your balls if you have multiple. Using the same ball every day wears it unevenly. A rotation extends the life of your essential football gear.
Frequently Asked Questions
What PSI should a size 5 soccer ball be?
For a regulation size 5 ball, the FIFA range is 8.5 to 15.6 PSI. Most leagues and manufacturers specify a narrower range, often 8.7 to 11.6 PSI. Match balls like those used in MLS are typically set at 13 PSI. Always check the printing on your specific ball.
Can I check pressure without a gauge?
You can use the bounce test or the squeeze test, but they are not accurate for exact PSI. The bounce test gives a good indication of performance. The squeeze test only identifies extreme over- or under-inflation. For any serious play, a gauge is necessary.
Why does my soccer ball feel hard but the gauge reads low?
This is usually a temperature effect. If you checked the ball in a warm place and then played in the cold, the pressure dropped but the bladder remained stretched. The outer panels feel taut, but the internal force is lower. Check the pressure again in the playing environment.
How often should I check my soccer ball’s pressure?
Check before every game or serious training session. For balls in storage, check every two weeks. Temperature changes and slow leaks can alter pressure even when the ball isn’t being used. Regular checks are part of good football ball maintenance.
What happens if I overinflate my soccer ball?
Overinflation stretches the bladder beyond its elastic limit, causing micro-tears. The ball loses air faster over time. The surface becomes dangerously hard, increasing the risk of injury on impact and making control difficult. It also accelerates wear on the outer panels.
Can I use a bicycle pump to inflate a soccer ball?
Yes, if it has a needle attachment. Many bicycle pumps come with a set of adapters that include a ball needle. Be cautious with the pressure, as bicycle pumps can deliver high volume quickly. Use short bursts and check with a gauge frequently to avoid overinflation.
The Bottom Line
Get a gauge. The bounce test is useful, the squeeze test is a warning flag, but the number on the gauge is the truth. Match that number to the one printed on your ball or set by your league.
Remember that cold steals pressure and heat adds it. Check where you play, not where you store. Lubricate the needle every single time. That one habit prevents most valve leaks.
Your ball’s performance, longevity, and even the safety of play hinge on this simple check. Doing it right takes two minutes. Skipping it costs you games and gear. Keep your soccer training tools—including your balls—in top shape with a reliable gauge and this routine.

I come from the “soccer heart” of Germany, the Ruhrpott. I have played, trained and followed soccer all my life and am a big fan of FC Schalke 04. I also enjoy following international soccer extensively.