What PSI Should a Soccer Ball Be? The Complete Guide for
To find what PSI a soccer ball should be, match three things: the ball’s size and the player’s age, the official regulations for the competition, and the printed recommendation from the ball’s manufacturer. The universal standard from FIFA is 8.5 to 15.6 PSI for a Size 5 match ball, but youth sizes and league rules create narrower targets.
Most players and coaches get this wrong by ignoring the ball itself. They pump it until it feels hard, assuming that’s correct. That leads to a ball that’s over-inflated, dangerous on headers, and impossible for a keeper to catch cleanly.
This guide breaks down the exact numbers for every situation, from a Size 3 for a seven-year-old to a Premier League match ball. You’ll learn how to check pressure like a referee, why temperature changes everything, and how to avoid the single most common mistake that ruins ball feel and safety.
Key Takeaways
- The official FIFA Law 2 pressure range is 8.5 to 15.6 PSI for a Size 5 ball, but competition rules and manufacturer labels override this.
- Youth balls need lower pressure: A Size 3 ball should be between 6-8.5 PSI, and a Size 4 between 8-10 PSI to prioritize safety and control.
- Use a pressure gauge. The “squeeze test” is unreliable for precision; a digital gauge costing a few dollars is the only way to know the real PSI.
- Over-inflation is the dominant error. A maxed-out ball increases injury risk, reduces player control, and wears out the bladder and stitching faster.
- Environmental factors matter. For every 10°F (5.5°C) drop in temperature, a ball loses about 0.5 PSI. Check pressure before every session in variable weather.
The Official FIFA PSI Range (and Why It’s So Broad)
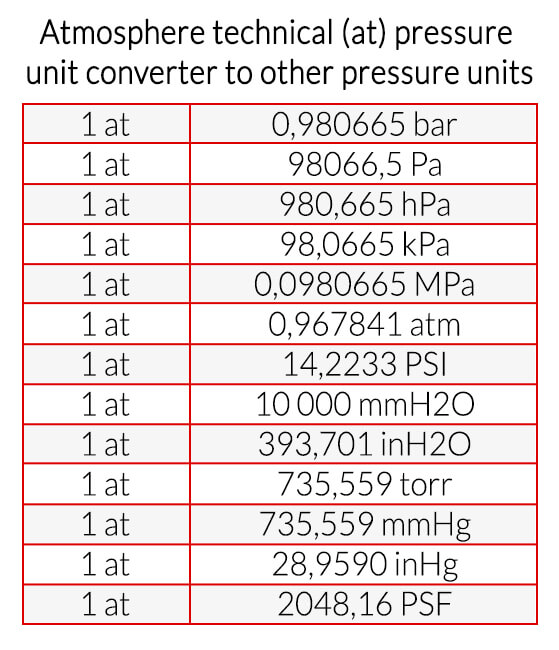
FIFA’s Law 2, as maintained by the International Football Association Board (IFAB), states the match ball must have a pressure between 8.5 and 15.6 pounds per square inch. That’s a conversion from the metric specification of 0.6 to 1.1 atmospheres at sea level. This isn’t a suggestion, it’s the rule for any ball bearing a FIFA Quality, FIFA Quality Pro, or IMS certification mark.
The ball must have a pressure equal to 0.6–1.1 atmosphere (600–1,100 g/cm²) at sea level (8.5–15.6 lb/sq in). It must be spherical, made of suitable material, of a circumference of 68–70 cm (27–28 in), and of a weight of 410–450 g (14–16 oz) at the start of the match.
The range seems huge because it has to account for every possible condition and preference across global football. A match in the thin air of Mexico City requires a different feel than one on a rain-soaked pitch in London. The broad range allows competition organizers to set their own specific targets within those legal bounds.
TL;DR: FIFA’s 8.5–15.6 PSI range is the legal envelope; your league, ball manufacturer, and conditions will define the exact number inside it.
PSI by Ball Size and Age Group: From Kinder to Pro
The one-size-fits-all approach here is a fast track to poor play and unnecessary risk. Pressure scales with ball size, which directly correlates with player age and physical development.
| Ball Size | Player Age Group | Recommended PSI Range | Primary Consideration |
|---|---|---|---|
| Size 3 | 5–8 years | 6.0 – 8.5 PSI | Safety and basic foot-feel development. Lower pressure is softer on feet and heads. |
| Size 4 | 8–12 years | 8.0 – 10.0 PSI | Transitional control. Firmer than Size 3 but not as hard as adult balls, aiding skill acquisition. |
| Size 5 | 12+ & Adult | 8.5 – 15.6 PSI (FIFA) | Match performance. Specific target depends on league rules, surface, and player preference. |
For youth players, always err toward the lower end of these ranges. The goal isn’t a rocket-like rebound; it’s a ball that stays near the feet, encourages trapping, and doesn’t hurt. A Size 3 pumped to 8.5 PSI feels like a rock to a first-grader. Start at 6.5.
Competitive youth leagues often set their own stricter standards. For example, MLS Next in the United States mandates a pressure of 13 PSI for its matches, a specific, high-end figure that prepares players for the fast, firm ball used in many professional academies.
Common mistake: Using a full-size, high-PSI ball for young children, it promotes poor technique as kids kick at the ball instead of through it, and it increases the chance of hand or face injuries.
League-Specific Rules: FIFA, Premier League, and Beyond
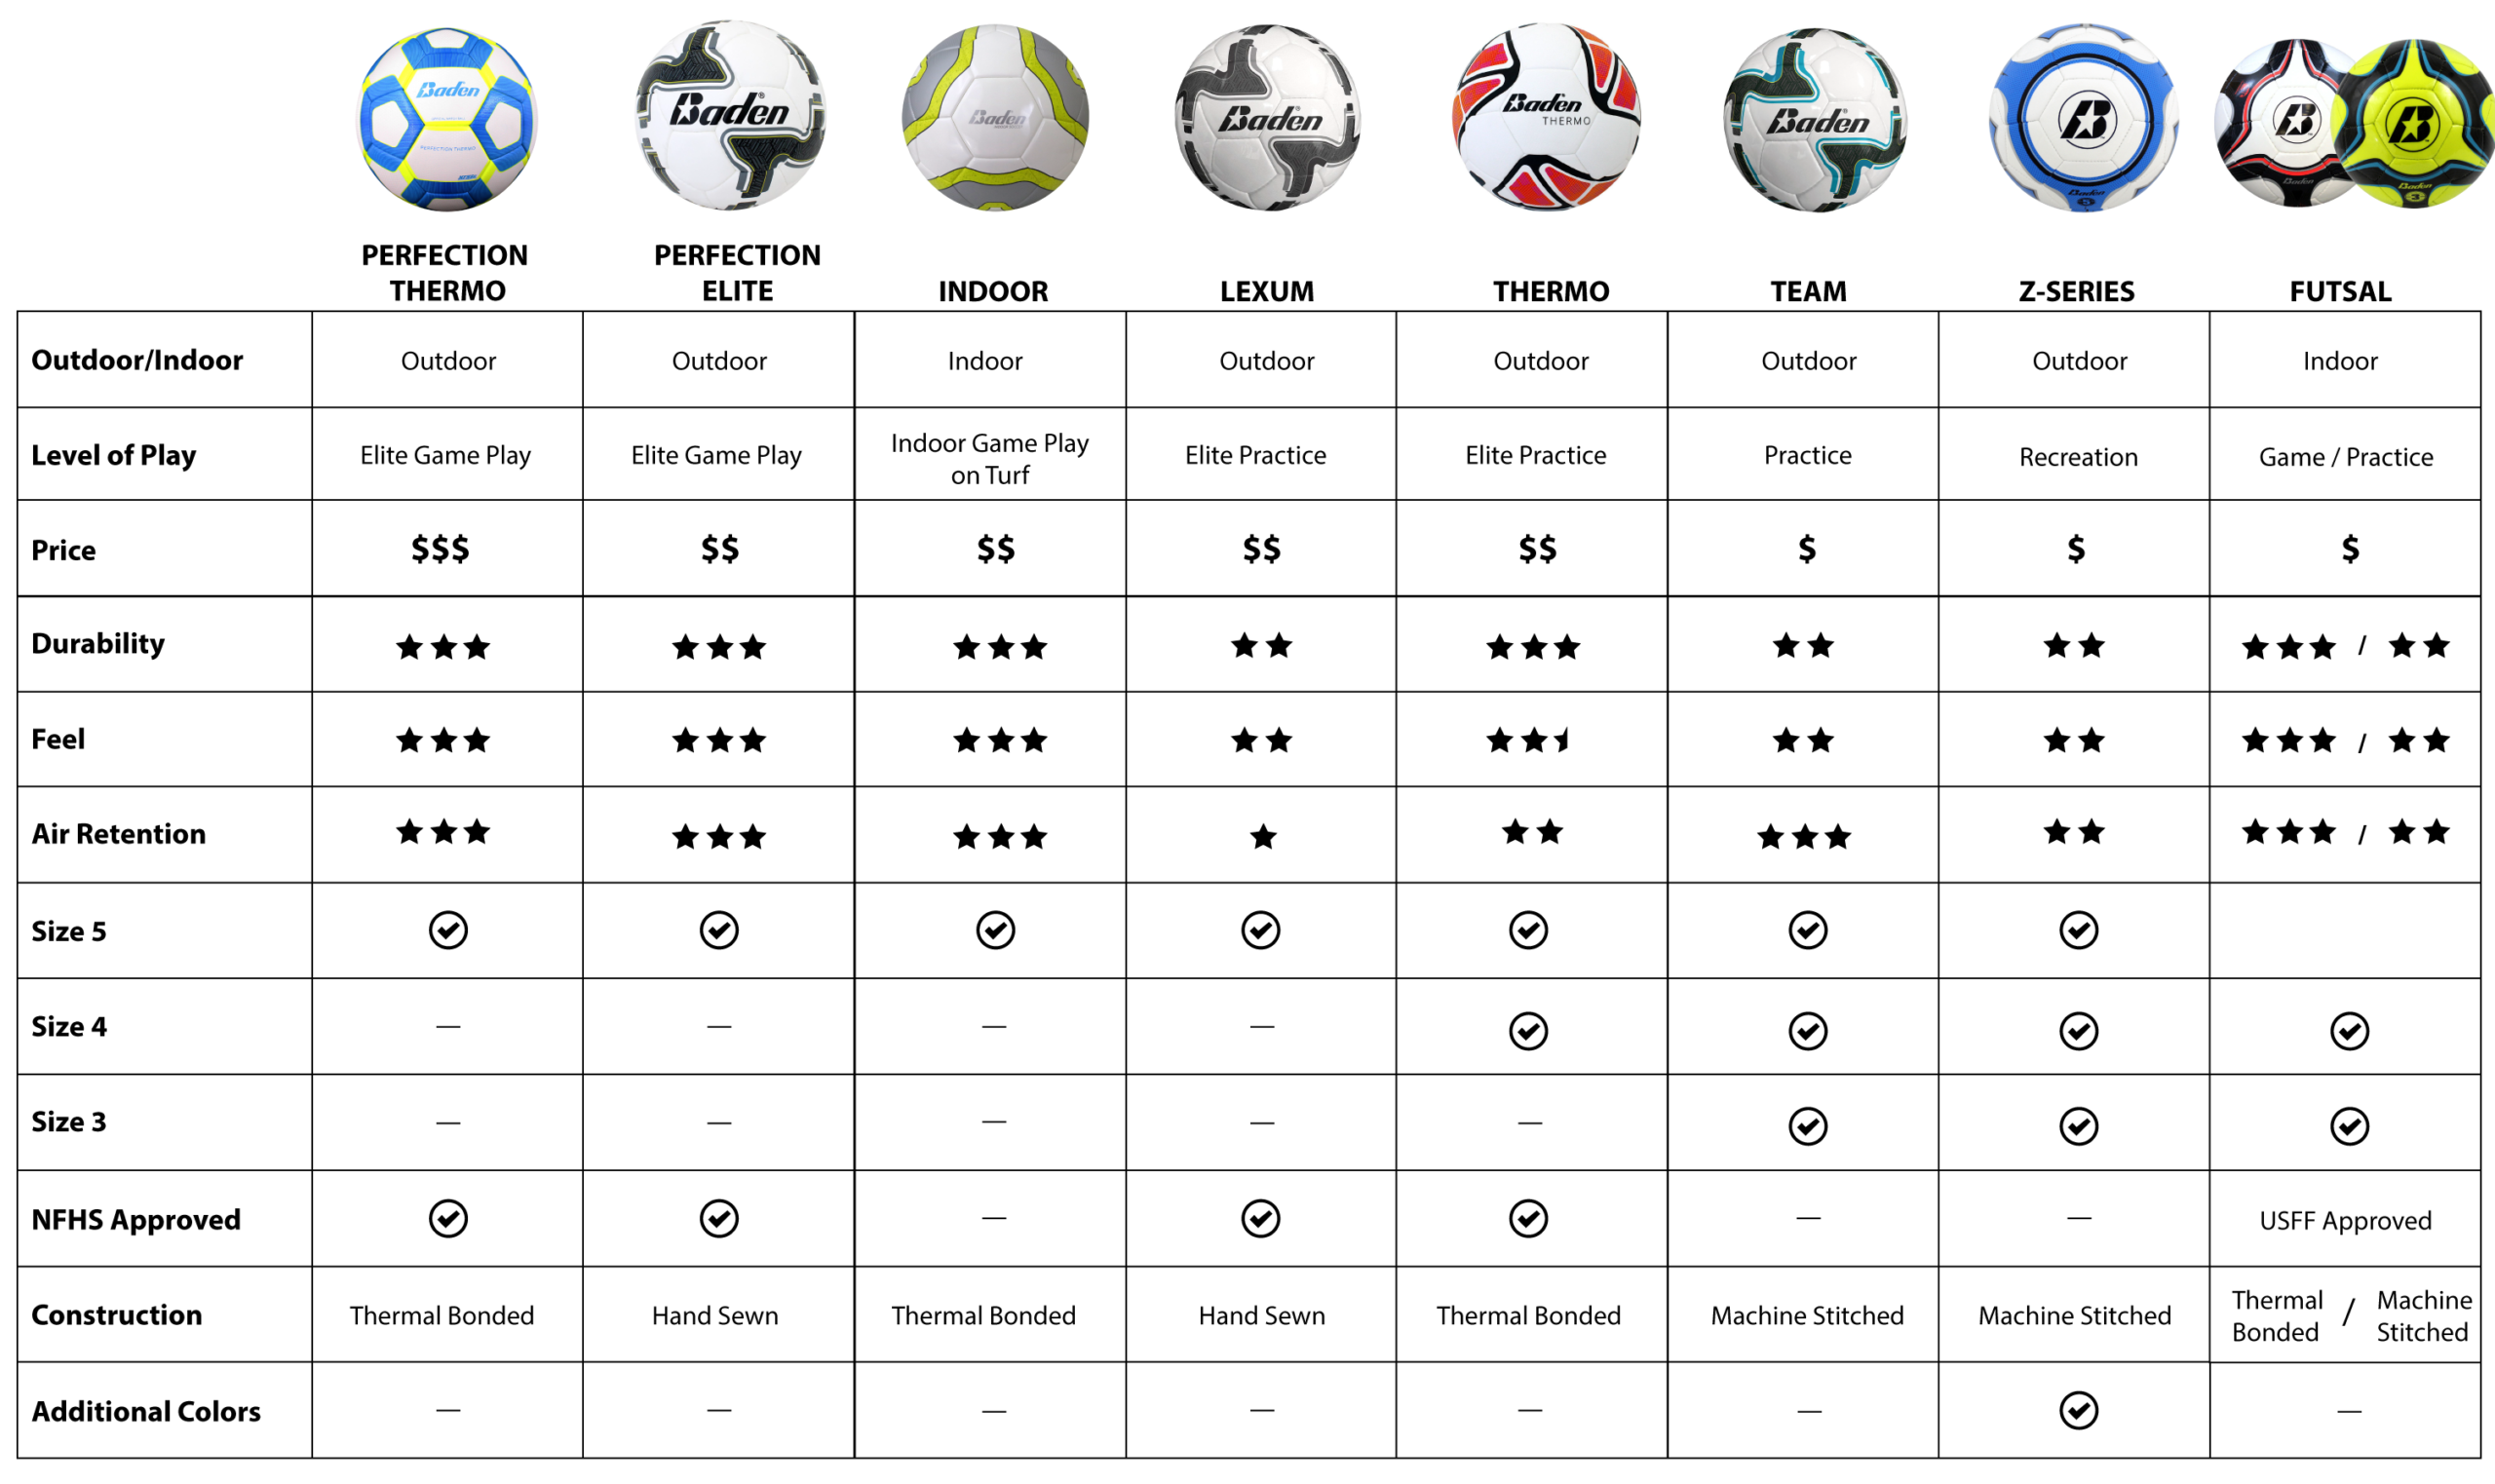
Within FIFA’s wide corridor, leagues and tournaments nail down their own numbers. The English Premier League’s match ball protocol, for instance, recommends a slightly higher range of 8.7 to 16.0 PSI. The ball is typically set between 9 and 11 PSI for the actual match, a sweet spot that balances pace, control, and player safety.
This league-specific targeting is why you can’t just guess. The ball used in a UEFA Champions League final, like the Adidas Finale or Nike Flight, is prepared to a precise specification that might be 10.2 PSI in the stadium that night. For your Sunday league, the referee’s pre-match check is less about a digital readout and more about consistent feel across all match balls.
The takeaway is procedural. If you’re playing in an organized competition, the league rules or the match referee determines the final pressure. Your job is to arrive with a ball that can be adjusted into that range. Showing up with a ball at 7 PSI or 16 PSI means it gets sidelined.
How to Check Pressure Like a Referee
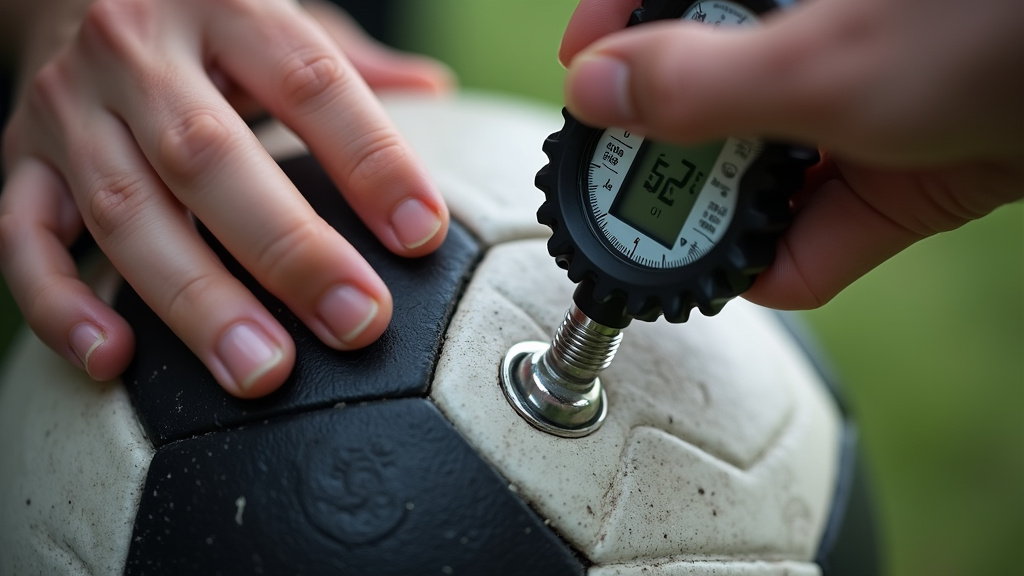
You have three methods, but only one is trustworthy for getting the number right.
-
The Pressure Gauge (Non-Negotiable for Accuracy)
This is the only tool that gives you a objective number. Digital gauges are more precise than analog needle types. Press the gauge firmly onto the valve, a short hiss is normal. The reading is your PSI. Every coach’s bag should have one. -
The Two-Thumb Squeeze Test (The Referee’s Field Check)
Place both thumbs on the ball about six inches apart and press inward with moderate, even pressure. If the ball gives about half an inch (1-1.5 cm), it’s likely in an acceptable range. This tests for gross over- or under-inflation, not precision. It’s what a referee uses when a player complains a ball is too hard at kickoff. -
The Bounce Test (The Rough Guide)
Drop the ball from shoulder height onto a firm, flat surface like a concrete walkway. A properly inflated Size 5 ball should rebound to between your knee and hip height (roughly 45-65 inches). Less bounce means it’s soft; a rebound to your chest means it’s too hard. This test is highly variable based on the surface and temperature.
The sequence is key. Use the gauge to set the pressure, then calibrate your hands with the squeeze test. Soon, you’ll be able to feel a 1 PSI difference. That’s the real goal.
For a deeper dive on manual checks, our guide on checking ball pressure covers the nuances of the squeeze and bounce tests that referees rely on.
The Real-World Impact of Getting PSI Wrong
Pressure isn’t an abstract concept. It changes how the game feels, plays, and how safe it is.
An Over-Inflated Ball (Too High PSI):
- Feels: Rock-hard, with almost no give under your thumbs.
- Plays: Fast and springy. Passes zip but are harder to control. Shots are faster but often less accurate because the foot has less “dwell time” on the ball.
- Risks: Significantly increased impact force. Headers become more jarring, and blocking shots with the body hurts more. Goalkeepers hate them, a hard ball is more likely to bounce off gloves and back into danger.
- Durability: Stresses the bladder and the bonds between the outer casing and bladder, leading to premature seam failure or valve leaks.
An Under-Inflated Ball (Too Low PSI):
- Feels: Soft and mushy. You can easily push your thumbs deep into the surface.
- Plays: Slow and dead. It doesn’t roll or bounce true, absorbing energy instead of transferring it. Players must kick harder, which fatigues them and disrupts timing.
- Risks: Tripping or turning an ankle on a ball that doesn’t roll away cleanly. It also becomes waterlogged more easily on a wet pitch.
- Durability: The outer panel material can crease and crack with repeated impacts when under-inflated.
The correct pressure provides a predictable, balanced response. It allows for crisp passing, controlled dribbling, and powerful shooting without sacrificing player safety or the ball’s structural integrity. This balance is what separates a match ball from a cheap practice model.
Tools and Techniques for Perfect Inflation
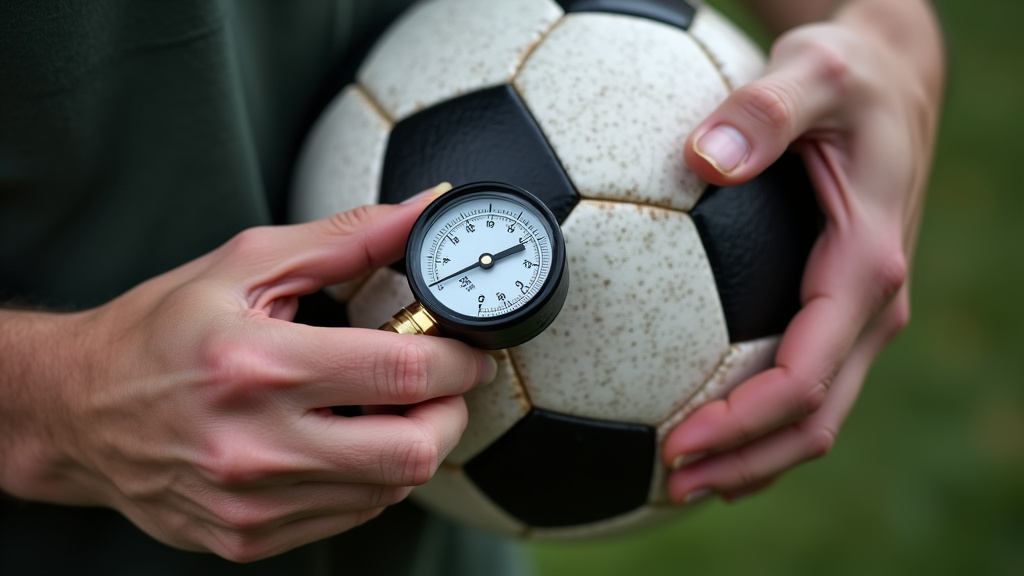
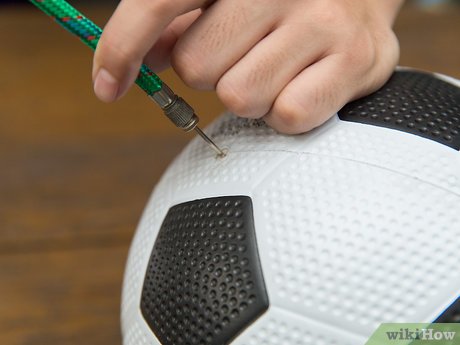
You need the right tools. A cheap, single-action hand pump will leave you exhausted before you reach 12 PSI. A lubricated needle is not optional; a dry needle can shred the valve interior, causing a slow leak.
The 4-Step Inflation Process:
- Lubricate the needle. A drop of water or silicone lubricant on the pump needle prevents damaging the valve rubber.
- Inflate in stages. Pump in short bursts, stopping to check the pressure with your gauge every few strokes. This prevents overshooting.
- Let it settle. After you hit your target, wait 30 seconds and check again. The pressure can decrease slightly as the air distributes inside the bladder.
- Final verification. Do your two-thumb test. The ball should feel firm but not rigid.
For electric pumps, use the manual mode if it has one. Automatic shut-off features are often inaccurate for the higher pressures needed for footballs. The best practice is to use the electric pump to get close, then finish with a hand pump and gauge for final tuning.
Our dedicated guide on the correct inflation process walks through this with visuals for each valve type.
Environmental Adjustments: Heat, Cold, and Altitude
The air inside your ball is subject to the laws of physics. Ignoring this means your perfectly set 10 PSI ball in a warm locker room becomes a 9 PSI ball on a cold evening pitch.
- Temperature: The ideal gas law is your unseen opponent. For every 10°F (5.5°C) drop in temperature, expect a loss of about 0.5 PSI. Conversely, leaving a ball in a hot car can increase pressure by 2-3 PSI, pushing it into the over-inflated danger zone.
- Altitude: At higher elevations, atmospheric pressure is lower. A ball inflated to 10 PSI at sea level will effectively play firmer at altitude because the pressure differential between the inside and outside of the ball is greater. Some leagues in high-altitude cities slightly under-inflate balls to compensate for this effect.
The rule is simple: inflate your ball at the temperature and altitude where it will be used. If that’s impossible, check and adjust the pressure on the field, just before play. This is non-negotiable for consistency.
The Goalkeeper’s Perspective and Safety
Ask any keeper. A ball at 15 PSI is a different beast than one at 9 PSI. The harder ball comes off the foot faster, leaving less reaction time. On crosses and shots, it’s more likely to punch through their gloves or rebound violently. Catching a driven ball at max inflation stings the palms and can lead to finger jams.
For younger goalkeepers, an over-inflated ball is a direct deterrent to developing proper catching technique. They’ll start to parry everything away because catching hurts, which creates bad habits and more dangerous second-ball situations.
Safety extends beyond the keeper. The modern focus on concussion prevention in football directly implicates ball pressure. A rock-hard ball increases the acceleration forces transmitted to the brain during a header. While research is ongoing, the precautionary principle is clear: for training, especially with youth players, keep the pressure at the mid-to-low end of the recommended range.
Maintaining Correct Pressure and Ball Care
A ball isn’t a “set it and forget it” piece of equipment. Regular maintenance is part of the proper inflation steps for long-term performance.
- Store it properly. Keep the ball at room temperature and away from direct sunlight or dampness. Extreme heat degrades the materials and affects pressure; moisture can corrode the valve.
- Check pressure weekly. Even the best balls lose a small amount of air over time. Make a quick gauge check part of your pre-training routine.
- Listen to your players. If a skilled player consistently complains the ball feels “dead” or “like a balloon,” investigate. Their feel is often your first diagnostic tool.
- Rotate match balls. If you have multiple official match balls, use them in rotation to ensure even wear and consistent pressure history.
This care extends the life of your investment, whether it’s a premium Adidas match ball or a durable training ball for daily use.
Frequently Asked Questions
What is the most common mistake people make with soccer ball PSI?
Over-inflation. The instinct is to pump until the ball feels “hard,” which almost always exceeds the optimal range. This makes the ball unpredictable, painful to play, and wears it out faster. Always use a gauge and trust the manufacturer’s printed number over your feel.
Can I use a bicycle pump to inflate a soccer ball?
Yes, but you must use a dedicated ball inflation needle that attaches to the pump’s hose. Standard bicycle pump heads will not fit a ball’s valve. Lubricate the needle before inserting it to prevent valve damage.
How often should I add air to my soccer ball?
Check the pressure every 1-2 weeks with a gauge. High-quality balls with butyl bladders hold air for months, while balls with latex bladders (common in high-end match balls) may need a top-up every week. Temperature changes are the biggest factor.
Does a more expensive ball require a different PSI?
Not necessarily. The pressure range is determined by the ball’s size and its designated use (match, training, etc.), not its price. However, a premium Nike match ball will have a tighter performance tolerance and might feel more responsive at the same PSI than a cheaper model due to its superior layered construction.
What should I do if my ball has no PSI information printed on it?
If it’s a Size 5 ball, use the standard FIFA range of 8.5–15.6 PSI as your starting point. For recreational play, aim for 9-11 PSI. For a Size 4, target 8.5-9.5 PSI; for a Size 3, use 7-8 PSI. When in doubt, lean toward the softer side for better control and safety.
The Bottom Line
The correct PSI is the single easiest performance upgrade for your game. It requires no new skills, just a few dollars for a pressure gauge and two minutes of attention. Stop guessing. Match the pressure to the ball’s size, the players’ age, and the competition rules. Your feet, and your goalkeeper’s hands, will thank you.
A ball at the right pressure behaves predictably. It connects cleanly, rolls truly, and keeps the focus on technique, not fighting the equipment. Whether you’re selecting from the top football models or maintaining the club’s training stock, this one detail separates prepared players from everyone else. Pump it right, and play it better.

I come from the “soccer heart” of Germany, the Ruhrpott. I have played, trained and followed soccer all my life and am a big fan of FC Schalke 04. I also enjoy following international soccer extensively.