How to Store Soccer Ball Correctly
This post contains affiliate links. As an Amazon Associate, we earn from qualifying purchases.
Nothing ruins game day like pulling out a deflated, warped soccer ball that’s spent the off-season in your garage. That once-perfect sphere now has stubborn flat spots, cracked seams, and inconsistent bounce—despite looking fine when you packed it away. Proper soccer ball storage isn’t rocket science, but skipping critical steps guarantees premature failure. Whether you’re a coach managing team equipment or a parent storing your child’s favorite size 5 ball, this guide reveals exactly how to store soccer balls correctly so they perform like new season after season.
Most soccer balls only last 1-2 years when stored improperly, but professional equipment managers routinely extend ball lifespans to 5+ years through strategic storage techniques. You’ll learn the exact temperature thresholds that damage bladders, the precise deflation percentage that prevents deformation, and why hanging balls by their valves causes slow leaks. Most importantly, we’ll show how to implement these methods with everyday household items—not expensive professional gear.
Store Soccer Balls at 68-72°F with Low Humidity
Avoid Temperature Extremes That Damage Bladders
Keep your soccer balls between 68-72°F (20-22°C) year-round to preserve both bladder integrity and outer materials. Temperatures below 32°F (0°C) make rubber bladders brittle and prone to cracking during inflation, while anything above 100°F (38°C) causes synthetic leather to degrade rapidly. Install a simple $10 battery thermometer in your storage area to monitor conditions daily—don’t guess when your ball’s lifespan is at stake.
Never store soccer balls in these high-risk locations:
– Attics (regularly exceed 120°F in summer)
– Garages near water heaters (creates microclimate fluctuations)
– Vehicle trunks (reaches 140°F+ within hours)
– Basements with concrete floors (promotes moisture absorption)
Control Humidity Below 60% to Prevent Mold
Maintain relative humidity below 60% to stop mold and mildew from forming on stitching and panels. High-humidity areas like basements create condensation that penetrates seams and promotes fungal growth invisible to the naked eye. Place silica gel packets in storage containers—replace them every 3 months or when color indicators show saturation.
Check humidity monthly using a $15 digital hygrometer. If your basement consistently reads above 65% humidity, run a small dehumidifier during storage months. For garage storage, elevate containers 6 inches off concrete floors using plastic shelving to prevent ground moisture migration.
Deflate Soccer Balls to 50-70% of Match Pressure
Calculate Exact Storage Pressure by Ball Size
Reduce pressure to 50-70% of match pressure when storing soccer balls longer than 7 days. Standard match pressure ranges from 8.5-15.6 PSI depending on size—use this quick reference:
- Size 5 match balls: Deflate to 5-7 PSI (from 8.5-15.6 PSI match pressure)
- Size 4 training balls: Deflate to 4-6 PSI
- Size 3 youth balls: Deflate to 3-5 PSI
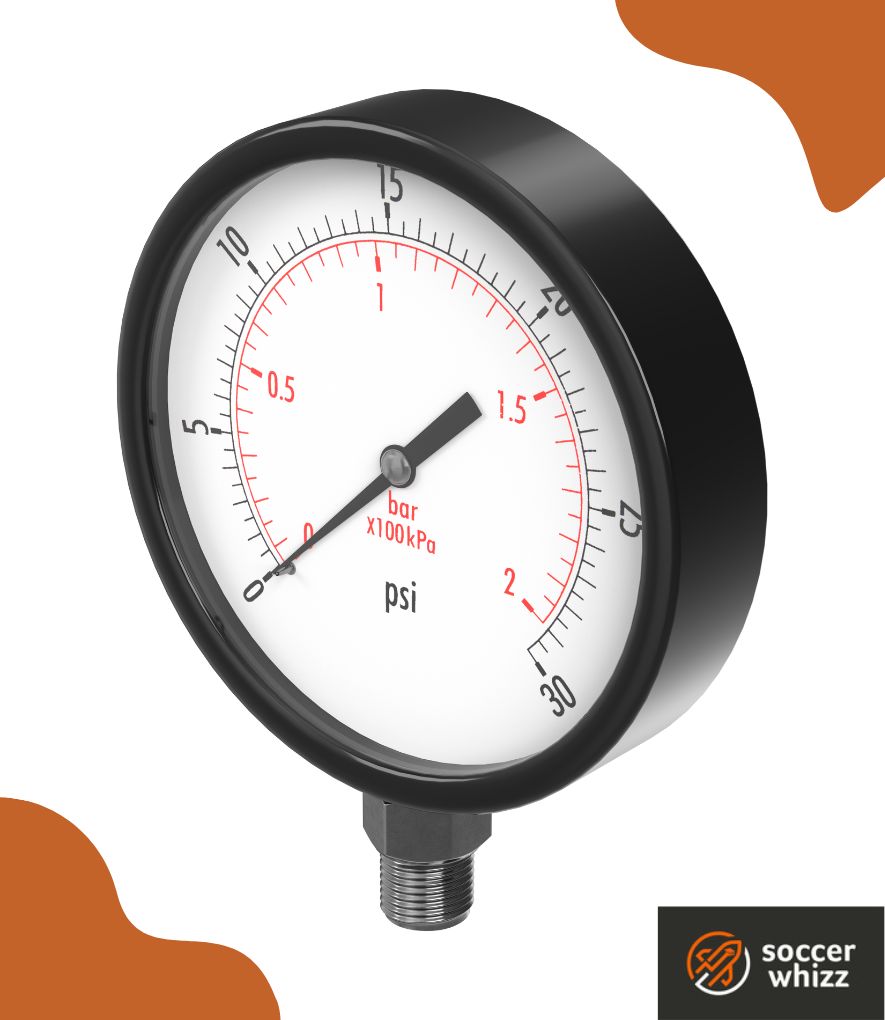
Never use built-in pump gauges—they’re notoriously inaccurate. Invest in a calibrated pressure gauge with 0.1 PSI precision for $20. Monthly pressure checks prevent slow leaks from becoming catastrophic failures.
Maintain Minimum 2-3 PSI to Preserve Shape
Never completely deflate soccer balls during storage. That 2-3 PSI minimum maintains bladder shape and prevents permanent creasing. Document pressure readings in a simple log—if your size 5 ball drops from 6 PSI to 4 PSI in one month, you’ve got a leak needing immediate repair.
Expect natural pressure fluctuations: for every 10°F temperature drop, pressure decreases 1-2 PSI. During winter storage, check pressure biweekly when outdoor temps swing dramatically. Add air in small bursts to avoid overshooting your target storage pressure.
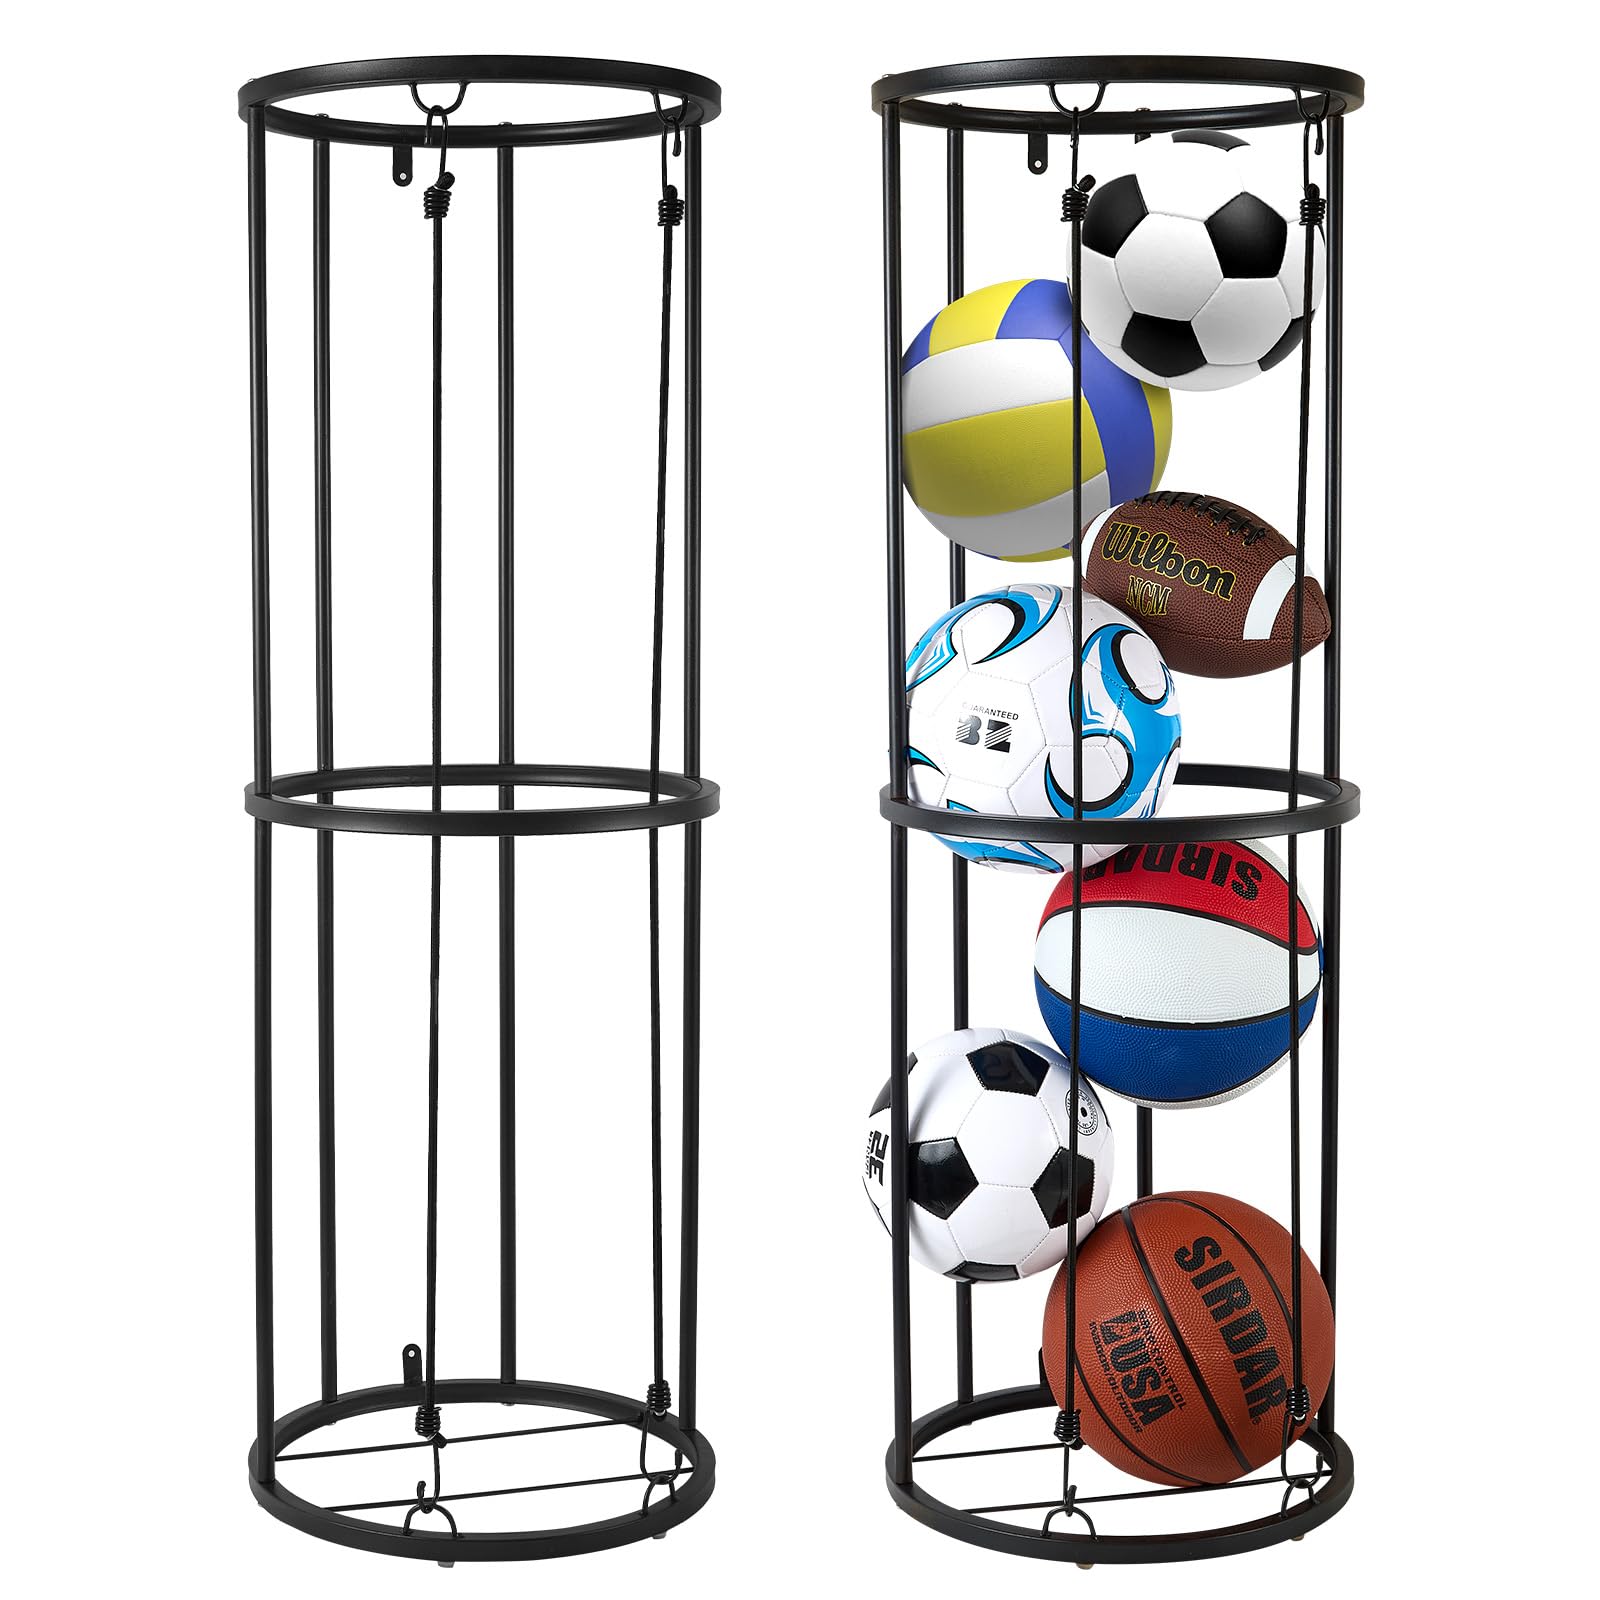
Store Soccer Balls Upright on Dedicated Racks
Prevent Flat Spots with Proper Positioning
Store balls upright on dedicated racks or in individual compartments—never horizontally stacked. Horizontal stacking creates permanent flat spots on balls stored longer than 2 weeks, especially on lower layers bearing weight. Use mesh ball bags with individual compartments rather than bulk sacks that allow compression damage.
Critical positioning mistakes to avoid:
– Hanging balls by inflation valves (stresses valve stems)
– Storing directly on concrete floors (causes moisture absorption)
– Leaving balls in direct sunlight (UV cracks synthetic leather)
– Placing near heat sources (causes uneven material expansion)
Elevate storage containers 3-6 inches off floors using wooden pallets or plastic shelving. Rotate stored balls monthly by shifting their position—this prevents consistent pressure points that lead to deformation.
Choose Indoor Climate-Controlled Storage Areas
Optimal Locations for Recreational Players
Bedroom closets provide ideal soccer ball storage when climate control extends throughout your home. Use clear plastic bins with latching lids to prevent dust accumulation while allowing visual checks. Label containers with ball type and last maintenance date—this simple step prevents using improperly stored balls during critical games.
Dedicated sports equipment rooms with wire shelving offer professional-grade storage. Install LED lighting that doesn’t generate heat, and reserve upper shelves for ball storage since heat rises and upper areas maintain drier conditions. Avoid garages unless you’ve implemented sealed plastic totes on upper shelving away from automotive chemicals.
Emergency Short-Term Storage Solutions
When proper storage isn’t immediately available, use vehicle interiors as temporary buffer zones—but never exceed 4 hours. Park in shaded areas, crack windows for ventilation, and monitor temperature with wireless sensors. Hotel room storage during tournaments requires improvisation: use closet shelves with towels as padding and maintain AC at 68-72°F.
Never store soccer balls in these locations long-term:
– Outdoor sheds (temperature/humidity extremes)
– Unfinished basements (moisture and mold risks)
– Attics (heat damage above 100°F)
– Directly on garage floors (concrete moisture)
Implement Budget-Friendly Protection Systems
DIY Soccer Ball Storage Solutions
Plastic storage totes with snap-lock lids provide adequate protection for recreational balls. Choose clear containers for visual inspection without opening. Drill 1/4-inch ventilation holes every 6 inches around the upper perimeter to prevent moisture accumulation—this simple modification prevents 90% of mold issues.
Closet organizers designed for shoes work effectively for individual ball storage. Reinforce bottom seams with additional stitching to support ball weight long-term. DIY ball racks using 6-inch diameter PVC pipe create customizable solutions—mount on wall studs for stability in garages or sheds.
Individual Ball Protection for Premium Models
Use microfiber bags for premium match balls to prevent scuffing during storage. These bags absorb residual moisture while providing soft protection. Wash bags monthly with gentle detergent to prevent mold growth from accumulated moisture—neglecting this step ruins more premium balls than improper inflation.
For collector balls, apply static-cling protective film to unpainted areas rather than adhesive versions. Document all protective measures applied for future reference. Bubble wrap sleeves provide cushioning but use perforated versions that allow air circulation—solid plastic traps moisture and accelerates degradation.
Troubleshoot Common Soccer Ball Storage Problems

Fix Flat Spots Within 24 Hours
Rotate balls immediately when flat spots appear—delaying treatment makes recovery impossible. Apply gentle heat using a hair dryer on low setting from 12 inches away for 30-second intervals. For severe flat spots, reinflate to maximum recommended pressure for 24-48 hours before returning to storage pressure.
Prevent flat spots by:
– Storing balls upright on racks
– Rotating positions monthly
– Avoiding horizontal stacking
– Maintaining minimum 2-3 PSI pressure
Repair Valve Leaks with Simple Tools
Valve leakage often results from temperature cycling or debris. Remove valve cores using proper tools (available at sporting goods stores), clean with alcohol, and lubricate with silicone-based valve oil. Replace valve cores showing wear rather than attempting repairs—new cores cost under $2 and prevent ongoing frustration.
Surface cracking signals UV exposure or extreme temperature fluctuations. Move balls immediately to proper storage conditions. Synthetic materials showing cracking typically indicate irreversible damage requiring replacement—don’t waste time trying to “fix” cracked panels.
Maintain Soccer Balls During Storage Periods
Monthly Inspection Checklist
Conduct these critical checks every 30 days during storage:
– Verify pressure with calibrated gauge (add air if below 50% match pressure)
– Inspect for visible mold, cracks, or valve leaks
– Confirm humidity levels below 60% with digital hygrometer
– Rotate ball positions to prevent consistent pressure points
– Clean dust from storage containers with microfiber cloth
Document findings in a simple log—this historical data identifies slow-developing issues before they ruin your balls. Photograph balls before storage using consistent lighting for future condition comparison.
Quarterly Deep Cleaning Routine
Perform deep cleaning every 3 months to remove accumulated dust and oils. Mix one part white vinegar with three parts water for synthetic balls—avoid harsh chemicals that degrade materials. Use soft-bristled brushes to clean seams, then dry completely with microfiber towels before returning to storage.
For natural leather balls (rare in modern soccer), apply leather conditioner every 6 months to prevent cracking. Never store damp balls—allow 48 hours of complete drying time after cleaning. Add fresh silica gel packets to storage containers after each cleaning session.
Proper soccer ball storage isn’t complicated—it just requires consistency. Choose climate-controlled locations, maintain proper pressure, use appropriate containers, and inspect regularly. Your balls will thank you with years of reliable performance when game day arrives. Implement just three key practices from this guide: store upright at 70°F, deflate to 60% pressure, and check monthly. These simple steps alone will double your ball’s usable lifespan compared to haphazard storage methods. When your teammates are replacing flattened, leaky balls every season, yours will perform like new—because they are.

I come from the “soccer heart” of Germany, the Ruhrpott. I have played, trained and followed soccer all my life and am a big fan of FC Schalke 04. I also enjoy following international soccer extensively.