How to Clean a Soccer Ball Properly (The 3-Step Method)
To clean a soccer ball properly, you need three things: a dry or damp cloth for surface dirt, a soft toothbrush with mild soap for seams and scuffs, and correct inflation pressure after cleaning. Never use bleach, immerse the ball in water, or dry it with heat.
Most people ruin their ball’s stitching and graphics by scrubbing too hard or using the wrong cleaner. They see a muddy ball and think it needs a shower. Water gets inside the layers, the logo peels off, and the ball goes soft within a month.
This guide walks through the exact materials, the step-by-step process for mud, scuffs, and turf marks, and the inflation and storage steps that keep a ball match-ready for years.
Key Takeaways
- Use only a dry cloth for light dirt and a damp cloth with mild, bleach-free dish soap for deeper cleaning. A soft toothbrush cleans the seams without damaging them.
- Never immerse the ball in water or use a high-pressure spray. Water penetrates the outer casing and damages the internal bladder and stitching.
- Always lubricate the inflation needle with glycerine, valve oil, or silicon spray before inserting it. Never use mineral oils.
- Store the ball at a slightly reduced pressure in a dry, cool place, ideally inside a mesh bag. Deflate it completely only for long-term seasonal storage.
- Clean the ball immediately after use, especially on artificial turf. Turf rubber leaves a black residue that stains if left overnight.
Why Proper Cleaning Matters More Than You Think
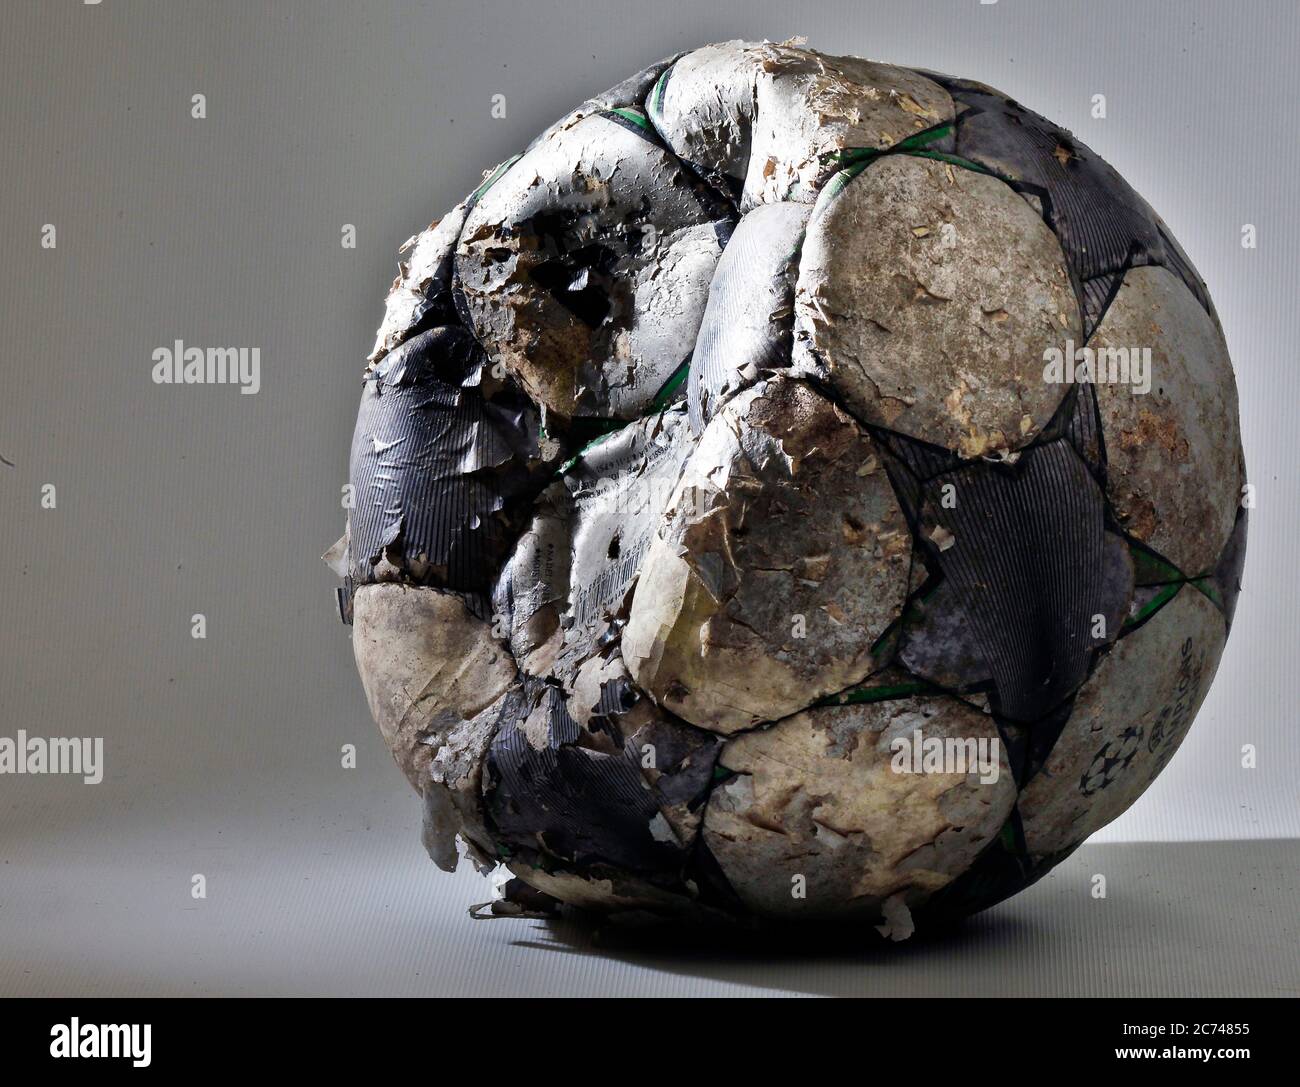
A clean ball isn’t just about looks. Grime packed into the seams acts like a wedge. Every kick applies pressure, and that dirt works its way deeper, stressing the stitching. After a dozen matches, the panels start to separate. You’ll feel a slight bulge on one side. The ball loses its true round shape, and passes spin unpredictably.
The graphics and lettering are printed or heat-transfered onto the polyurethane layer. Harsh detergents contain surfactants that break down the adhesive. The Champions League logo or your club badge fades and peels within a few washes. I’ve seen it on a replica Bundesliga ball I used for training. After cleaning it with a generic multi-surface spray, the “Bundesliga” lettering cracked and flaked off within two weeks. I switched to a drop of mild dish soap diluted in water, and my current match ball’s graphics are intact after three seasons.
Cleaning a soccer ball requires gentle mechanical action with non-abrasive tools. The outer polyurethane casing is resistant to water, but the laminated layers underneath and the stitching are vulnerable to moisture penetration and chemical degradation from bleach or strong detergents.
TL;DR: Dirt in the seams stresses stitching and warps shape; harsh cleaners destroy graphics; moisture inside the layers ruins the bladder.
The 3-Step Cleaning Process (Mud, Scuffs, and Turf Marks)
Head design changes the entire process. Look at the business end of your trimmer. Wind direction decides whether the head feeds or jams.
Step 1: Dry Removal First
Start with a dry, soft microfiber cloth. Wipe the entire surface to remove loose dirt, dust, and dry mud. This prevents you from mixing dry debris into a wet slurry later, which just grinds it into the surface.
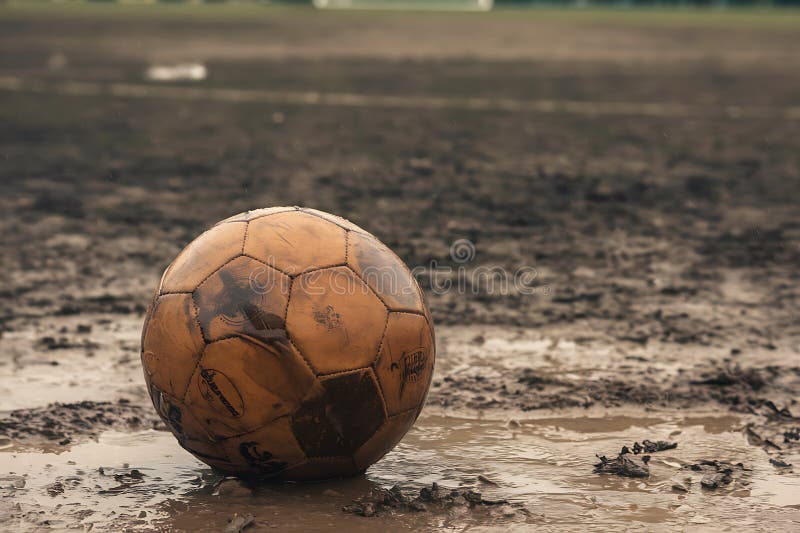
If the ball is covered in wet mud, skip the dry cloth. Go straight to a damp microfiber cloth and wipe gently. Don’t rub. Mud is abrasive. Pressing too hard grinds the particles into the polyurethane, creating micro-scratches that make the ball look permanently dull.
Step 2: The Soap-and-Brush Method for Seams and Stains
For ingrained dirt, scuff marks from concrete, or grass stains, you need a mild cleaner and a soft tool.
Mix one drop of mild, bleach-free dish soap (like Dawn or equivalent) with a cup of water. The solution should be barely cloudy. Dip a soft toothbrush (a child’s soft-bristle brush works perfectly) into the solution.
Scrub only the affected areas, the seams where dirt collects, and the scuff marks. Avoid brushing over printed graphics or logos. The mechanical action of the soft bristles lifts dirt from the textured seam channels without damaging the thread.
For turf marks from artificial grass, the black rubber residue stains the white panels. Use the same soap solution, but scrub a little more firmly. If the stain persists after drying, a dedicated synthetic ball cleaner (like the ones in ball maintenance kits) can be applied. Use it sparingly.
Common mistake: Using a stiff-bristle brush or scrubbing too hard, this frays the stitching threads at the seams. Within three or four cleanings, the threads loosen and the seam opens, causing a slow air leak.
TL;DR: One drop of mild soap in water, a soft toothbrush, target only seams and stains, avoid graphics.
Step 3: Rinse, Dry, and the Absolute No-Heat Rule
After brushing, wipe the entire ball with a clean damp cloth to remove any soap residue. Don’t soak the cloth. Just a quick pass.
Now dry it. This is the critical step. Place the ball in a cool, shaded, airy spot, a room corner, a shaded patio, a ventilated cupboard. Let it air dry naturally. Do not place it near a radiator, heater, or in direct sunlight. Do not use a hair dryer.
Heat damages the polyurethane casing and the internal latex or butyl bladder. The material warps and loses elasticity. A ball dried in direct sun feels harder and less responsive on the next kick. I left a training ball on a sunny balcony in July. The next day, its bounce was noticeably dead, like kicking a stiff plastic shell.
| Cleaning Scenario | Tool & Material | Risk If Skipped |
|---|---|---|
| Light dust / dry dirt | Dry microfiber cloth | Grime transfers to wet cloth, creates abrasive slurry |
| Wet mud | Damp microfiber cloth only | Rubbing spreads mud, grinds particles into surface |
| Grass stains / scuffs | Soft toothbrush + mild soap | Stain sets permanently; scuff marks become permanent discoloration |
| Turf rubber marks | Soft toothbrush + mild soap, then synthetic cleaner | Black residue stains white panels overnight |
| Seam dirt | Soft toothbrush + mild soap | Dirt wedges into seam, stresses stitching, panels separate |
Inflation and Valve Care: The Silent Ball Killer
Most ball failures start at the valve. People jam a dry needle in, inflate fast, and store the ball pumped to the max. The valve stem tears, the bladder leaks slowly, and they blame the brand.
Lubricate the Needle Every Single Time
Before inserting the inflation needle into the valve, lubricate it. Use glycerine (available at pharmacies), valve oil (from bike shops), or silicon spray. Put a drop on the needle tip.
Why? The valve stem is a flexible rubber or silicone sleeve. A dry needle creates friction. That friction can tear the stem’s inner lining on insertion or removal. A torn stem leaks air slowly, you’ll lose 0.5 PSI per day, and blame the ball for being defective.
Never use mineral oils (like WD-40 or general-purpose lubricants). They contain detergents that degrade rubber over time. The stem hardens and cracks.
Insert Straight and Inflate Slowly
Insert the lubricated needle straight into the valve center. Don’t angle it. Rotate it gently as you push in. This helps it slide past the stem without catching.
Connect your pump and inflate slowly. Watch the pressure gauge if you have one. Stop when you reach the pressure printed near the valve, usually between 8.5 and 15.6 PSI. If no gauge, use the manual test: the ball should have a firm bounce from waist height, but not feel rock-hard.
Over-inflation stretches the bladder and strains the stitching. The ball becomes over-round and too hard, affecting touch and control. Under-inflation makes it sluggish and prone to deformation on impact.
I used a cheap pump without a gauge on my first proper match ball. I pumped until it felt “hard.” That was about 18 PSI. After two weeks, the ball developed a slight bulge along one seam. The stitching had stretched unevenly. A pressure gauge costs less than a new ball.
TL;DR: Lubricate needle with glycerine; insert straight; inflate slowly to printed PSI; over-inflation stretches stitching.
Post-Cleaning Valve Check
After cleaning and drying, always check the valve. If the ball loses air faster than usual, dirt might be inside the valve. Lubricate the needle with glycerine again, insert it, and gently rotate it in small circles while moving it up and down. This cleans the stem interior and can dislodge debris.
If the leak persists, the bladder might be punctured. But 80% of slow leaks are just dirty valves.
Storage: Where Most Balls Die Quietly
Storing a ball on a concrete garage floor, fully inflated, is how you kill it between seasons. Temperature swings, moisture, and constant pressure on one spot degrade the materials.
The Mesh Bag and Reduced Pressure Rule
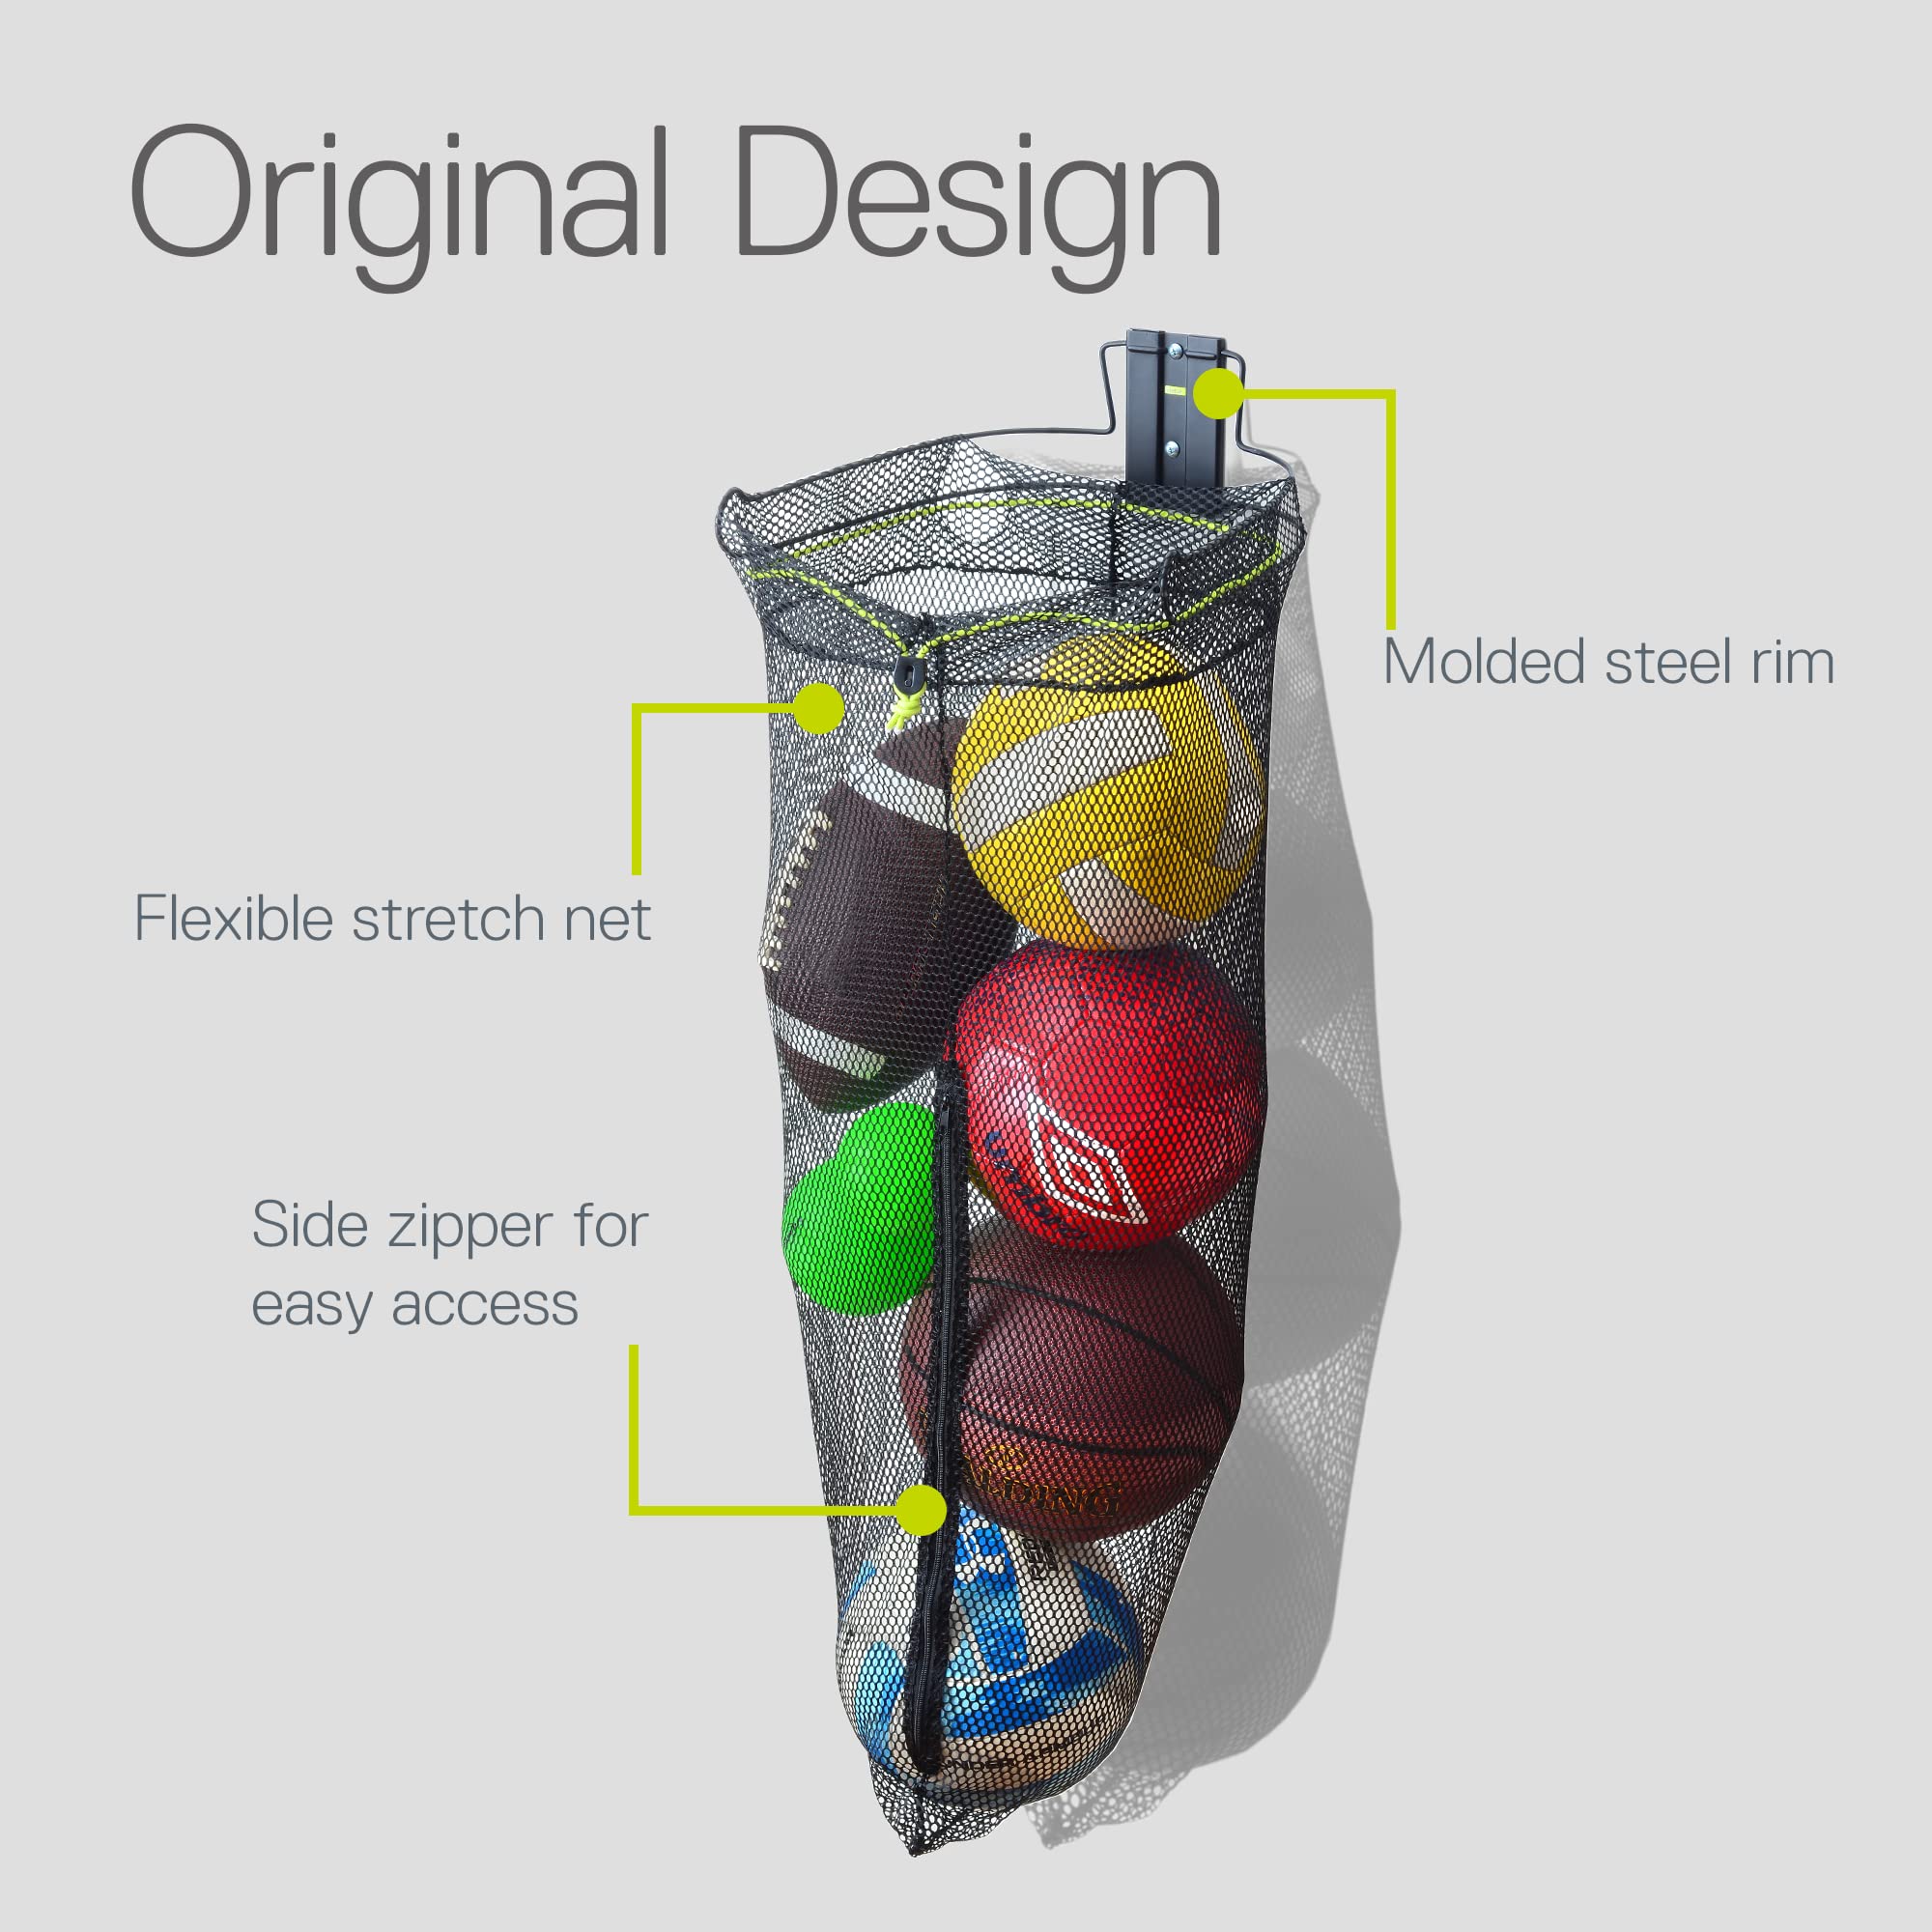
Store the ball in a dry, airy place at normal room temperature. A cupboard shelf works. Ideally, place it inside a mesh bag (like a laundry bag or a dedicated ball bag). The mesh allows air circulation, preventing moisture buildup.
Reduce the pressure slightly. Deflate it by about 1-2 PSI. This lets the shell and bladder relax without being tense. The materials retain their elasticity.
If you’re not playing for several months (the off-season), deflate it further, but not completely. Leave just enough air to keep the shape. Completely deflating can make the panels fold inward, creasing the casing.
Common mistake: Storing a fully inflated ball in a damp basement, moisture condenses on the cooler surface, penetrates the seams, and the bladder develops mold spots. You’ll smell a faint mildew odor when you reinflate it.
Long-Term Seasonal Storage Steps
For seasonal storage (e.g., winter break), follow this sequence:
1. Clean the ball thoroughly using the steps above.
2. Let it air dry completely for 24 hours.
3. Deflate it to about 4-5 PSI (it should still be round but soft).
4. Place it in a mesh bag.
5. Store it in a dry, temperature-stable cupboard.
This preserves the soccer ball materials, the polyurethane outer cover and the latex or butyl bladder, from environmental stress.
TL;DR: Store in a mesh bag in a dry cupboard at slightly reduced pressure; for long breaks, deflate to 4-5 PSI.
The Tools and Materials You Actually Need
You don’t need a specialty kit. These are household items or cheap purchases.
- Soft microfiber cloths: Two or three. One for dry wiping, one for damp wiping, one for final rinse.
- Soft toothbrush: A child’s toothbrush with soft bristles. Don’t use a stiff adult brush.
- Mild dish soap: Any bleach-free dish soap. One drop per cleaning is enough.
- Ball pump with a needle: A standard hand pump with a soccer inflation needle.
- Pressure gauge: A separate gauge or a pump with an integrated gauge. Crucial for correct inflating a soccer ball.
- Glycerine, valve oil, or silicon spray: For needle lubrication. Glycerine is cheapest and lasts years.
- Mesh bag: A simple laundry mesh bag or a sports ball bag.
| Tool | Purpose | Budget Alternative |
|---|---|---|
| Pressure gauge | Ensures correct recommended PSI | Manual bounce test (less precise) |
| Glycerine | Lubricates needle, protects valve stem | Silicon spray (more expensive) |
| Synthetic ball cleaner | Removes stubborn turf rubber stains | Extra pass with mild soap solution |
| Mesh storage bag | Allows ventilation during proper soccer ball storage | Any breathable fabric bag |
What Never to Do (The YouTube Myths)
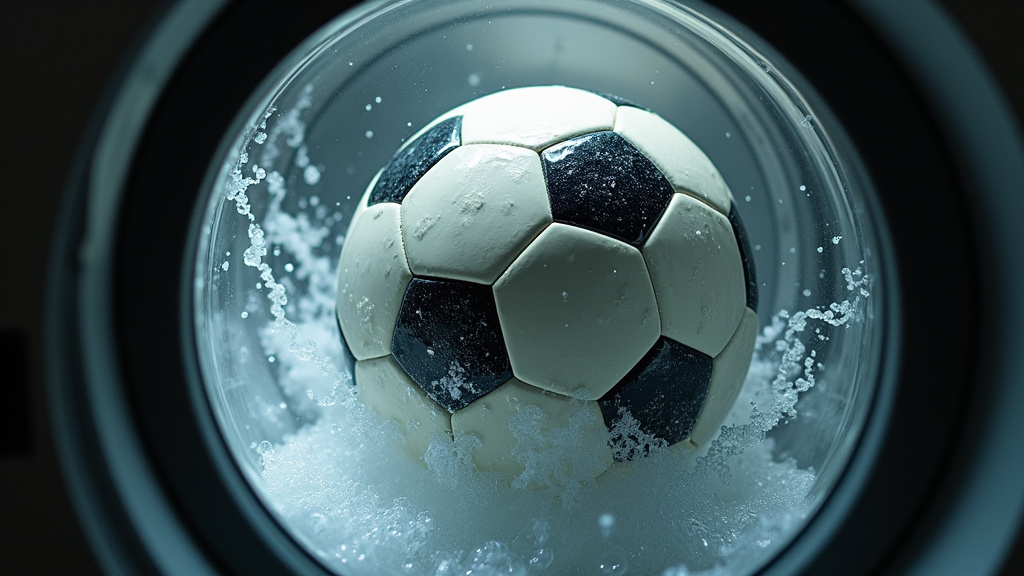
That viral video of washing a ball in a machine is a joke. It’s also destructive.
Never put your soccer ball in a washing machine. The agitation, heat, and water pressure force water deep into the ball construction layers. The bladder saturates, the stitching swells and weakens, and the outer casing can delaminate. The ball will be heavier, unbalanced, and likely leak air within days.
Never use bleach, abrasive powders, or steel wool. These strip the surface texture and damage graphics.
Never dry the ball with a heater, hair dryer, or in direct sun. Heat warps the ball material composition.
Never play with a clean ball on concrete or asphalt as its first post-cleaning use. The hard surface scuffs the freshly cleaned casing immediately. Stick to grass or turf.
Frequently Asked Questions
Can I use a magic eraser or melamine foam on scuff marks?
No. Magic erasers are abrasive. They work by micro-sanding the surface. On a soccer ball’s polyurethane casing, they will remove the textured finish and make the area slick and shiny. The ball will feel uneven in that spot.
How do I clean a white soccer ball that has turned grey?
For general grey discoloration from repeated use, the soap-and-brush method will restore most of the whiteness. For persistent grey stains from turf or concrete, a dedicated synthetic ball cleaner (found in ball maintenance packs) is more effective. Apply sparingly after the initial soap wash.
My ball loses air overnight after cleaning. Did I damage it?
Probably not. You likely didn’t lubricate the needle or clean the valve after washing. Dirt or moisture inside the valve stem can prevent a proper seal. Lubricate a needle with glycerine, insert it, and gently rotate it to clean the stem interior. If the leak continues, the bladder may have a puncture unrelated to cleaning.
Can I use vinegar or baking soda as an eco-friendly cleaner?
Vinegar (acetic acid) can degrade the polyurethane over time. Baking soda is abrasive. For an eco-friendly option, use a mild, plant-based dish soap (bleach-free) diluted in water. It’s effective and safe for the soccer ball components.
How often should I clean my soccer ball?
Clean it after every use if it’s muddy or used on artificial turf. Turf rubber leaves a residue that stains if left. For normal grass play, a quick dry wipe after each session is enough, with a full soap clean every 4-5 uses. Regular checking ball pressure is more critical than frequent deep cleaning.
Does cleaning differ for a match ball versus a training ball?
The process is identical. However, match ball vs training ball construction differs. Match balls have finer stitching and more sensitive graphics. Be extra gentle around the logos and use even softer bristles on the seams. Training balls are tougher but still require the same care to last.
Before You Go
Cleaning a soccer ball is a five-minute task with a decade-long impact. Use a dry cloth, a soft brush, and mild soap. Lubricate the needle every time you inflate. Store it slightly deflated in a mesh bag.
The ball’s performance depends on its shape and surface texture. Grime in the seams warps it. Harsh cleaners ruin the grip. Correct pressure keeps it responsive.
Treat it like the rest of your training equipment care routine, regular, gentle, and immediate. Your touch on the field will thank you.

I come from the “soccer heart” of Germany, the Ruhrpott. I have played, trained and followed soccer all my life and am a big fan of FC Schalke 04. I also enjoy following international soccer extensively.