Soccer Shin Guards: How to Wear Them Correctly in 5 Steps
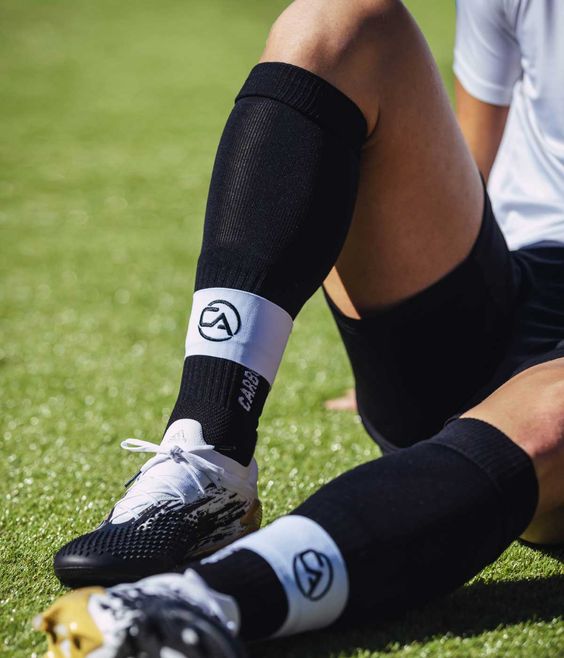
To wear soccer shin guards, you need to match three things: the correct guard type for your play, the exact placement on your shin bone, and the mandatory sock-over-guard rule. Position the guard’s center on your shin, with the top an inch below your kneecap and the bottom two inches above your ankle. Then, always pull your soccer sock up and over the guard to secure it and comply with FIFA Law 4.
Most players get the first step wrong because they treat all shin guards the same. A slip-in guard for a veteran midfielder fits and feels completely different from an ankle-guard model for a young defender. The wrong choice leads to constant adjustment, lost focus, and a higher risk of a bone bruise from a misplaced stud.
This guide walks through the five-step process for the most common guard type, then shows you the variations for ankle guards, strap-ons, and the pro setup with grip socks. You will learn how to stop guards from sliding, what to do if they rub, and how to check your kid’s gear before a match.
Key Takeaways
- Socks always go over shin guards. Putting the sock under the guard is the most common and dangerous mistake. It violates the rules and lets the guard slide down, exposing your shin.
- Placement is non-negotiable. The guard must cover the tibia from one inch below the kneecap to two inches above the ankle. If it’s too high or low, you lose protection.
- Match the guard to your position and age. Slip-in guards offer freedom for skilled players; ankle guards provide extra protection for beginners and defenders.
- Secure with tape or sleeves if they move. A single wrap of athletic tape over the sock at the top and bottom of the guard stops all sliding. Compression sleeves give a grippy base layer.
- Test the fit with movement. What feels fine standing still will fail during a sprint. Jog and cut before you play.
Why Getting This Right Matters More Than You Think
A shin guard that slips half an inch during a match is not a minor annoyance. It is a failure point. The moment the hard plastic shell drifts off the center of your tibia, you lose the distributed impact protection it’s designed for. A stud strike then lands on pure bone.
The FIFA Laws of the Game, Law 4, are clear. Shin guards are mandatory equipment. More specifically, they must be “covered entirely by the stockings“. Referees check this during the pre-match equipment inspection. A guard worn under the sock is an illegal setup. They will send you off the pitch to fix it.
Common mistake: Putting the soccer sock under the shin guard — the guard slides down your leg within ten minutes of play, leaving the top third of your shin exposed to a direct impact.
Beyond the rules, the sock-over-guard principle is physics. The tight weave of a soccer sock creates friction against the guard’s back and your skin. This sandwich grip is what holds everything in place. Putting the sock underneath turns the plastic into a slick surface that slides on your skin with every step.
The 5-Step Process for Slip-In Shin Guards
This is the method for the classic, low-profile guard used by most advanced players. Brands like Adidas Predator Edge and Nike Mercurial Elite make this style.
Step 1: Start with a clean, dry leg.
Wash your feet and shins before you gear up. Damp skin or old sweat turns the area under the guard into a slippery, irritated mess by halftime. Dry thoroughly.
Step 2: Position the guard on your shin.
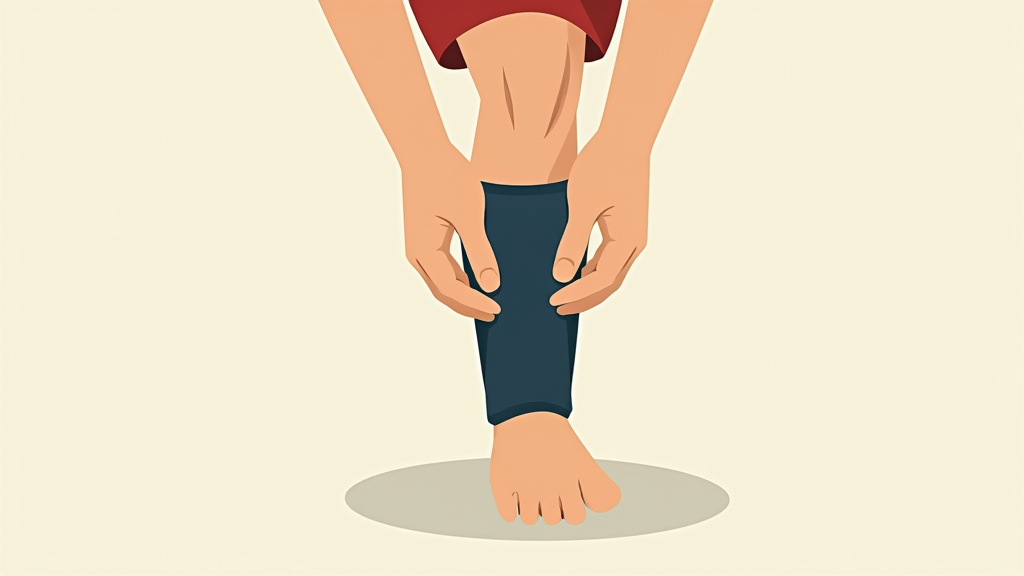
Find the bony ridge on the front of your leg — your tibia. Center the guard’s hard plastic shell directly on it. The top edge should sit about one inch below the bottom of your kneecap. The bottom should stop two inches above the bump of your ankle bone. If the guard has a taller side, that side faces the outside of your leg for protection against side tackles.
Step 3: Apply your securing method.
If you use a shin guard sleeve or compression sleeve, slide it on now so it grips the guard against your leg. Some players use pre-wrap or a shin guard strap here. If your guard stays put without aids, move to step four.
Step 4: Pull the soccer sock up and over.
This is the rule. Grab your knee-high soccer sock and pull it all the way up, completely covering the guard. The sock material should be taut over the guard, not bunched. If the sock is too loose, it won’t hold the guard. If it’s too tight, it will cut off circulation.
Step 5: Test with movement before taping.
Don’t just stand there. Jog in place, jump, and mimic a sharp cut. Does the guard stay? If it shifts, you need to lock it down.
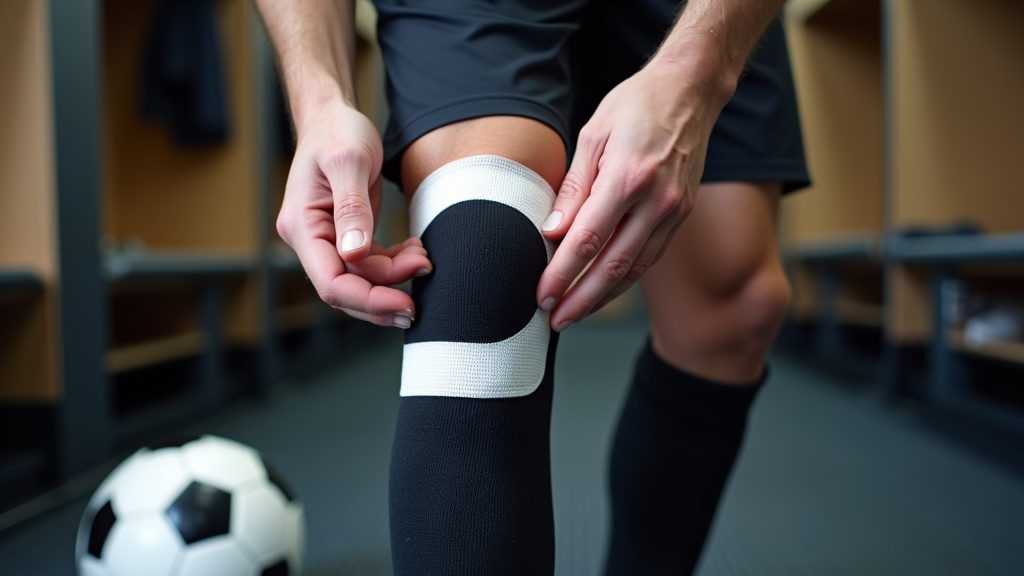
Take a roll of athletic tape. Wrap a single piece around the sock directly over the top edge of the guard. Do the same at the bottom edge. Do not tape your skin. The tape goes over the sock only. This creates anchor points that prevent any sliding.
TL;DR: Clean leg, center guard on shin bone, secure with sleeve if needed, pull sock over everything, test with movement, and tape over the sock if it shifts.
How to Wear Ankle-Guard Shin Guards
Ankle-guard models, like many from Storelli or basic youth sets, have a built-in ankle protector. The process changes slightly.
You start by putting your foot through the ankle protector’s stirrup or sleeve. Position the shin guard portion on your leg, using the same placement rules as a slip-in guard. Then fasten any Velcro straps around your ankle or arch. The goal is a snug fit that doesn’t restrict your ankle’s range of motion.
Finally, pull your soccer sock up over the entire assembly — shin guard, ankle cup, and all. The sock is the final securing layer. The main advantage of this style is the integrated ankle support for sports, which can be a confidence booster for newer players or those in physical leagues.
| Guard Type | Best For | Key Fitting Difference |
|---|---|---|
| Slip-In | Experienced players, midfielders, wingers | Guard sits directly on skin/sleeve; secured by sock tension. |
| Ankle-Guard | Beginners, defenders, players wanting extra protection | Foot goes through stirrup; ankle strap must be snug but not tight. |
| All-in-One Sock | Young players, convenience | Guard is sewn into sock; fit depends entirely on sock size. |
The Pro Setup: Grip Socks, Sleeves, and Tape
What you see professionals do on television involves more layers. This method maximizes grip and lockdown, especially for players who make explosive cuts.
First, put on a pair of grip socks. These have silicone dots on the sole to prevent your foot from sliding inside the boot. Next, take a compression sleeve or a soccer sock that’s been cut off just above the ankle. Slide that over your grip sock and up your calf. Now place your slip-in shin guard on your shin, over the sleeve.
Here is the critical part. Take athletic tape and tape the guard directly to your leg, securing the top of the grip sock in the process. Wrap the tape around your leg over the guard. Then pull a second, full-length soccer sock over everything. Some pros then add a final tape wrap over the top of that outer sock.
I used basic ankle guards for years until a bad tackle left a bruise that crept below the guard. I switched to the pro setup with a Storelli ExoShield guard and tape. The difference wasn’t just security. The guard became part of my leg. I stopped thinking about it entirely during matches.
This method is overkill for a weekend league. But for players at a high competitive level, that absolute zero-movement guarantee is worth the extra minute of taping.
Troubleshooting Shin Guard Problems
Even with the right steps, things can go wrong. Here is how to fix the common issues.
Problem: The guard slides down during play.
This means your sock is not tight enough or the guard lacks a grippy backing. The fix is external security.
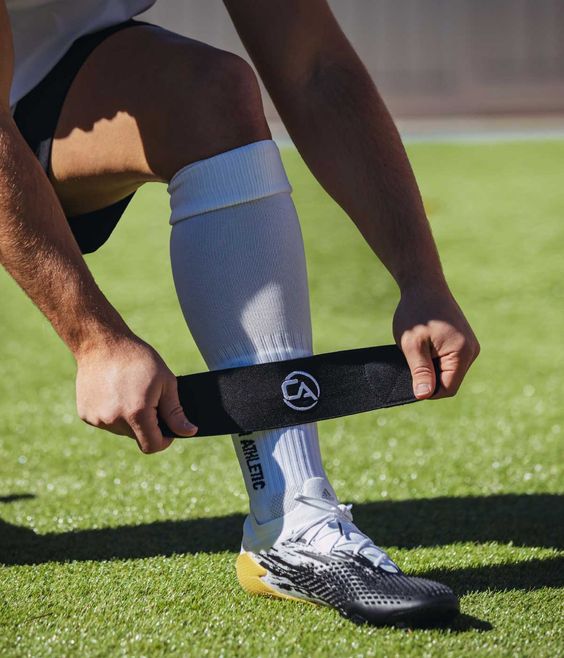
* Immediate fix: Use athletic tape. Wrap it around the sock over the top and bottom of the guard.
* Long-term fix: Use a shin guard sleeve or a compression sock as a base layer. The silicone patterns on the inside grip your skin and the guard.
Problem: The guard rubs and causes blisters.
This is usually a sizing issue or a rough edge on the guard itself.
* Check that the guard is the correct shin guard size. A guard that is too small will have edges that dig in.
* File down any sharp plastic mold lines on the guard’s edges with fine sandpaper.
* Wear a thin, long compression sock under the guard to create a barrier.
Problem: The ankle guard feels too tight.
Loosen the Velcro straps. They should be snug, not tourniquet-tight. If it’s still tight, the guard is likely too small. Youth players outgrow ankle guards faster than slip-in models. Refer to a shin guard sizing guide and measure again.
Common mistake: Assuming all discomfort will “break in” — a guard that rubs or pinches in the first five minutes will cause a blister by the end of warm-ups. Fix it before you start.
A Parent’s Guide to Checking Your Child’s Gear
Kids will say anything fits. Your job is the pre-match equipment check. It takes sixty seconds.
First, have them put everything on. Then kneel in front of them. Place your thumb horizontally just below their kneecap. The top of the shin guard should be just below your thumb. Now place your other thumb horizontally above the bony bump on their ankle. The bottom of the guard should be just above that thumb. The guard should be centered on the shin bone.
Ask them to jump up and down three times. Watch the guard. If it moves more than a quarter-inch, it’s not secure. Use tape. Finally, run your finger around the top edge of their sock. You should feel the solid plastic of the guard underneath. If you feel skin or a thin sleeve, the sock is under the guard. Fix it.
This check prevents the most common shin guard issues young players face: poor protection and constant distraction. A proper shin guard selection for a growing player often means opting for an ankle-guard model for the extra protection while they learn.
How to Clean and Maintain Your Shin Guards
Your guards live in a dark, damp, salty environment. Without cleaning, they will smell and degrade.
After every match or training, remove the guards from your socks. Wipe down the plastic shell with a damp cloth. If the foam liner is removable, take it out. Hand-wash the liner in lukewarm water with a mild soap. Do not machine wash or dry the plastic shell — the heat can warp it.
Let everything air dry completely before storing. Never throw wet guards into your bag. That creates a petri dish for bacteria and breaks down the foam’s shock absorption. A simple routine of cleaning soccer shin guards weekly extends their life and keeps your gear from smelling like a locker room.
Inspect the guards monthly. Look for deep cracks in the plastic or compressed, crumbling foam. These are signs the guard is compromised and can no longer absorb impact properly. Replace them. It is cheaper than a doctor’s visit for a stress fracture.
Frequently Asked Questions
What happens if I wear my shin guards under my socks?
The guard will slide down your leg, exposing your shin to injury. It also violates FIFA Law 4, and a referee can prevent you from playing until you fix it. The sock-over-guard rule is about security and legality.
How tight should shin guards be?
Snug, but not tight. You should be able to fit a finger between the guard and your leg when it’s secured. If it leaves deep red marks or causes numbness, it is too tight. If it slides easily, it is too loose.
Can I wear two pairs of socks with shin guards?
Yes, but with a specific order. Wear a thin, grippy sock or sleeve against your skin, then the shin guard, then your regular soccer sock over everything. The second sock should be the one that goes over the guard.
Do shin guards go on the front or side of the leg?
Centered on the front. Your shin bone (tibia) is on the front-center of your lower leg. The guard’s hard plate must cover this bone. If the guard has a taller side, that taller side faces the outside of your leg to protect against lateral tackles.
How often should I replace my shin guards?
Replace them if they crack, if the foam liner is permanently compressed and no longer springs back, or if they no longer fit correctly. For a youth player, this could be every season. For an adult, a quality pair like the best football shin pads from major brands can last several years with proper care.
Before You Go
The right shin guard setup disappears when you play. You should forget it is there. Achieving that means matching the guard type to your game, placing it precisely on the bone, and locking it down with the sock-over-guard method. Use tape or a sleeve if it moves. Check your kid’s placement before every match. And wash the guards unless you want your bag to develop its own ecosystem. It is a simple piece of gear that does one vital job: keeping you on the pitch. Do not give it a chance to fail.

I come from the “soccer heart” of Germany, the Ruhrpott. I have played, trained and followed soccer all my life and am a big fan of FC Schalke 04. I also enjoy following international soccer extensively.