First Touch Drills for Soccer at Home: 7 Proven Exercises
First touch drills for soccer at home require three things: a wall or rebounder, a consistent 10-minute daily slot, and a progression plan that moves from static control to directional, game-realistic touches. The goal is to redirect the ball’s energy into space to set up your next move.
First touch drills for soccer at home require three things: a wall or rebounder, a consistent 10-minute daily slot, and a progression plan that moves from static control to directional, game-realistic touches. The goal is not to stop the ball dead but to redirect its energy into space, setting up your next pass, shot, or dribble. A quality first touch separates players who react from players who dictate.
Most players waste their solo sessions. They stand five feet from a wall and pass the ball back and forth for twenty minutes, trapping it each time. This builds a static, slow habit. In a real match, that trapped ball gets stolen before you look up. Your home drills must force you to move the ball into space immediately, under a self-imposed timer, with both feet.
This guide lays out a seven-step progression, from foundational ball mastery to advanced perception training. You will learn how to use a standard wall, a small patch of concrete, or even a living room carpet to build a first touch that works under pressure.
Key Takeaways
- Direction beats trapping. Every first touch in your drills should move the ball into a target space. Stopping it dead is a training crutch that slows you down in games.
- Ten focused minutes daily beats one unfocused hour weekly. Neuro-muscular adaptation for fine motor control requires consistent, quality repetition. Sporadic long sessions don’t build the same instinct.
- The wall is your primary coach. It provides infinite, consistent repetitions and forces quick reactions. A rebounder net adds variable angles, but a flat wall is sufficient for 90% of foundational work.
- Your weaker foot gets equal reps. If you only practice with your strong foot, you become a predictable, one-dimensional player. Dedicate half of every drill to your weaker side.
- Integrate decision-making early. Once basic control is solid, call out a direction before the ball arrives and touch it there. This bridges the gap between technical drill and game intelligence.
The 7-Step Progression for a Game-Ready First Touch
A structured progression prevents plateaus. Jumping straight into complex drills without the underlying foot comfort leads to frustration and sloppy technique. This sequence builds layers of skill, each one preparing you for the next.
Start every session with three to five minutes of basic ball mastery. These are not first-touch drills per se, but they wire your brain and feet for the precise control required later.
Common mistake: Stomping on the ball during toe taps, this indicates tension and lack of ankle control. Light, quick touches train the delicate muscle adjustments needed for cushioning a pass.
- Toe Taps: Alternate tapping the top of the ball with the soles of your feet. Keep your weight on your standing foot and stay on your toes. Aim for speed with control, not power. Do fifty with each foot.
- Side Rolls: Using the sole of your foot, roll the ball laterally from left to right. Keep it within the width of your shoulders. This builds feel for manipulating the ball’s momentum, a core first touch fundamental.
- Inside/Outside Touches: Gently tap the ball from the inside of your foot to the outside, keeping it close. This introduces the two primary surfaces you’ll use for receiving passes.
After two weeks, these movements should feel automatic. Your touch becomes lighter, your balance improves. That’s the foundation.
TL;DR: Spend the first five minutes of every session on toe taps, side rolls, and inside/outside touches to build the essential foot sensitivity for receiving passes.
Your First Coach: The Wall Passing Foundation
A flat wall is the most valuable piece of training equipment you own. It never gets tired, it returns the ball exactly as you hit it, and it’s free. The first stage is static passing and receiving.
Stand five feet from the wall. Pass the ball firmly against it with the inside of your foot. Receive the rebound by cushioning it, withdraw your foot slightly upon impact to absorb the ball’s energy. Kill the ball dead within a foot of your receiving foot. Do twenty repetitions with each foot.
The cushioning action is non-negotiable. A rigid ankle acts like a brick wall; the ball pings off unpredictably. A relaxed, withdrawing foot acts like a net, killing the pace. This is the physical mechanism behind soft control. You are converting the ball’s kinetic energy into muscle absorption, not reflection.
A proper first touch involves cushioning the ball to absorb its momentum, directing it into space with the inside, outside, or sole of the foot, and positioning the body sideways to protect the ball and see the field. The receiving surface must be relaxed and withdrawn slightly upon impact.
After a week of static control, you must add direction. This is the critical jump from “trapping” to “playing.”
From Trapping to Playing: The Directional Touch
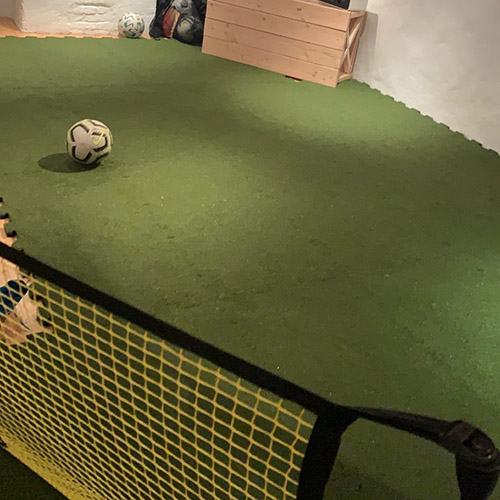
Place two markers, cones, shoes, water bottles, three feet apart, creating a gate. Stand five feet from the wall, with the gate off to one side. Pass the ball against the wall. Instead of killing the rebound, use your first touch to direct the ball through the gate.
Start by guiding it with the inside of your foot. Then practice using the outside. The goal is one smooth motion: receive and redirect. The ball should not stop between the pass and the directional touch. This drill engrains the habit of playing away from your body, which is the definition of first touch that creates space on the pitch.
Why this works: Game passes are rarely perfect. You often receive the ball under pressure. A touch that simply controls the ball at your feet leaves you stationary, a target for defenders. A directional touch moves both you and the ball away from the pressure point, buying you time and new passing lanes. It’s proactive, not reactive.
| Touch Type | Best For | Game Situation |
|---|---|---|
| Inside of Foot Cushion | Receiving hard, direct passes | Central midfielder receiving a driven pass from defense |
| Outside of Foot Flick | Changing direction quickly | Winger receiving a pass with a defender on their shoulder |
| Sole of Foot Drag | Killing awkward, bouncing balls | Striker controlling a high, dropping ball in the box |
The Berbatov Wall Drill: Angled Service & Turning
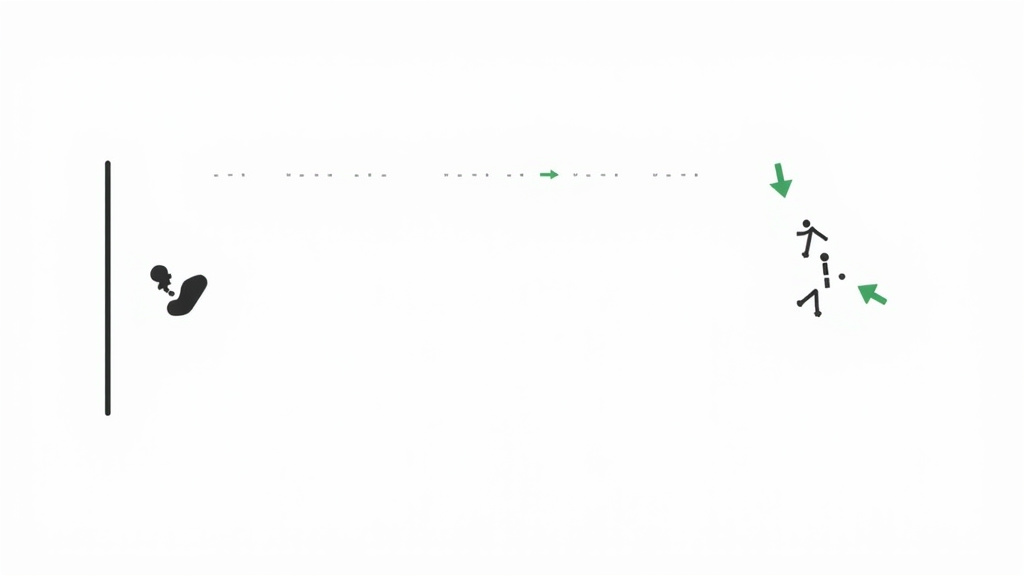
This is where you graduate. Named for the technically sublime Dimitar Berbatov, this drill introduces angled service and turning, the hallmark of an elite first touch.
Stand at a 45-degree angle to the wall, about seven feet away. Pass the ball against the wall so it rebounds to the side of your body, not directly back to you. Receive the ball with the foot farthest from the wall, using the inside of your foot to cushion it across your body. Your hips must open up as you receive.
The sequence is: angled pass, quick adjustment of feet, cushioned reception across the body, then turn and either pass again or dribble away. This simulates receiving a pass from a fullback as a central midfielder and turning to face the attacking third.
The consequence of skipping the hip turn: You receive the ball square to the wall, with your back to the imagined field. In a match, this gives the defender behind you an easy opportunity to tackle. The turn is what creates separation and vision. It’s a complete ball control drill that integrates touch, body mechanics, and next-action awareness.
I spent two months doing only straight wall passes. My touch was clean, but in pickup games, I kept getting caught receiving square. The first time I tried the Berbatov drill, I misjudged the angle constantly. The ball kept flying past me. It took three weeks of daily frustration before the footwork and timing clicked. Now, that across-the-body touch is my default for any service that isn’t straight at me.
Advanced Progression & Drills

Once you own the directional and turning touches, you add complexity. This is where perception training and reduced time merge.
One-Touch Wall Passing: Reduce the distance to four feet. Your goal is to pass the ball back to the wall on the first touch. No control, just redirect. This trains speed of thought and execution. It fails if your first touch is poor, the pass will be wild. It’s a brutal but honest feedback loop.
Juggling Integration: Don’t just juggle for counts. Juggle with purpose. After five juggles, let the ball drop and cushion it with your thigh or foot before it hits the ground, then continue. This is aerial first touch. Juggling for touch develops the soft, precise impact needed to control lofted passes.
Perception Drill: Before you pass the ball against the wall, call out a direction, “left” or “right”, or a color you’ve assigned to each side of your space. When the ball returns, take your first touch in that direction. This forces decision-making under the mild pressure of a time constraint. It bridges pure technique and game intelligence, a gap most solo training misses.
TL;DR: Advance your training by forcing one-touch play, integrating controlled juggling for aerial touch, and adding verbal commands to simulate in-game decisions.
Equipment & Space: Maximizing a 6×6 Foot Area
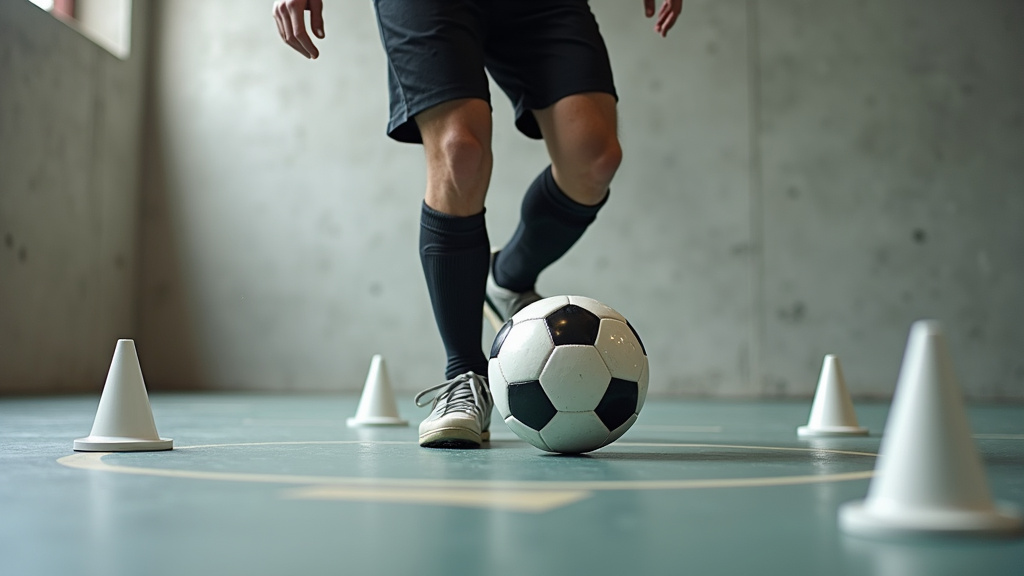
You do not need a garden. A 6×6 foot patch of concrete, garage floor, or even a sturdy carpeted space is enough. The constraint forces quality.
- The Ball: Use a size 4 or 5 match ball. Training with a smaller, heavier ball (like a size 4 futsal ball) for some drills can increase difficulty and improve touch, but the primary ball should be standard.
- The Wall: Any flat, sturdy surface. Brick, concrete, or a garage door. Avoid windows and drywall. A SKLZ rebounder net adds variable bounce and portability, but it’s a luxury, not a necessity.
- Markers: Cones are ideal, but shoes, water bottles, or rolls of tape work perfectly.
- Footwear: Wear indoor soccer shoes, turf shoes, or even socks. The key is consistent surface feel. Don’t switch between boots and sneakers randomly.
Training indoors has a hidden benefit: it eliminates the excuse of weather. It also amplifies feedback. A bad touch in a confined space immediately results in you chasing the ball or hitting furniture. That consequence teaches control faster than an open field where errors have no immediate cost.
Before you start: Clear the area of breakables. A mis-hit ball travels fast. Ensure the floor is not slick, a sliding ball can cause a fall. Wear proper footwear to protect your feet and provide grip, even indoors.
Building the Habit: From 2 Weeks to 2 Months
Noticeable confidence with basic drills comes in two to three weeks of daily, ten-minute sessions. You’ll stop overthinking the cushioning action. The directional gates will feel wider.
Long-term refinement takes two months. This is where you move from conscious competence to unconscious mastery. The turning drill becomes fluid. Your weaker foot stops feeling like a foreign object. You start to vary the power of your wall passes without losing control of the rebound.
The mental shift is crucial. Early on, you think “cushion, now direct.” Later, it’s one thought: “there.” The drill morphs from a technical exercise into a coordination drill for your brain and feet. This is the point where your home training directly translates to catching a sharp pass in midfield and spinning away from a marker without breaking stride.
Schedule your ten minutes. Tie it to another daily habit, right after breakfast, or before you shower. Consistency is the lever. Missing a day is fine. Missing three breaks the rhythm and your progress stalls. The goal is not marathon sessions, but touch development that compounds.
Frequently Asked Questions
What is the best first touch drill for beginners at home?
Start with static wall passing. Stand five feet from a wall, pass with your instep, and focus solely on cushioning the rebound to stop it dead. Master this with both feet before adding any direction or movement. It builds the fundamental feel for absorbing pace.
How long does it take to see improvement in first touch?
With focused, daily practice of 10–15 minutes, most players see a noticeable improvement in confidence and close control within two to three weeks. The ball starts to stick more consistently. True game-ready application, where the touch creates space instinctively, typically solidifies after two months of consistent drilling.
Can I improve my first touch without a wall?
Yes, but it’s harder. You can use ball mastery drills like toe taps and side rolls anywhere. For receiving practice, drop the ball from your hands and practice cushioning it with your foot, thigh, or chest as it bounces. A rebounder net is a portable alternative, but a wall is superior for repetition and angle training.
How do I practice first touch with my weak foot?
Dedicate half of every repetition in every drill to your weaker foot. It will feel awkward and frustrating for the first two weeks. Do not revert to your strong foot when you get impatient. This equal training is the only way to build essential control skills on both sides and become a versatile player.
Are these drills suitable for a 10-year-old?
Absolutely. The progression is the same. For younger players, emphasize fun and short sessions, 5 to 7 minutes is plenty. Use a size 4 ball and make a game out of hitting targets (the gate between cones). The beginner juggling drills like drop-and-catch are also excellent for building coordination and touch.
The Bottom Line
Your first touch is not a gift. It’s a craft. You build it in ten-minute increments against a garage door, with a ball that comes back at you exactly as you hit it. The process is simple but not easy: master the cushion, then master the direction, then add the turn, then add the decision.
Skip the direction, and you train yourself to be a stationary target. Skip the weak foot, and you paint a giant arrow on your chest for defenders. The wall is the most honest coach you’ll ever have. It shows you exactly what you gave it.
Start tonight. Not tomorrow, not when the weather clears. Find your wall, set a timer for ten minutes, and begin with toe taps. In two weeks, you’ll feel the difference in your feet. In two months, you’ll see it on the pitch. The space you create with your first touch is the space where games are won.
I come from the “soccer heart” of Germany, the Ruhrpott. I have played, trained and followed soccer all my life and am a big fan of FC Schalke 04. I also enjoy following international soccer extensively.