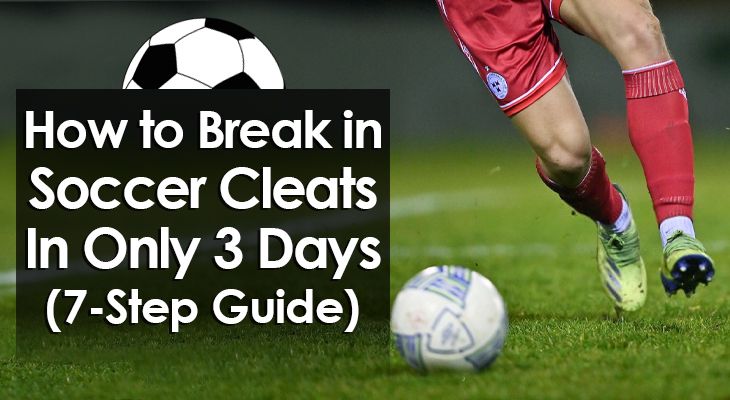
How to Break In New Soccer Cleats Without Blisters
That fresh pair of soccer cleats feels perfect in the store, but 20 minutes into your first training session, you’re wincing with every step. Blisters—the bane of every player’s existence—are already forming where those stiff materials rub against your feet. The good news? You can avoid this painful rite of passage entirely with the right break-in approach. This guide transforms the dreaded cleat break-in process into a systematic, blister-free experience using methods trusted by professional players worldwide.
You’ll learn exactly how to mold those stiff boots to your feet without sacrificing performance. Forget the old “wear them until they hurt” advice—modern soccer cleats require strategic preparation that respects both your skin and your game. By following this comprehensive approach, you’ll be match-ready in just three weeks.
Pre-Wear Softening Techniques for Immediate Comfort
Leather Cleat Conditioning Protocol
Start with natural leather cleats 48 hours before first wear. Massage a high-quality leather conditioner into every inch of the upper, focusing extra attention on the toe box and heel counter—your two biggest blister culprits. Let the conditioner absorb overnight, then manually flex the shoe by bending the toe upward and twisting the heel counter. This gentle manipulation encourages the leather to move naturally without creating damaging creases that could cause pressure points later.
Synthetic Cleat Heat Treatment
For synthetic cleats, use a hair dryer on low heat held 6-8 inches away from the surface. Warm each section for just 10-15 seconds maximum, then immediately slip on thick socks and walk around your living room. The heat-softened synthetic material will begin conforming to your foot shape during these crucial first minutes. Never overheat—synthetic materials can warp permanently if exposed to excessive heat.
Essential Insole Replacement Strategy
Replace factory insoles immediately with moisture-wicking athletic inserts featuring gel padding at heel and forefoot. These upgraded insoles absorb impact while antimicrobial properties keep feet dry—reducing friction dramatically. Trim edges carefully to avoid creating new pressure points that could lead to blisters.
Your 21-Day Progressive Break-In Schedule
Days 1-3: Indoor Foot Mapping Sessions
Begin with 15-minute indoor sessions wearing your new cleats on carpet. Walk around your house while performing targeted foot exercises: curl your toes against the upper, rotate your ankles slowly, and do gentle heel raises. These movements help you identify pressure points early while starting the molding process safely. Pay attention to any hot spots—these are your early warning signs of potential blisters.
Days 4-7: Controlled Field Adaptation
Transition to grass or turf for 30-minute light sessions. Focus exclusively on:
– Walking and light jogging (no sprinting yet)
– Basic ball control drills
– Short passing exercises
– Gentle directional changes
Apply petroleum jelly or specialized anti-blister balm to known problem spots—back of heel, toe edges, and lace pressure points—before each session. This creates a protective barrier against friction.
Days 8-14: Building Intensity Safely
Increase to 45-60 minute sessions incorporating moderate running, cutting movements, and shooting practice. Join small-sided games (3v3 or 5v5) to test lateral movements. After each session, ice any hot spots immediately and apply protective bandages before your next wear. This stage is where most players push too hard—resist the urge to go full intensity just yet.
Days 15-21: Full Match Readiness
Your cleats should now handle full training sessions. Continue monitoring for these 90-minute comfort indicators:
– Zero pressure points after full play
– Secure heel lock without slippage
– Natural toe splay without jamming
– Overall comfort matching broken-in pairs
If you still experience discomfort, extend this phase—never rush the process for an upcoming game.
Advanced Blister Prevention Tactics That Work

Double Sock System for Maximum Protection
Wear a thin synthetic moisture-wicking sock directly against your skin, covered by your regular soccer sock. This creates a friction-absorbing layer that prevents rubbing between your foot and the cleat. For even better protection, use individual toe socks which eliminate inter-toe friction completely—common with traditional socks.
Strategic Lacing Techniques for Problem Areas
Heel Lock Method: Thread laces through top eyelets twice before crossing normally. This secures your heel without over-tightening across the instep—perfect for preventing heel blisters.
Window Lacing: Skip mid-foot eyelets over high-pressure areas while maintaining secure fit at toes and ankle. This creates relief zones exactly where you need them.
Protective Barriers for High-Risk Zones
Apply liquid bandage in 2-3 coats to high-risk areas 30 minutes before play. This creates a flexible, sweat-resistant barrier that lasts through intense activity. For extra protection, combine talcum powder with anti-chafe balm to create a dual moisture and friction protection system that works all game long.
Essential Foot Care Before and After Play
Pre-Game Preparation Routine
Soak feet for 20 minutes in warm water with Epsom salts to soften calluses without removing them entirely. Trim toenails straight across, filing edges smooth to prevent pressure points. Dry feet thoroughly, especially between toes, then apply foot antiperspirant spray to reduce sweat during play.
Post-Game Recovery Protocol
Remove cleats immediately after play to allow foot swelling to subside. Rinse feet with cool water and apply aloe vera gel to reduce inflammation. Stuff cleats with newspaper to absorb moisture and maintain shape—never use direct heat which warps materials and creates new pressure points.
Troubleshooting When Blisters Strike

Immediate Hot Spot Response
At first sign of a hot spot—redness, warmth, or burning sensation—stop immediately. Clean the area with antiseptic, apply a hydrocolloid blister bandage, and use donut-shaped moleskin around the blister to reduce pressure. Reduce training intensity by 50% until fully healed—pushing through pain only makes the problem worse.
Chronic Problem Area Solutions
For persistent heel blisters, add gel heel cups. Toe problems? Try silicone toe separators. Consider professional stretching at a shoe repair shop for specific tight spots. If issues continue despite proper break-in, reassess cleat compatibility with your foot type—some players need wider toe boxes or different arch support.
Emergency Blister Kit for Training and Matches
Pack these essentials in your equipment bag:
– Hydrocolloid blister bandages (works even when wet)
– 1-inch and 2-inch athletic tape
– Pre-cut moleskin pieces in blister-prone shapes
– Anti-blister balm stick for quick application
– Extra moisture-wicking socks
– Antiseptic wipes
Quick mid-game fix: During water breaks, apply pre-cut moleskin to developing hot spots, securing edges with athletic tape. This simple technique can save your game and prevent a full-blown blister.
Long-Term Cleat Maintenance for Season-Long Comfort
Cleat Rotation System
Maintain 2-3 pairs in different break-in stages. This prevents excessive wear on any single pair and ensures complete drying between uses. Rotate based on field conditions (wet vs. dry) and training intensity to maximize each pair’s lifespan.
Seasonal Fit Assessment
Feet change size seasonally due to temperature and activity variations. Reassess fit at each season’s start, especially for youth players experiencing growth spurts. Persistent blister issues despite proper break-in warrant consultation with a sports podiatrist for gait analysis—your foot mechanics might need specialized attention.
Breaking in soccer cleats without blisters isn’t about toughing it out—it’s about systematic preparation and gradual adaptation. Follow this 21-day protocol, and your new cleats will feel like natural extensions of your feet, ready for peak performance without the pain. When you properly break in your soccer cleats without blisters, you’re not just protecting your skin—you’re investing in consistent performance, confidence on the field, and more time playing the game you love.

I come from the “soccer heart” of Germany, the Ruhrpott. I have played, trained and followed soccer all my life and am a big fan of FC Schalke 04. I also enjoy following international soccer extensively.