How to Care for Soccer Training Equipment: A Pro’s Guide
To care for soccer training equipment, you must match the cleaning, drying, and storage routine to each item’s material. Soccer balls need dry wiping, correct inflation, and mesh-bag storage. Cones require a simple wash and dry. Aluminum goal frames demand scratch inspection and touch-up paint to stop corrosion. Neglecting any of these three routines shortens gear life by half.
Most coaches and players ruin gear by treating everything the same. They spray a ball with a hose, toss wet cones in a bin, and assume aluminum goals don’t rust. The gear fails silently, a ball gains weight, a cone grows mold, a goal frame oxidizes from a tiny chip.
This guide breaks down the exact routines for balls, cones, and goals. You’ll learn the physical reasons behind each step and the specific consequences of skipping them.
Key Takeaways
- Never immerse a polyurethane (PU) soccer ball in water. Internal moisture triggers hydrolysis, which degrades the material from the inside and permanently increases the ball’s weight.
- Inspect aluminum goal frames for finish damage every season. A scratched powder coat exposes the metal to oxidation, not rust, which weakens the frame over years.
- Store all equipment completely dry. Residual moisture invites mold on cones and accelerates material breakdown in ball bladders and goal nets.
- Anchor portable soccer goals before every single use. An unanchored goal can tip over with minimal force, a critical safety failure.
- Rotate multiple soccer balls if training daily. Using the same ball every session wears its panels and seams unevenly, cutting its lifespan by 30% or more.
The 3-Step Soccer Ball Clean & Dry Routine
Head design changes the entire process. Look at the business end of your trimmer.
A soccer ball isn’t a rock. Its layered construction, a bladder, backing, and outer casing, traps moisture. The cleaning method must stop water at the surface.
Proper soccer ball maintenance extends usable life by preventing internal water ingress and material degradation. Use a dry cloth for loose debris, followed by a damp cloth with mild detergent for mud. Air-dry thoroughly in a warm, ventilated space before storage.
Step 1: Dry-wipe immediately after training. Use a soft, dry cloth to brush off grass, dirt, and mud. This abrasive grit grinds against the outer casing with every kick if left on. Skipping this step turns the next cleaning into a sandpaper scrub.
Step 2: Spot-clean with a damp cloth and mild soap. Dampen a separate cloth with water and a drop of dish soap. Wipe the soiled areas gently. Never spray the ball directly or submerge it. Water forced through the stitching soaks the backing layer. It never fully dries.
Step 3: Air-dry for a full 24 hours in a warm, ventilated room. Place the ball on a towel in a room with good airflow. In humid climates, run a dehumidifier nearby. Storing a damp ball guarantees internal moisture. That moisture leads to hydrolysis in polyurethane balls, a chemical reaction that breaks down the material from the inside.
The ball will feel heavier. It loses its crisp bounce.
I trained year-round in the damp Ruhr Valley. My team’s practice balls were hosed down every afternoon and thrown in a shed. By spring, they bounced like soggy potatoes. We weighed one, it was over 100 grams heavier than a new one. That’s a half-cup of water sloshing inside the bladder chamber, ruining the touch.
TL;DR: Wipe dry, spot clean damp, and dry for 24 hours in warm air. Water inside a ball destroys it permanently.
How to Inflate a Soccer Ball Correctly (And Why PSI Matters)
Check the manufacturer’s stamp on the ball. It lists the recommended pressure range, usually between 8.5 and 15.6 PSI. Use a reliable pressure gauge every time.
Moisten the inflation needle with a drop of water or saliva before inserting it. A dry needle can tear or distort the valve’s rubber seal. The valve will leak air slowly over a week.
Over-inflation is the common killer. Pumping a ball to the max PSI on a hot day stretches the seams and backing material. The ball becomes over-firm, loses its shape on hard kicks, and the panels may eventually peel. Under-inflation makes the ball sluggish and prone to flat spots.
Common mistake: Inflating by feel instead of with a gauge, the ball loses its optimal shape and rebound within ten training sessions, forcing earlier replacement.
The Right Way to Store Soccer Balls Long-Term
For storage lasting weeks or months, reduce the ball’s pressure by 10-15%. This relieves constant tension on the seams and bladder. Store it in a mesh storage bag, never a sealed plastic bin.
The mesh allows continuous airflow, preventing musty odors and moisture buildup. Hang the bag in a cool, dry place, away from direct sunlight and extreme temperature swings. UV rays break down the outer casing’s materials and fade colors.
If you manage a team kit, rotate the balls. Using the same training ball selection for every drill wears it out faster. Spread the workload across your inventory.
| Storage Factor | Ideal Condition | Risk If Ignored |
|---|---|---|
| Container | Mesh bag | Trapped moisture causes mold/mildew |
| Air Pressure | 10-15% deflated | Seams permanently stretch |
| Location | Cool, dry, dark room | UV damage & material cracking |
| Position | Not stacked | Panels deform under weight |
Cone and Marker Maintenance Made Simple
Plastic cones see the most abuse. They get kicked, crushed, and left in the rain. Their care is straightforward but non-negotiable.
After practice, wipe each cone with a damp cloth to remove grass stains and dirt. For stubborn, caked-on mud, soak them in a bucket of warm water with a squirt of mild dish soap for 15 minutes. Scrub gently with a soft brush, then rinse.
The critical step is drying. Shake out the water and let the cones air-dry completely upside down on a rack or towel. Storing cones while wet leads to mold growth in the ridges and a foul, sour smell you can’t scrub out. It also makes the plastic brittle over time.
For vinyl disc markers or agility poles, the same rule applies: clean damp, dry thoroughly. Avoid harsh chemicals or abrasive cleaners that can strip colors or scratch surfaces.
Aluminum Goal Care: More Than Just Washing
Aluminum doesn’t rust like steel. It oxidizes, forming a white, chalky corrosion that weakens the metal from within. The protective powder coat or anodized finish is your only shield.
Cleaning and Inspecting the Frame
Wash the goal frame every few months with mild soap and water. Use a soft cloth or sponge. Abrasive pads or steel wool will scratch the finish. Rinse thoroughly with a garden hose to remove soap residue.
While cleaning, inspect the entire frame. Look for scratches, chips, or areas where the paint has flaked off. Pay close attention to weld points and ground-contact areas. These bare metal spots are where oxidation starts.
Common mistake: Assuming a small chip is just cosmetic, left untreated, oxidation spreads under the surrounding finish, causing bubbling and flaking within a single season.
Touch-Up and Paint Repair
For powder-coated goals, you need a compatible touch-up paint. You can often get this from the original manufacturer or a hardware store with a color-matching service. Clean the bare spot with rubbing alcohol, let it dry, and apply the paint with a small brush. For anodized aluminum, a clear acrylic sealant can protect the exposed area.
This isn’t about looks. It’s a barrier. A pea-sized chip touched up this season prevents a palm-sized area of corrosion next year.
Net and Hardware Check
Nets and plastic clips are consumables. UV radiation from the sun breaks down the polyethylene fibers. A net’s typical lifespan is about two years with regular use.
Inspect nets for fraying, holes, and faded, brittle sections. Check metal clips or hooks for rust. Replace any component showing significant wear. A torn net changes how the ball reacts, making shooting rebounders and target practice less effective.
Before winter or a long off-season, remove the nets entirely. Store them indoors, dry and out of sunlight. Snow and ice accumulation adds tremendous weight, stressing the goal framework.
Non-Negotiable Soccer Goal Safety
This is the most critical part of equipment care. A movable soccer goal is a tipping hazard. According to industry safety guidelines from the CPSC and ASTM, all movable goals must be anchored securely every time they are used.
Anchoring Systems: What You Need to Know
There are several types: auger-style anchors screwed into the ground, weighted sandbags for hard surfaces, or bolt-down kits for permanent installations. The correct type depends on your field surface.
Inspect anchor points and hardware regularly. Look for bent metal, rust on steel anchors, or cracked plastic on weights. An anchor system is a safety device. Its failure is not an option.
Before you start: Always anchor the goal before use. An unsecured goal can tip over from a player hanging on the crossbar or a strong wind gust, leading to severe injury or death. Verify all anchor points are secure and the structure is stable before any activity near the goal.
When to Replace a Soccer Goal
Frames can last decades with proper care. Replacement becomes necessary when corrosion compromises structural integrity, welds crack, or tubes bend. Nets and anchors need replacement more frequently.
Use this diagnostic table to assess your goals:
| Component | Inspect For | Replace When | Typical Lifespan |
|---|---|---|---|
| Frame | Deep corrosion, cracked welds, bent tubes | Metal is visibly pitted or weakened; welds fail | 10+ years (with maintenance) |
| Net | Fraying, large holes, brittle & faded fibers | Multiple holes or loss of elasticity affects play | 1-3 years |
| Clips/Hooks | Rust, deformation, breakage | No longer secure the net tightly | 2-4 years |
| Anchor System | Bent stakes, rust, cracked weights | Cannot provide secure hold; parts are damaged | 3-5 years |
Safety labels must be legible. If they are faded or peeling, order new ones from the manufacturer and apply them. Everyone must be reminded of the danger.
Organizing and Storing All Your Equipment
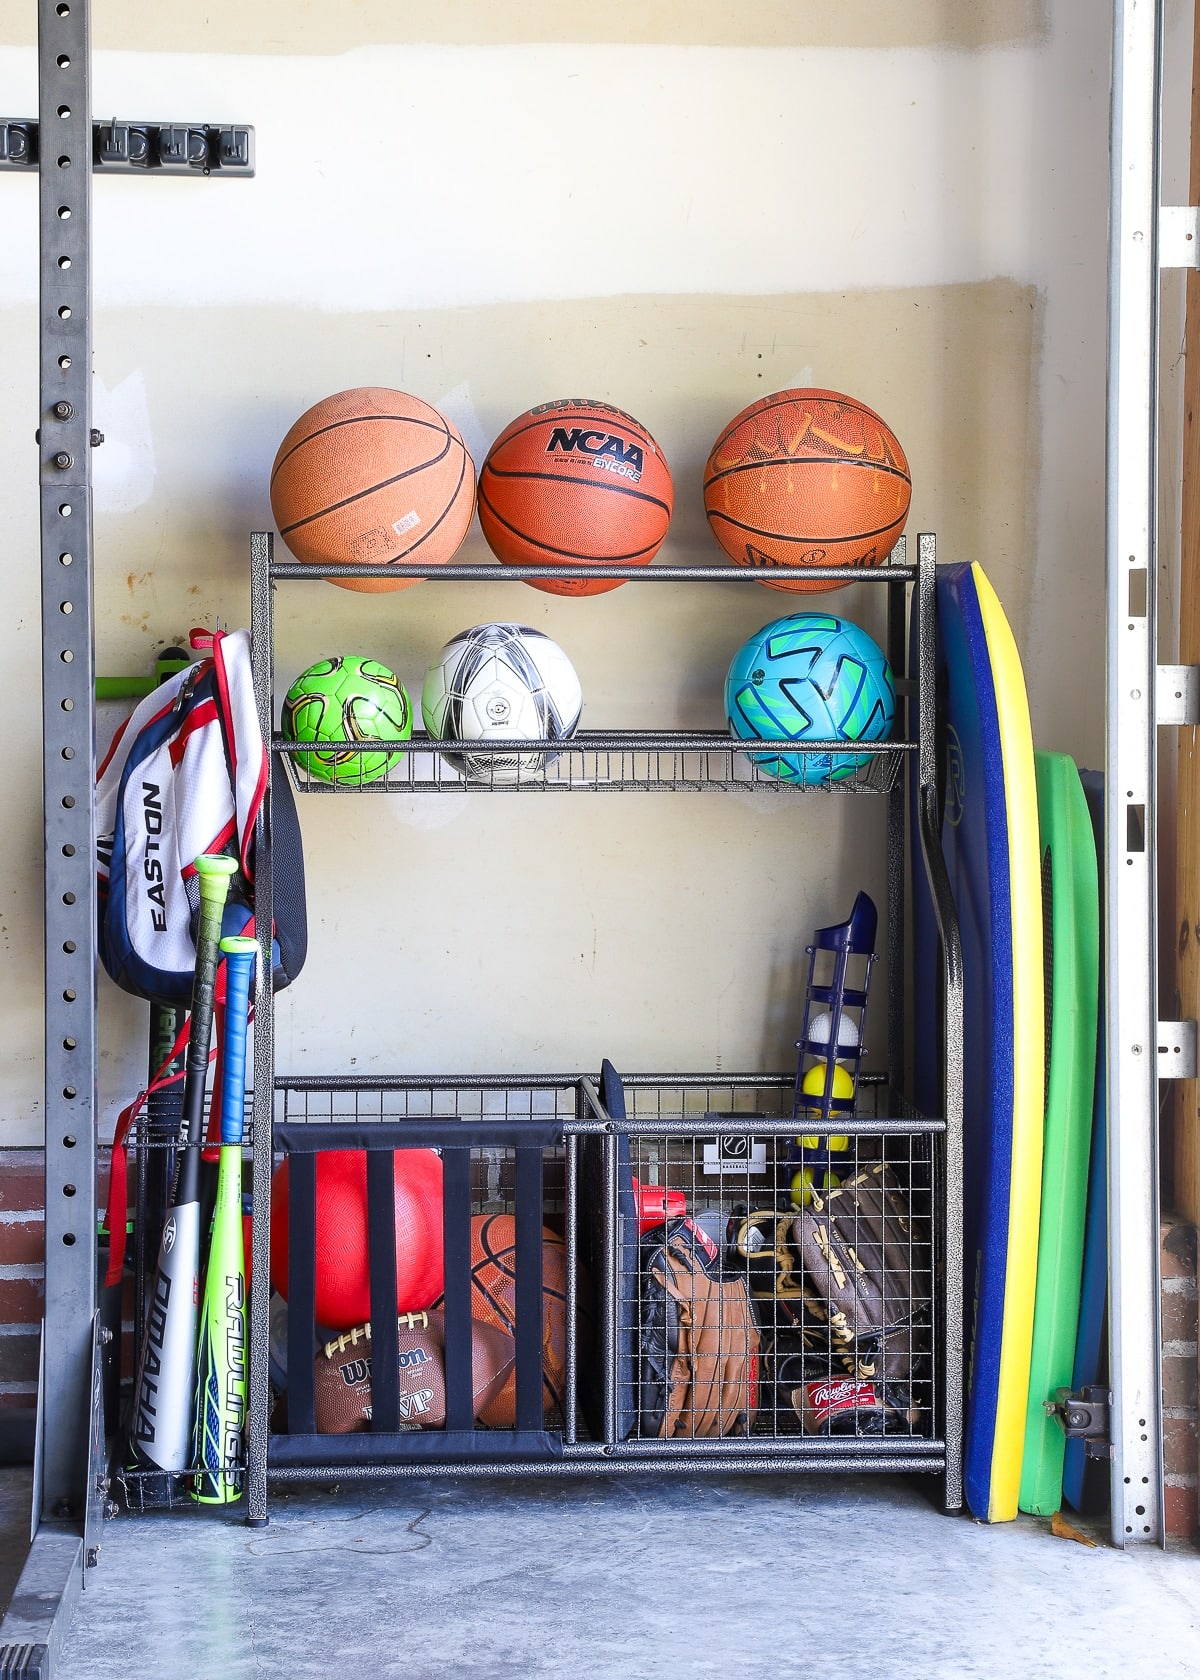
Good storage solves half your maintenance problems. It keeps gear clean, dry, and ready.
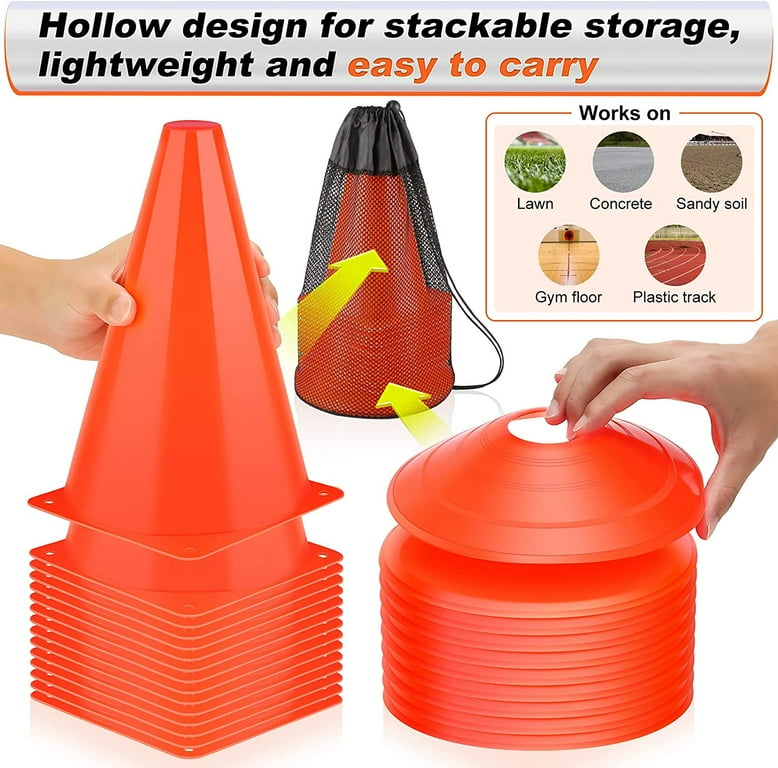
A dedicated equipment storage bag for cones, markers, and small tools is essential. Look for one with separate compartments to keep things organized. For balls, the mesh bag system is unbeatable.
Designate a storage area that is cool, dry, and ventilated. A damp basement or hot garage is the worst place for synthetic materials and metals. Humidity is the enemy of everything from ball bladder care to aluminum.
Create a simple seasonal checklist. Pre-season: inspect, clean, and repair. Mid-season: quick clean and check anchors. Post-season: deep clean, dry thoroughly, and store properly. This habit extends the life of your solo practice gear and major investments.
TL;DR: Store everything dry in a cool place, use organized bags, and follow a seasonal inspection checklist.
Frequently Asked Questions
How often should I clean my soccer training equipment?
Clean soccer balls and cones after every use. A quick wipe prevents dirt from setting. Perform a deep clean on goals and inspect all equipment at least once per season, ideally before and after the main playing period.
Can I use any soap to clean my soccer ball?
Use only mild dish soap or a cleaner made for synthetic leather. Harsh chemicals, bleach, or strong detergents can break down the polyurethane outer layer and fade colors. The rule is gentle.
Why does my soccer ball feel heavier?
It has likely absorbed water internally. This is common if the ball was cleaned by immersion or left in constant damp conditions. The added water weight deadens the bounce and feel. Unfortunately, this damage is usually permanent.
Do aluminum soccer goals rust?
Aluminum does not rust like steel iron. Instead, it undergoes oxidation, which appears as a white, powdery corrosion. This process weakens the metal. The protective painted or anodized finish must remain intact to prevent it.
How do I stop my goal nets from fading so quickly?
Sun exposure is the primary cause. Remove nets during long off-season periods and store them indoors. When in use, there’s little you can do besides buying nets with UV inhibitors. They are a consumable item with a limited lifespan.
What’s the most important safety check for soccer goals?
Anchoring. Before any use, ensure the goal is securely anchored to the ground with an appropriate system for your surface. Then, check that the structure is stable and doesn’t rock. Never allow play around an unanchored, movable goal.
The Bottom Line
Caring for soccer training equipment isn’t about making it look new. It’s about preserving function and ensuring safety. The routines are simple but specific: keep balls dry, touch up goal scratches, and anchor everything that can tip.
This discipline saves money on replacements and, more importantly, prevents accidents. Start with the ball in your hands today, wipe it down, check its pressure, and put it in a proper bag. That single act is the first step in a professional approach to the gear that makes your training possible.
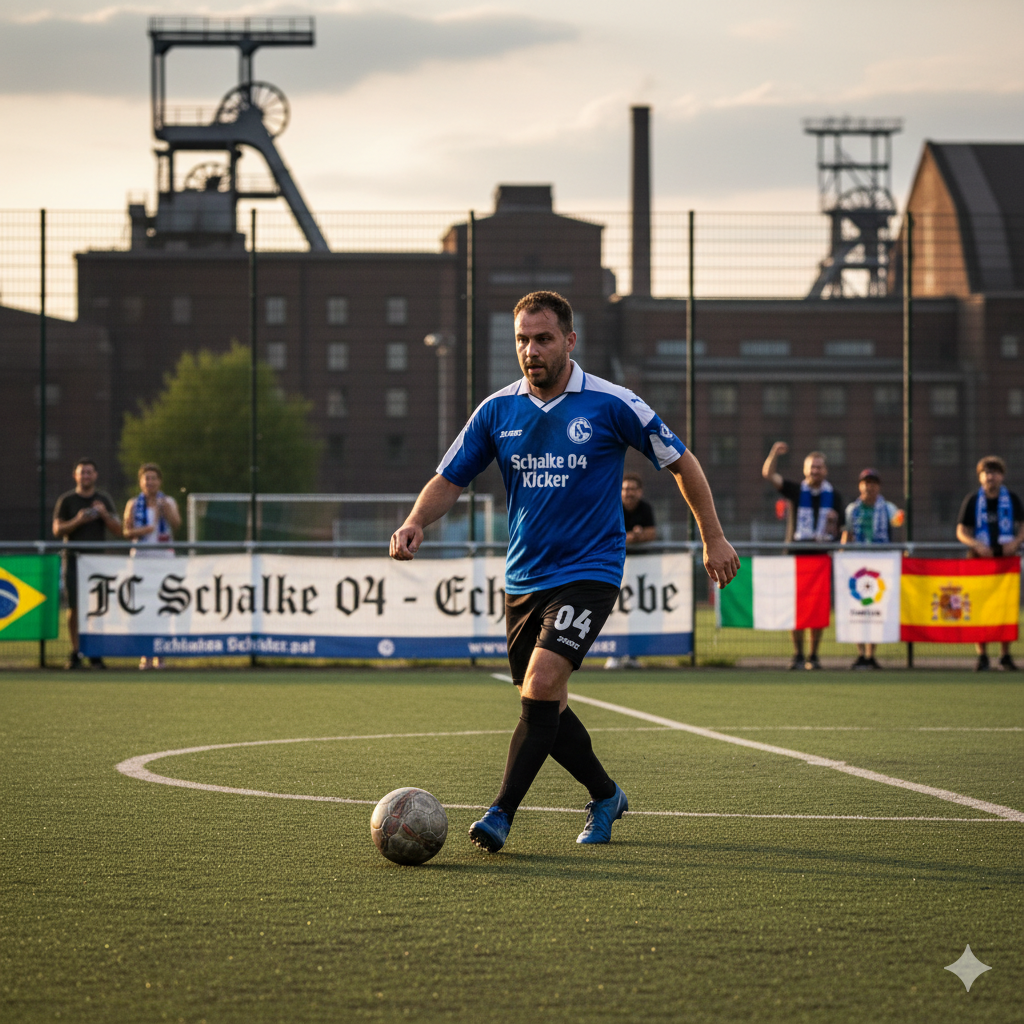
I come from the “soccer heart” of Germany, the Ruhrpott. I have played, trained and followed soccer all my life and am a big fan of FC Schalke 04. I also enjoy following international soccer extensively.