How to Dribble a Soccer Ball Properly: 5 Overlooked Rules
To dribble a soccer ball properly, you need to match five things: foot surface, ball distance, head position, body posture, and pace change. The outside of your foot is your primary control surface for forward motion, the ball should stay within one to two feet of your body, your head must be up scanning the field, your knees stay bent with weight on your toes, and you must constantly vary speed to deceive defenders.
Most beginners look down at the ball. They use only their strong foot. They push the ball too far ahead and chase it. That’s three mistakes in one sequence, and it’s why defenders read them like a book.
This guide strips dribbling down to its mechanical parts. You’ll learn which foot surface to use for which situation, how to position your body so you can react, and the drills that build control before flair.
Key Takeaways
- The outside of your foot is the default dribbling surface for speed and balance. The inside foot is for tight turns, the sole for stopping and pulling back.
- Keep the ball within one to two feet of your body. Any farther and you lose the ability to change direction instantly.
- Your head must be up. Scan the field every two or three touches. Looking down guarantees a turnover.
- Practice with your weak foot until it feels natural. A one-footed player is predictable and easy to dispossess.
- Dribbling is a decision-making tool. Use it to beat a defender and create space, then pass or shoot. Holding the ball longer than three seconds against pressure invites a tackle.
The 5 Foot Surfaces You Actually Need
Head down, ball five feet ahead, sprinting after it. That’s not dribbling. That’s chasing.
Good dribbling happens within a one-foot radius of your body. Which part of your foot you use decides whether you go forward, turn, or stop.
Use the outside of your foot for forward dribbling and maintaining speed. The contact point is just below the ankle bone, which naturally rotates your hip outward and keeps your weight on your toes, the position you need for quick directional changes.
The outside foot. This is your primary surface for moving forward. Contact the ball with the area just below your ankle bone. It pushes the ball slightly ahead of your body while keeping your hips open and your weight on the balls of your feet. That posture lets you shift direction without breaking stride. Using the inside foot for straight-line dribbling closes your hips and forces you onto your heels. You’ll stumble.
The inside foot. This is your turning surface. When you need to cut inside, around a cone, or past a defender’s outside shoulder, roll the ball with the flat inside arch. The touch is softer, the ball stays closer, and your body can pivot over it. It’s slower than the outside foot touch. That’s fine. Tight spaces demand control over speed.
The sole. The bottom of your foot is for stopping and pulling. Roll the ball backward with your sole to change direction sharply or to shield it from a defender. Don’t stomp on it. Apply pressure with the ball under the arch, then drag it back. This move kills your momentum, so use it only when you need to reset.
The laces/instep. Save this for pure speed dribbling in open space, like a breakaway down the wing. A hard push with the laces sends the ball 10-15 feet ahead. You then sprint to catch up. It’s a full-commitment move. In a crowded midfield, it’s a giveaway.
TL;DR: Outside foot for going forward, inside foot for turning, sole for stopping and pulling back, laces for open-space sprinting. Mix them based on the defender’s position.
Why Does Your Head Need to Be Up?
Your eyes dictate your next move. If they’re locked on the ball, your next move is always “touch the ball again”.
Scan the field every two or three touches. Look for the defender’s approaching angle, your teammate’s passing lane, the open space behind the defender’s back. The ball doesn’t need visual supervision. Your foot knows where it is by feel after a dozen repetitions.
Common mistake: Fixating on the ball during a 1v1 drill, you see the defender’s feet but not their body lean, so you turn into their strong side instead of their weak side and get tackled immediately.
I trained a youth player who could slalom through cones blindfolded. In a game, he’d get stripped every time he tried to dribble. His cone technique was perfect. His head was down. He never saw the second defender coming from his blind side. We fixed it by putting a cone five yards ahead of his dribbling path and forcing him to look at it between touches. After two weeks, his turnovers dropped by half.
The physical reason is balance. When your head is down, your spine curves forward. Your center of gravity shifts ahead of your feet. A defender can bump you off the ball with a light shoulder check because you’re already leaning into the fall.
TL;DR: Look up every two touches. Find the defender’s weak side, your teammate’s position, or the open channel. Your feet work fine without your eyes.
How Close Should the Ball Really Be?
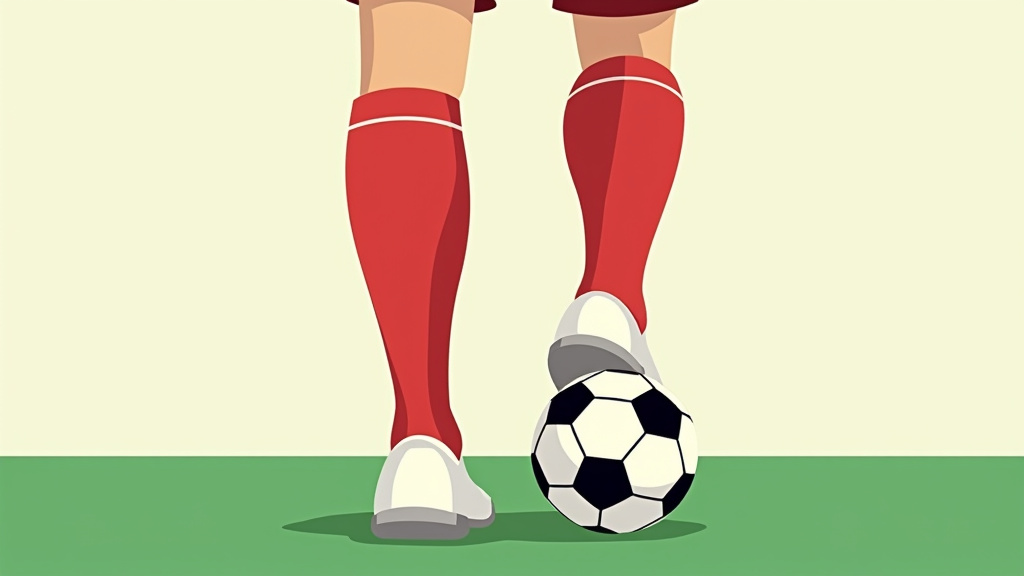
The rule is one to two feet. That’s not a suggestion. It’s the maximum distance for reactive control.
If the ball is three feet away, you need a full stride to reach it. During that stride, your foot is off the ground. You cannot change direction. A defender who reads that commitment will step into your path and intercept.
Ball distance controls your agility. Keep it within a foot for tight maneuvering, like in a crowded penalty box. Push it to two feet when you have space and want to build speed, like on a wing attack. The moment you push it beyond two feet, you’re chasing, not controlling.
Here’s a test. Dribble straight for 10 yards with the ball two feet ahead. Now try to cut left at a 45-degree angle without slowing down. You’ll feel the delay, your right foot plants, your left foot swings wide to catch the ball, your turn is slow and telegraphed. Do the same drill with the ball one foot ahead. Your cut is instant. Your left foot meets the ball mid-stride and redirects it.
| Dribbling Context | Optimal Ball Distance | If You Ignore It |
|---|---|---|
| Tight space (crowded midfield) | 1 foot or less | Defender closes within 2 seconds and you have no exit |
| Building speed (wing run) | 1.5–2 feet | You overpush, sprint after it, and a covering defender intercepts |
| Shielding from defender | Less than 1 foot (ball tucked under body) | Defender pokes it away from your reach |
| Open-space sprint (breakaway) | 3+ feet (laces touch) | This is the exception — you trade control for maximum speed |
TL;DR: One foot for control, two feet for speed, three feet only when you’re sprinting unimpeded. Measure it.
The Body Position That Lets You React
Stand upright, knees straight, weight on your heels. Now try to dribble. You’ll feel every touch is a struggle.
Bend your knees slightly. Shift your weight onto the balls of your feet, not your heels. Your torso leans forward a few degrees. This is the dribbling posture.
It lowers your center of gravity. It keeps your muscles engaged for quick lateral movement. It places your feet in a ready position, toes gripping the ground, ankles flexible.
A high center of gravity makes you a statue. A defender nudges you, you wobble, you lose balance. You fall. A low center of gravity with forward weight lets you absorb a shoulder charge and keep the ball.
Your arms matter. Keep them slightly out, not flailing. They help with balance during sharp turns. Think of a boxer’s stance, hands up, elbows in, ready to move in any direction.
I learned this playing in wet conditions. On a slick field, standing upright meant slipping with every touch. Knees bent, weight forward, I could adjust my footing mid-dribble. The ball stayed close because my body was already over it.
TL;DR: Bent knees, weight on your toes, slight forward lean. That’s the stance that lets you change direction on a defender’s first step.
The 3 Drills That Build Real Control
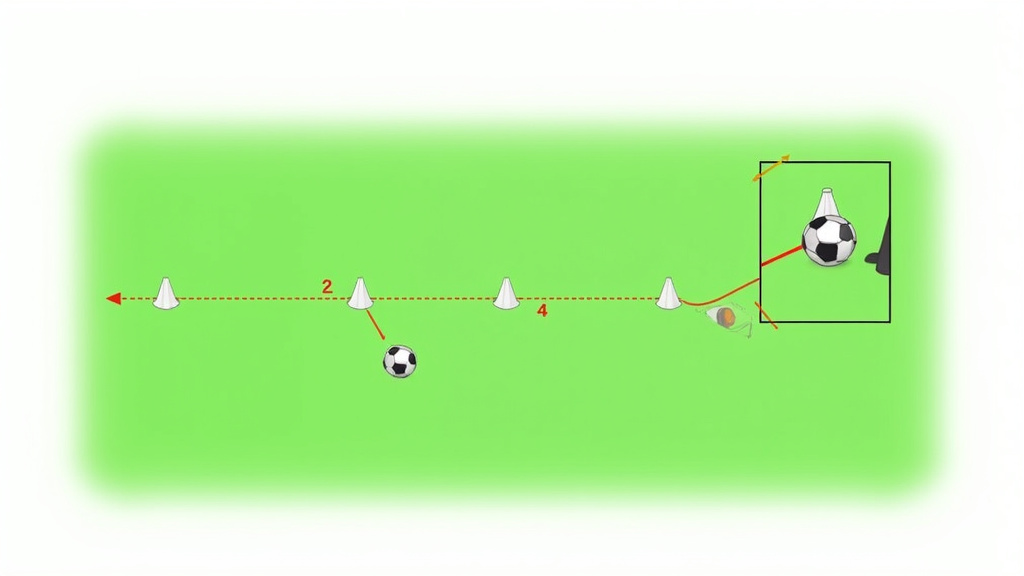
Cone drills are the grammar of dribbling. You repeat them until the movement is automatic.
1. The Outside-Foot Slalom
Place 10 cones in a straight line, each 1.5 feet apart. Dribble through using only the outside of your foot. Keep the ball within one foot of your body. Do not use your inside foot. Do not look down at the ball. Look at the cone two steps ahead. This drill trains your default forward touch.
* Go through twice with your strong foot.
* Go through twice with your weak foot.
* Go through twice alternating feet every cone.
If the ball rolls away from you, you pushed it too far. Reset.
2. The Inside-Foot Box Turn
Set four cones in a 5×5 yard square. Start at one corner. Dribble to the next corner using the outside foot. At the cone, use the inside foot to turn 90 degrees and go to the next corner. Repeat around the square. This links forward motion with sharp turns.
* Complete two rounds clockwise.
* Complete two rounds counter-clockwise.
The turn must be crisp. If you drift past the cone, your inside foot touch was too soft.
3. The Zigzag with Pace Change
Set five cones in a zigzag pattern, each 10 feet apart. Dribble from cone 1 to cone 2 at full speed. Slow down deliberately before cone 2. Accelerate again from cone 2 to cone 3. Slow down before cone 3. Continue. This drill teaches change of pace, the most underrated dribbling skill.
* Run the pattern three times.
* On the fourth run, imagine a defender at each cone and execute a different move (outside foot push, inside foot turn, sole stop-and-go).
Pace change unbalances defenders. They commit to your speed, you shift, they’re left reaching.
These three drills form a complete 30-minute session. They build the muscle memory for distance, surface, and pace. After a month, your feet will choose the correct surface without you thinking.
How to Integrate Dribbling with Everything Else
Dribbling isn’t an isolated skill. It’s a bridge between receiving a pass and making a pass.
After you receive a ball, your first touch should set up your dribble. A soft touch into space with your inside foot gives you a clean start. A hard touch with your laces into open space commits you to a sprint. Choose based on what you saw before receiving.
While dribbling, you’re deciding: beat the defender, pass to a teammate, or shoot. The decision happens while your feet are moving. If you stop dribbling to think, the defender closes you down.
Common mistake: Dribbling past one defender and then continuing to dribble toward the next, you lose the passing window to your open teammate, and the second defender now has time to organize.
Link your dribbling drills with passing drills. Dribble 10 yards toward a partner, then pass. Receive their return pass and dribble again. This mimics game flow. Standalone cone work builds control but not decision-making.
Your shooting drills should include a dribbling approach. Dribble at pace, then shoot. Dribble across a defender, then shoot. The shot becomes the natural end of the dribble, not a separate action.
Finally, understand that dribbling is a risk. The more defenders around you, the higher the chance of a turnover. Good dribblers know when to stop. They use the skill to create a chance, then release the ball. Holding it through three defenders looks flashy but usually ends with a tackle and a counterattack.
TL;DR: Dribble to create a passing or shooting opportunity. Once created, release the ball. Isolated dribbling is just showing off.
Developing Your Weak Foot: The 6-Month Rule
Your strong foot is a known weapon. Your weak foot is a secret one.
Spend 10 minutes of every training session using only your weak foot. Start with simple straight-line dribbling. Progress to the cone drills. Then integrate it into 1v1 scenarios.
The weakness isn’t power. It’s coordination. Your weak foot feels clumsy because the neural pathways are underdeveloped. Repetition builds them.
I forced myself to use only my left foot for two months during small-sided games. The first month was frustrating, missed passes, slow turns. By the sixth week, my left foot could execute an inside-foot turn as crisply as my right. It didn’t become stronger; it became more familiar.
Set a measurable goal. “In six months, my weak foot will be as comfortable as my strong foot for basic dribbling.” Track it. Use your weak foot for 50% of your touches in a drill. Then 75%. Then 100%.
This unilateral focus improves your agility ladder drills too. Fast footwork requires both feet to be equally responsive. A weak foot drags during quick-step patterns.
TL;DR: Dedicate 10 minutes per session to weak-foot-only dribbling. In six months, it will feel natural. The defender won’t know which side you’ll attack from.
What Equipment Actually Helps?
The ball matters. A size 5 match ball is fine. A cheaper training ball with a slightly softer surface is better for repetitive touch drills because it’s more forgiving on mis-hits.
Cones are essential. Get 10 standard soccer cones. They don’t need to be high-tech. Plastic ones work.
Your soccer cleat types affect grip. Firm Ground (FG) cleats on grass provide the traction for sharp turns. Artificial Ground (AG) cleats on turf give you the stability for quick stops. Wear the right cleat for your surface. Wrong cleats slip, and a slip during a turn means a lost ball.
A soccer rebounder isn’t for dribbling. It’s for first-touch and passing repetition. But a good first touch sets up your dribble. If you can’t control a rebounded pass, you can’t dribble from it.
Don’t over-equip. A ball, cones, and proper cleats are 90% of the work. The rest is your time.
The Mental Shift: Confidence Before Flair
You see a professional execute a step-over and beat a defender. You try it. You stumble.
The flair moves, step-overs, scissors, Cruyff turns, require a foundation of basic control. If your default dribbling is shaky, the fancy move will fail because your balance isn’t there yet.
Build confidence in your basic touches first. Can you dribble through cones with your head up? Can you change pace smoothly? Can you shield the ball with your sole? Once those are automatic, the flair moves layer on top.
The mental part is trusting your feet. If you’re thinking about which foot to use, you’re not ready for a complex move. Your feet should choose the surface instinctively. That comes from the cone drills, not from YouTube tutorials.
My first successful step-over came after I’d done 200 outside-foot slalom drills. The footwork was already in my muscles. The move was just a decoration.
Practice the flair moves in isolation, then integrate them into your cone drills. Add a step-over before a turn. Add a scissors move before a pace change. But only after the basics are solid.
TL;DR: Master the five surfaces, the ball distance, the body posture. Then add the step-overs. Flair without foundation is just falling.
Frequently Asked Questions
How long does it take to dribble properly?
For a complete beginner, about three months of consistent practice to feel comfortable controlling the ball with both feet in drills. Six months to use dribbling effectively in game situations. The timeline depends on how often you train. Two 30-minute sessions per week yield noticeable improvement in eight weeks.
Can I learn to dribble without a coach?
Yes. The cone drills are self-guided. Set them up, follow the instructions, record your sessions. Watch your footwork on video to spot errors, are you looking down? Is the ball too far? Self-correction works if you’re disciplined. A coach accelerates the process by pointing out flaws you miss.
What’s the most important dribbling skill for a game?
Keeping your head up. Technical footwork matters, but if you don’t see the defender approaching, you can’t use it. Scan the field every two touches. This habit separates players who dribble into space from players who dribble into tackles.
How do I dribble past a defender?
Change pace. Approach at a moderate speed. As the defender commits, accelerate past them with an outside-foot push. Or, slow down, use a sole pull-back to make them overcommit, then accelerate away. The move is secondary to the speed change.
Should I practice dribbling with a weighted ball?
No. A weighted ball alters your touch mechanics. You’ll develop a harder push than needed for a normal ball. Practice with a standard size 5 ball. Consistency in equipment breeds consistency in touch.
How does dribbling fit into a complete soccer workout plan?
Dribbling drills are agility work. Include them after your strength session, when your muscles are warm but not fatigued. Pair them with speed ladder exercises for foot coordination, and follow with shooting accuracy drills to link movement with finishing.
Before You Go
Dribbling is control. Control is built from repetition of simple patterns.
Start with the outside-foot slalom. Keep the ball close. Look at the cone ahead. Do it until your foot chooses the surface without thought. Then add the inside-foot turn. Then the pace change.
Mix these drills into your regular training. Link them with passing. Link them with shooting. Dribbling alone is a skill; dribbling as part of the game is a weapon.
Your weak foot will feel awkward. Spend ten minutes a session on it. In six months, it won’t.
The equipment is simple: a ball, cones, the right cleats. Your soccer player diet fuels the sessions, and your recovery lets you repeat them tomorrow.
Finally, remember the decision. Dribble to create a chance. Then pass or shoot. Holding the ball longer than necessary turns a weapon into a liability.
I come from the “soccer heart” of Germany, the Ruhrpott. I have played, trained and followed soccer all my life and am a big fan of FC Schalke 04. I also enjoy following international soccer extensively.