Become the Best Shooter with These Soccer Shooting Drills
The best soccer shooting drills isolate three components: a clean first touch to set the ball, proper body shape over the ball for balance, and follow-through aimed at a specific target. Drills like the 5-Second Reset and first-time volleys build the technical repetition and mental composure that separates good finishers from great ones.
Most players waste practice time blasting shots from distance with no pressure. The ball might go in, but the habit is useless. In a match, you get one touch, a defender is closing, and the angle is tight. Your training must replicate that chaos.
This guide walks through five structured drills. Each one fixes a specific failure mode, rushing the shot, leaning back, staring at the keeper, and replaces it with a repeatable physical habit. We’ll cover the setup, the common breakdown, and how to progress the drill when it gets easy.
Key Takeaways
- The first touch is the shot. A bad settling touch adds two more steps and lets the defender recover. Drills that force a one-touch finish under a time limit rewire this instinct.
- Power comes from the standing foot, not the swinging leg. Plant your non-kicking foot beside the ball, pointed at the target. If that foot is behind the ball, you will lean back and sky the shot every time.
- Train with a specific ball. The feel of a match ball like the Nike Premier League Flight is different from a cheap training ball. Your foot needs to know the difference.
- Fatigue causes technical collapse. Add conditioning elements to your shooting drills last, after the technique is solid. A sloppy drill under fatigue just teaches sloppiness.
- Watch the ball, not the goal. Your eyes should be on the point of contact as your foot strikes the ball. Looking up to pick a corner early causes you to lift your head and mis-hit.
What Separates a Good Shooter from a Great One?
Great shooters have a short memory and a long routine. They miss the same way a striker misses, by forcing a save, not by shanking it into the stands. The difference is a collection of small, trained habits that hold up when the pulse is racing.
The technical foundation of an accurate shot is the position of the plant foot. A 2023 biomechanics review in the Journal of Sports Sciences noted that shooters who placed their plant foot within 5–10 cm laterally and 0–5 cm ahead of the ball consistently achieved higher ball speed and lower shot dispersion than those with irregular placement.
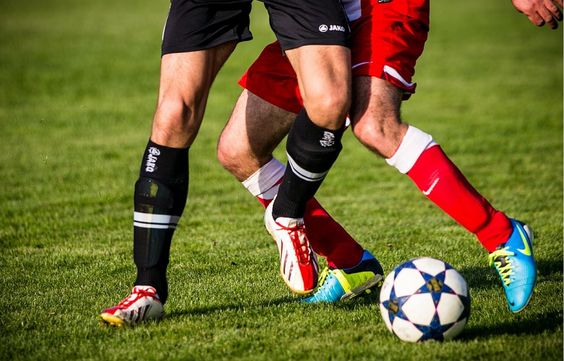
The plant foot anchors your body. If it’s too far behind the ball, your shoulders fall back and you scoop the shot over the bar. Too far in front, and you jam the kicking leg, producing a weak, scuffed effort. This isn’t about natural talent. It’s about drilling the foot placement until it’s automatic.
TL;DR: Accuracy is a geometry problem solved by your plant foot. Drill that placement before you worry about power or curl.
The 5-Second Reset Drill (Pressure Under the Bar)
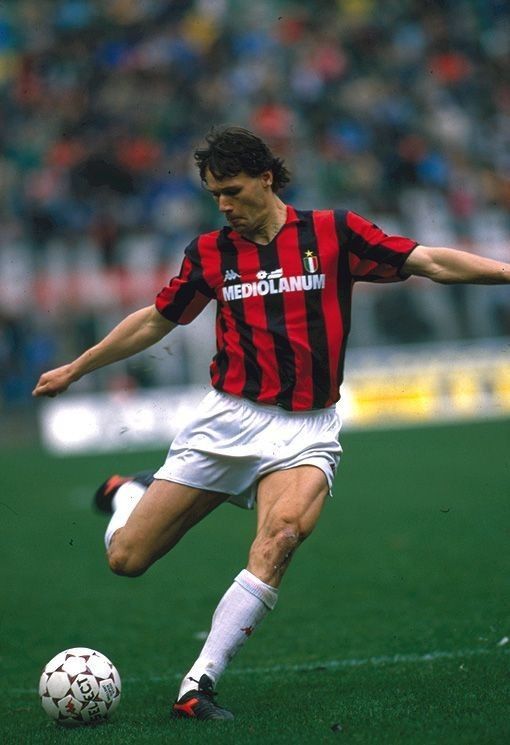
This is the core drill for killing panic. You start 18 yards out, sprint to receive a pass, and must shoot within five seconds of the starting signal. The clock is the defender.
You need a partner or a coach to play the pass. Set a cone at the top of the box. Start behind it. On the whistle, sprint toward the goal. Your partner plays a firm pass into your path. Your first touch must set the ball for a shot, not too heavy, not too soft. Take your shot, then immediately sprint back to the starting cone. The next repetition begins the moment you touch the cone.
The mental pressure of the clock mimics the closing defender. The physical demand of the sprint back forces you to shoot while fatigued, which is when most players’ technique crumbles.
Common mistake: Taking a settling touch that rolls across your body, this forces an extra adjustment step, eats three seconds, and usually results in a blocked shot because you’re now off-balance.
| Drill Phase | Focus Cue | Failure Sign |
|---|---|---|
| Sprint In | Eyes on passer | Slow start, loses 1 second |
| First Touch | Set toward goal | Touch goes wide, requires extra step |
| Shot Setup | Plant foot beside ball | Body leaning back, shot skies |
| Sprint Back | Full intensity | Walking back, drill rhythm breaks |
TL;DR: The 5-Second Reset builds composure by linking a fatiguing sprint with a technical shot. The clock forces decisiveness.
First-Time Volleys: The “One-Touch” Rule
Volleys and half-volleys are low-percentage shots for most players. That’s because they’re practiced wrong. The goal isn’t to smash it; it’s to make clean contact and direct it.
Stand 10 yards from a partner or a wall. Have them toss balls to you at varying heights, knee height, waist height, chest height. Your job is to strike the ball first-time, directly out of the air, aiming for a specific target. Use a pop-up goal or mark a square on a wall.
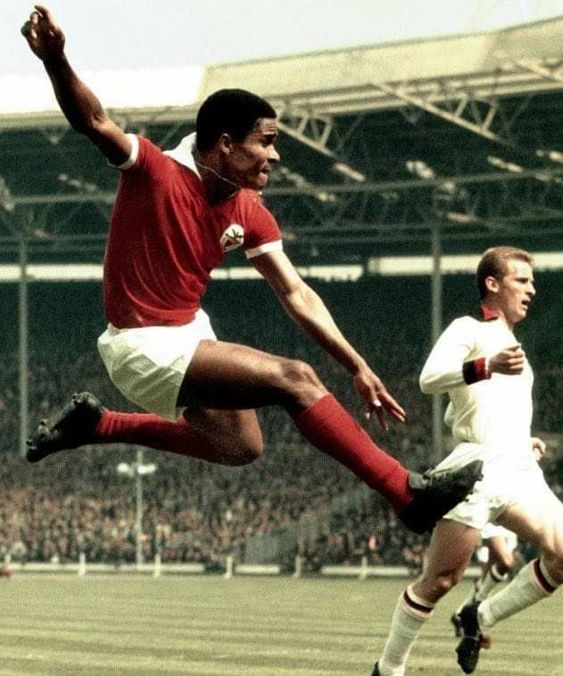
The key is to keep your ankle locked and your body over the ball. For a side-volley, turn your shoulder in. For a straight-on volley, lean forward. The power comes from a short, sharp swing, not a wild wind-up.
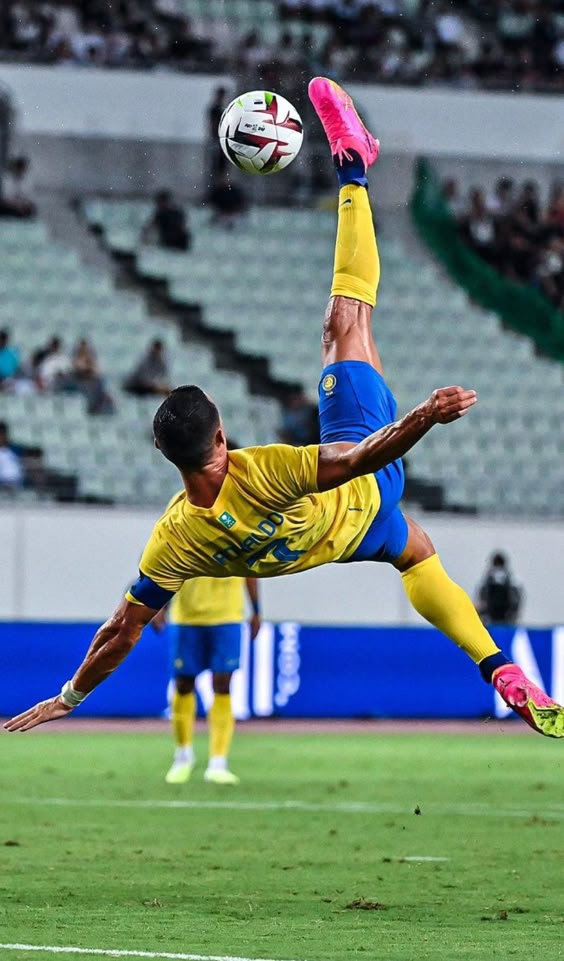
I spent a summer trying to perfect the spectacular bicycle kick. I bruised my back, shanked a dozen balls over the fence, and didn’t score a single useful goal. My coach made me stop and do 100 simple side-volleys into an empty net. The repetition taught me how to judge the ball’s drop and where my foot needed to be. The fancy stuff came later.
Why it works: This drill eliminates the “settling” phase entirely. Your brain must calculate trajectory, point of contact, and body position in a split second. That sharpens instinct.
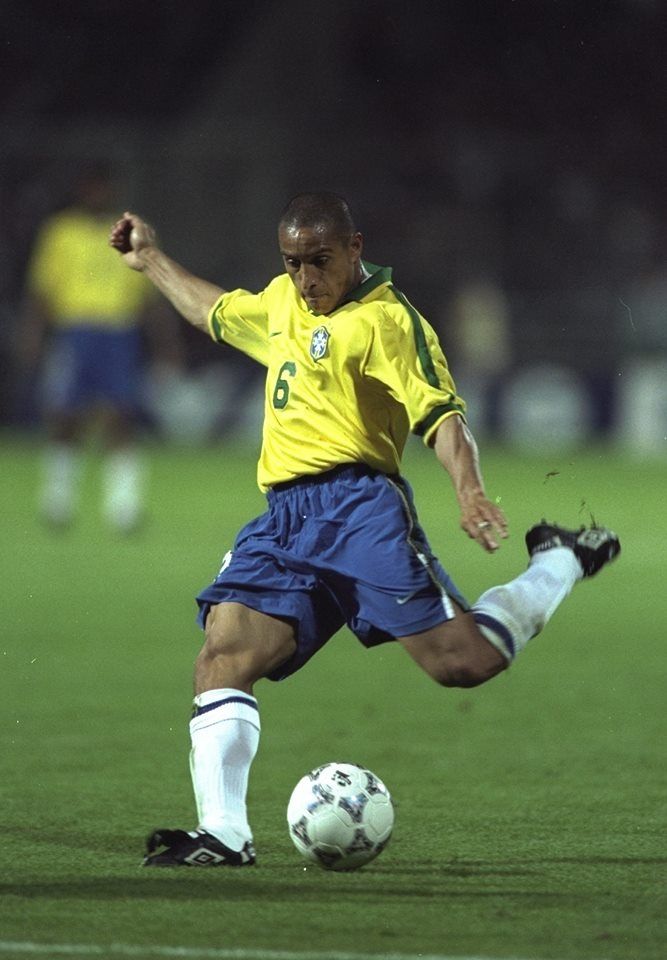
TL;DR: First-time volleys train instant decision-making and clean contact. Start simple, aim for placement, add power only after consistency.
The 1v1 Pressure Cooker: Creating Your Own Shot
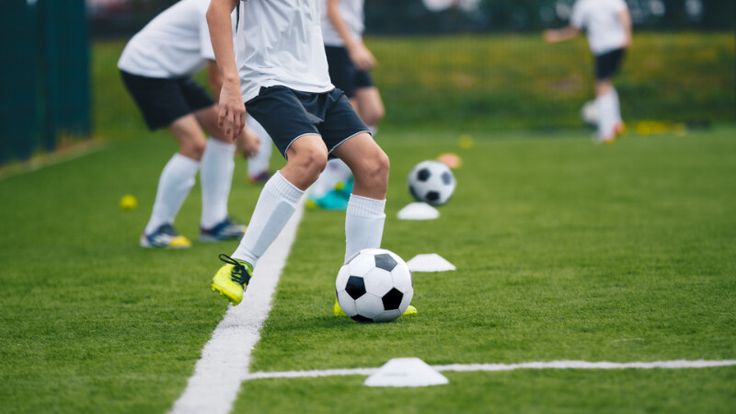
Game-winning shots often come after beating one defender. This drill builds that skill. You need one opponent, a ball, and a goalkeeper if available.
Start with the ball at your feet 25 yards from goal. Your defender starts 5 yards in front of you, passive at first. Dribble at speed, use a single move to create space, a cut, a feint, a change of pace, and shoot before the defender can recover and block. The defender should increase pressure as you improve.
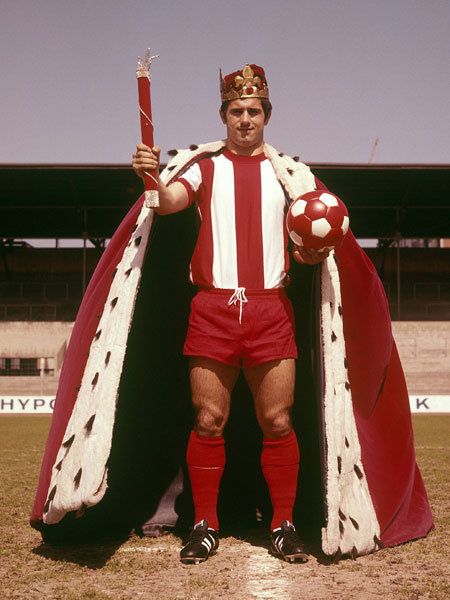
The move isn’t about being fancy. It’s about creating enough separation to get your shot off. A simple cut inside onto your stronger foot is often the most effective route. The moment you see that half-yard of space, shoot. Hesitation is a blocker.
| Move to Create Space | Best For | Risk If Overused |
|---|---|---|
| Cut inside (right to left) | Left-footed shot from center | Defender anticipates, channels you wide |
| Push past on the outside | Right-footed shot from angle | Narrow angle, easier for keeper to save |
| Step-over & shoot | Catching defender flat-footed | Slow if not explosive, shot gets charged down |
| Fake shot & take touch | Composing a finish | Takes too much time, second defender arrives |
This drill directly improves your soccer player workout plan. The explosive change of direction required is a plyometric movement. If your legs are heavy, your move will be slow.
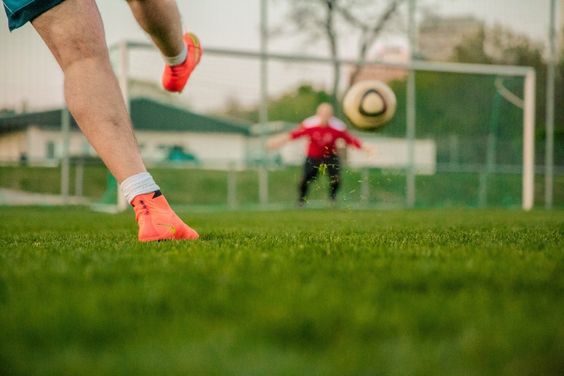
TL;DR: The 1v1 drill ties dribbling to shooting. Practice one reliable move to create space, then shoot without a second thought.
Integrating Footwork: The Agility-Shot Combination
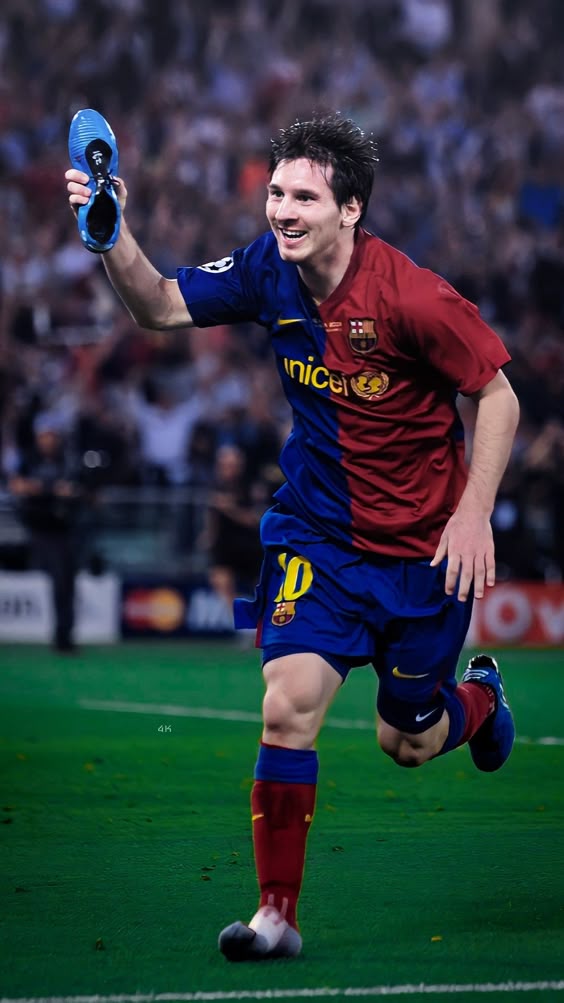
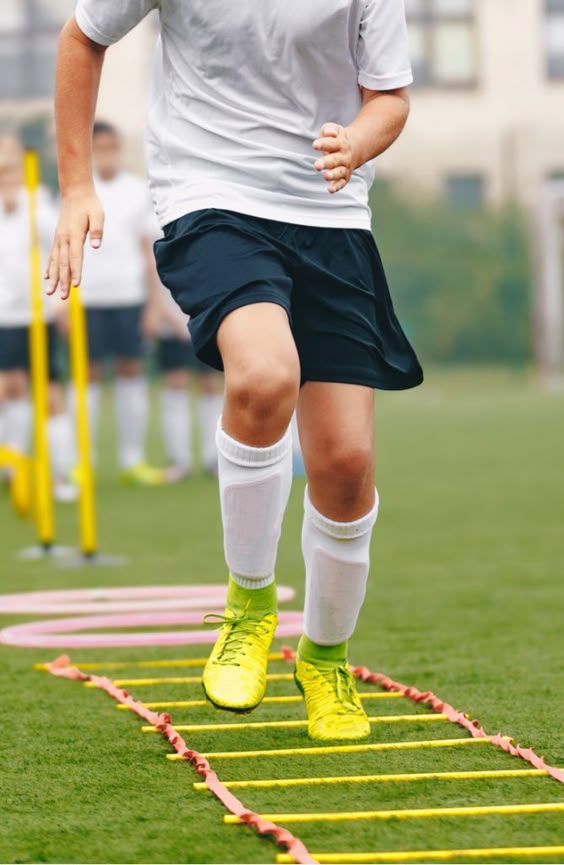
Your shot power originates from the ground up. If your footwork is sloppy approaching the ball, you leak power and balance. This drill chains a quick agility ladder drills sequence into a shot.
Set up a speed ladder or a series of cones 10 yards from a goal. Perform a specific footwork pattern through the ladder, icky shuffle, in-in-out-out, lateral hops. The moment you exit the last cone, receive a pass and shoot first-time. The pass should arrive as you complete the pattern.
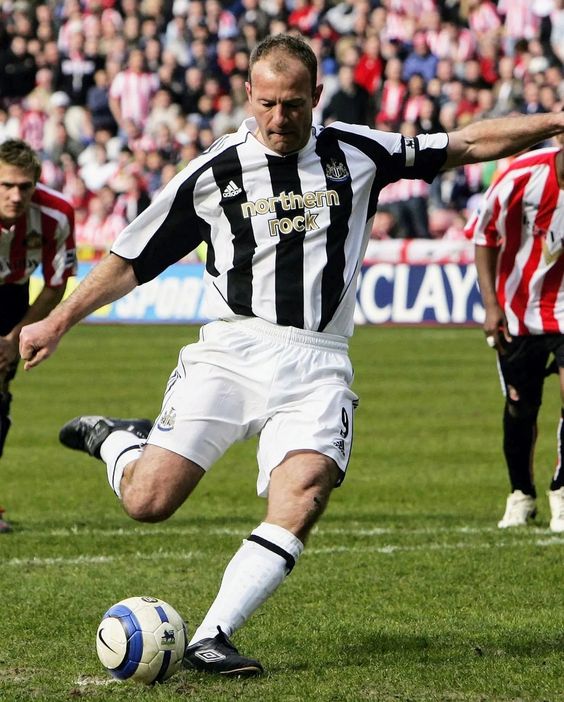
The fatigue from the footwork mimics the late-game leg heaviness. Your challenge is to maintain technical form, plant foot, locked ankle, head down, when your muscles are burning. It teaches you to generate power from a stable core even when your legs are tired.
This is also where your soccer player diet matters. Doing this drill on an empty stomach or with poor hydration leads to a dramatic drop in coordination after a few reps.
Before you start: This is a high-intensity drill. Warm up your ankles and hips thoroughly. Landing awkwardly from a ladder hop on a cold joint can cause a sprain. Perform 3-5 slower practice runs before adding the shot.
TL;DR: Combining agility work with shooting builds game-specific stamina and technique under fatigue. It connects your footwork to your finishing.
Equipment and Environment: Training Like a Pro
The tools you use shape the skill you build. A flat, under-inflated ball teaches you to over-kick. A full-size goal from 30 yards teaches hopeful shooting.
- The Ball: Use a quality size 5 match ball for at least half your reps. The Nike Premier League Flight or the Adidas Tiro 24 have consistent panels and a true flight. The weight and feel are different from a plastic training ball. Your foot needs to know the real thing.
- The Goal: If you can’t access a full goal, use a portable one. The Kwik Goal 6’x4′ pop-up is excellent. Even better, use a soccer rebounder to practice first-time strikes and follow up on rebounds.
- The Surface: Train on grass when possible. The slight unpredictability of a turf bounce or a grassy patch is part of the game. If you only train on perfect turf, a bad pitch will ruin your touch.
Your training environment should also include elements of your ideal soccer position. A winger should take more shots from acute angles. A central midfielder should practice arriving late for rebounds and half-volleys from distance.
TL;DR: Invest in a good ball and a specific target. Training with the right equipment builds accurate muscle memory.
Frequently Asked Questions
What’s the most important shooting drill for beginners?
The 5-Second Reset drill. It builds the non-negotiable habit of a purposeful first touch and removes hesitation. Beginners tend to take too many touches; this drill makes the first touch the scoring touch.
How often should I practice shooting drills?
Aim for 2-3 focused sessions per week, for 20-30 minutes each. Quality over quantity. One session with full concentration is better than five sessions of mindless blasting. Your body also needs time to recover, which is aided by proper soccer recovery foods.
Why do I keep shooting over the bar?
Your plant foot is almost certainly behind the ball. This causes your body to lean back. Focus on placing your non-kicking foot beside the ball, and keep your chest and head over it as you strike. Look at the ball, not the goal.
Can I become a great shooter without a strong leg?
Absolutely. Placement beats power. Study finishers like Thomas Müller. They score by being in the right position and passing the ball into the net. Work on accuracy drills from inside 12 yards. Power can be developed later through a dedicated strength for soccer program.
How do I practice shooting alone?
Use a wall or a high-quality rebounder for solo practice. Pass the ball against it, receive the rebound, and shoot first-time. Vary the distance and angle. You can also work on advanced soccer skills like the rainbow flick to create space before a shot, but master the fundamentals first.
Does my position change the drills I should do?
Yes. Strikers should prioritize the 1v1 Pressure Cooker and first-time finishes. Midfielders should focus on the agility-shot combo and shooting from distance after a pass. Defenders might work on volleys from cleared balls. Our player position guide can help you tailor your training.
The Bottom Line
Great shooters are made in the repetitive, unglamorous work of drilling technique under pressure. It’s not about 50-yard screamers. It’s about making the right decision in the six seconds you have inside the box.
Start with the 5-Second Reset to kill hesitation. Ingrain the plant-foot rule. Then, use the 1v1 drill to link dribbling with finishing. Finally, integrate conditioning and footwork so your technique holds up in the 90th minute. Pair this with the right soccer ball recommendations and consistent training.
The path is clear. The work is hard. But the feeling of burying a chance you’ve practiced a thousand times, that’s why you do it. Now go train.
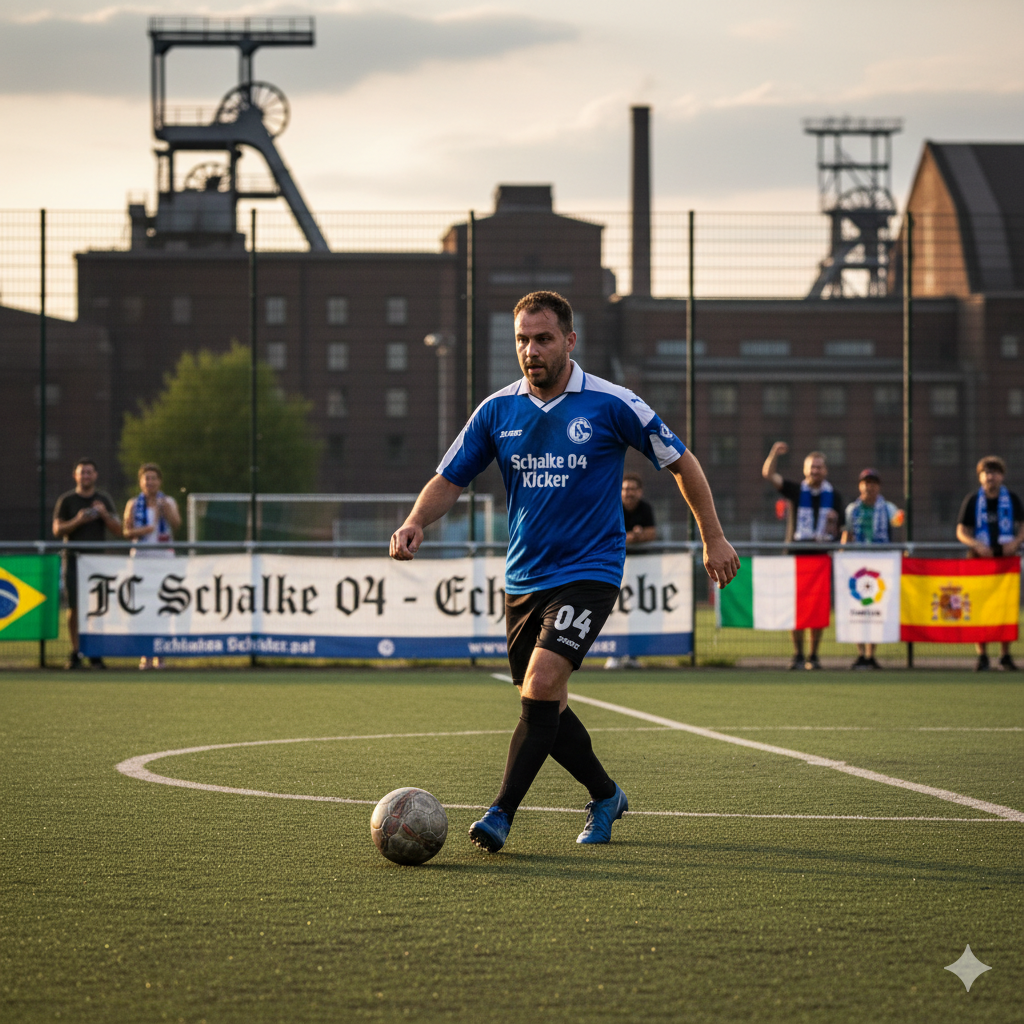
I come from the “soccer heart” of Germany, the Ruhrpott. I have played, trained and followed soccer all my life and am a big fan of FC Schalke 04. I also enjoy following international soccer extensively.