How to Store a Soccer Ball Correctly & Extend Its Lifespan
To store a soccer ball correctly, clean it after use, dry it completely, and keep it deflated in a cool, dry indoor space. This routine preserves the ball’s materials, preventing cover hardening, bladder damage, and loss of shape that shorten its lifespan.
To store a soccer ball correctly, clean it after every use, dry it completely, deflate it based on its construction type, and keep it in a dry, room-temperature indoor space away from pressure and sharp objects. Match this three-part routine to your ball’s material. PU-covered match balls die from humidity, while training balls warp from heat. Skip one step, and you lose bounce, shape, or the bladder within a season.
Most players wreck their balls by storing them dirty or in extreme temperatures. They leave a wet ball in a kit bag overnight, or toss it into a car trunk that bakes in the sun. The damage isn’t immediate. The cover hardens over weeks. The bladder stretches and leaks. By the time the ball feels dead, the cost of a replacement is the only fix.
This guide walks through the seven non-negotiable storage rules, explains why humidity matters more than you think, and shows you how to adjust for a $30 training ball versus a $150 match ball. You will learn what to do monthly, what to never do, and how to spot early warning signs.
Key Takeaways
- Clean your ball after every session with a damp cloth; submerging it, especially hand-stitched versions, forces water into the bladder and causes hydrolysis, breaking down the PU cover from the inside.
- Deflate stitched balls by 20-30% for long-term storage to relieve seam pressure, but only partially deflate thermally bonded balls, full deflation creates permanent creases and can delaminate the fused layers.
- Control humidity, not just temperature. A damp garage at 15°C (59°F) damages a polyurethane (PU) match ball faster than a dry room at 25°C (77°F) because moisture triggers chemical breakdown.
- Never use mineral oils or dubbin on the valve; use glycerine or saliva to lubricate the inflation needle. Mineral oils contain detergents that degrade the rubber valve seal.
- Store the ball on a stand or in a ventilated box; letting it sit under a pile of gear or in a corner where it gets knocked flattens panels and ruins its roundness.
The 7-Step Pre-Storage Clean (Do This First)
Dirt and mud are abrasive. Left on the surface, they grind into the ball’s texture during storage, wearing down the grip and making the cover brittle. More critically, moisture trapped in dirt slowly evaporates into the ball’s interior if the valve isn’t perfect.
A match-grade polyurethane (PU) ball can absorb 5–10 grams of water through its surface and valve during a rainy game. Left undried, that moisture stays inside the bladder chamber, where warm conditions accelerate hydrolysis, a chemical reaction that breaks down the PU lining, permanently weakening the ball.
Your cleaning kit is simple: a soft microfiber cloth, lukewarm water, and a drop of mild dish soap. Avoid any harsh chemicals, abrasive sponges, or the temptation to rinse the ball under a tap.
- Wipe the entire surface with the damp cloth. Go panel by panel, following the seams. This removes loose dirt.
- For ground-in mud or grass stains, add that single drop of soap to the cloth and gently work the area. Rinse the cloth and wipe again to remove soap residue.
- Pay special attention to the valve. Wipe around it to remove grit that could be pushed inside with the needle.
- Dry the ball immediately with a separate, dry cloth.
- Let it air-dry at room temperature for an hour. Ensure it’s completely dry to the touch.
- Never, ever submerge the ball in a bucket or sink. This is the fastest way to pump water into the bladder.
- Do not use a heat source to dry it. A radiator or hairdryer can warp the panels and weaken glued seams.
TL;DR: Clean with a damp cloth, dry with another, then air-dry. Submerging or heating the ball causes internal or structural damage that you cannot fix.
The Deflation Decision Tree
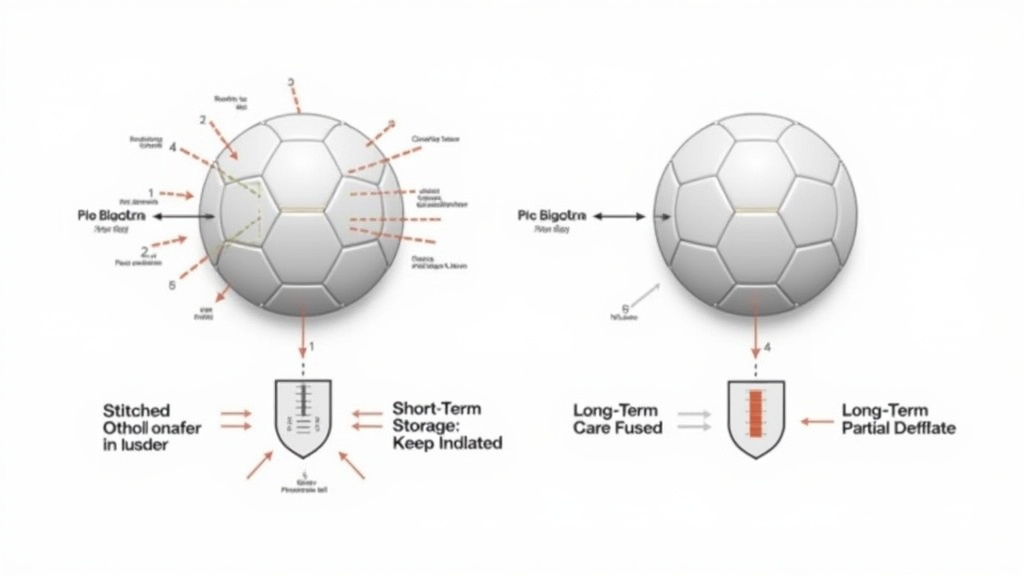
To deflate or not to deflate? The answer depends entirely on two things: how long you’re storing the ball and, more importantly, how it’s built. Get this wrong and you either overstretch the bladder or create permanent cosmetic and structural flaws.
Traditional stitched balls, common in training models, have a separate latex or butyl bladder inside a stitched cover. Thermally bonded or hybrid fused balls, most modern match balls, have their outer casing fused to the bladder with heat and adhesive, with no stitching.
| Ball Construction | Short-Term (< 1 month) | Long-Term (> 1 month) | Risk of Wrong Choice |
|---|---|---|---|
| Stitched (Training) | Keep inflated at match pressure. | Deflate by 20-30%. | Over-stretched seams lose elasticity; bladder may not regain perfect shape. |
| Thermally Bonded (Match) | Keep inflated at match pressure. | Partially deflate only—just enough to soften. | Full deflation causes deep creases in fused layers; creases may not inflate out, leading to delamination. |
| Hand-Stitched (Premium) | Keep inflated. | Deflate by 20-30%. | Seams are robust, but the leather or synthetic cover can permanently deform under constant pressure. |
The process is simple but requires care. Use your ball pump. Moisten the needle with glycerine or saliva, never force a dry needle in. Insert it into the valve as if you were adding air, but press the pin inside the valve to release pressure. Listen for the hiss. For a 20% reduction on a stitched ball, it takes about 3-4 seconds. Stop and feel the firmness.
Common mistake: Fully deflating a thermally bonded Adidas Champions League ball for summer storage, the deep panel creases from the flattened state become permanent fixtures on the surface, and the ball never flies true again.
For a stitched ball going into the garage for the winter, taking that pressure off is mandatory. The latex bladder is under constant tension. In cold temperatures, the material contracts slightly. Combined with full inflation, this stresses the bladder wall and the stitches holding the cover. It’s a recipe for a slow leak.
I learned this the hard way with a Select Numero 10 training ball. I left it fully inflated in an unheated shed over a German winter. By spring, it had lost its perfect roundness, a slight egg shape that made passing unpredictable. The bladder had stretched and set in a deformed state. Now, any ball not in use for more than four weeks gets a partial release.
The Temperature and Humidity Trap
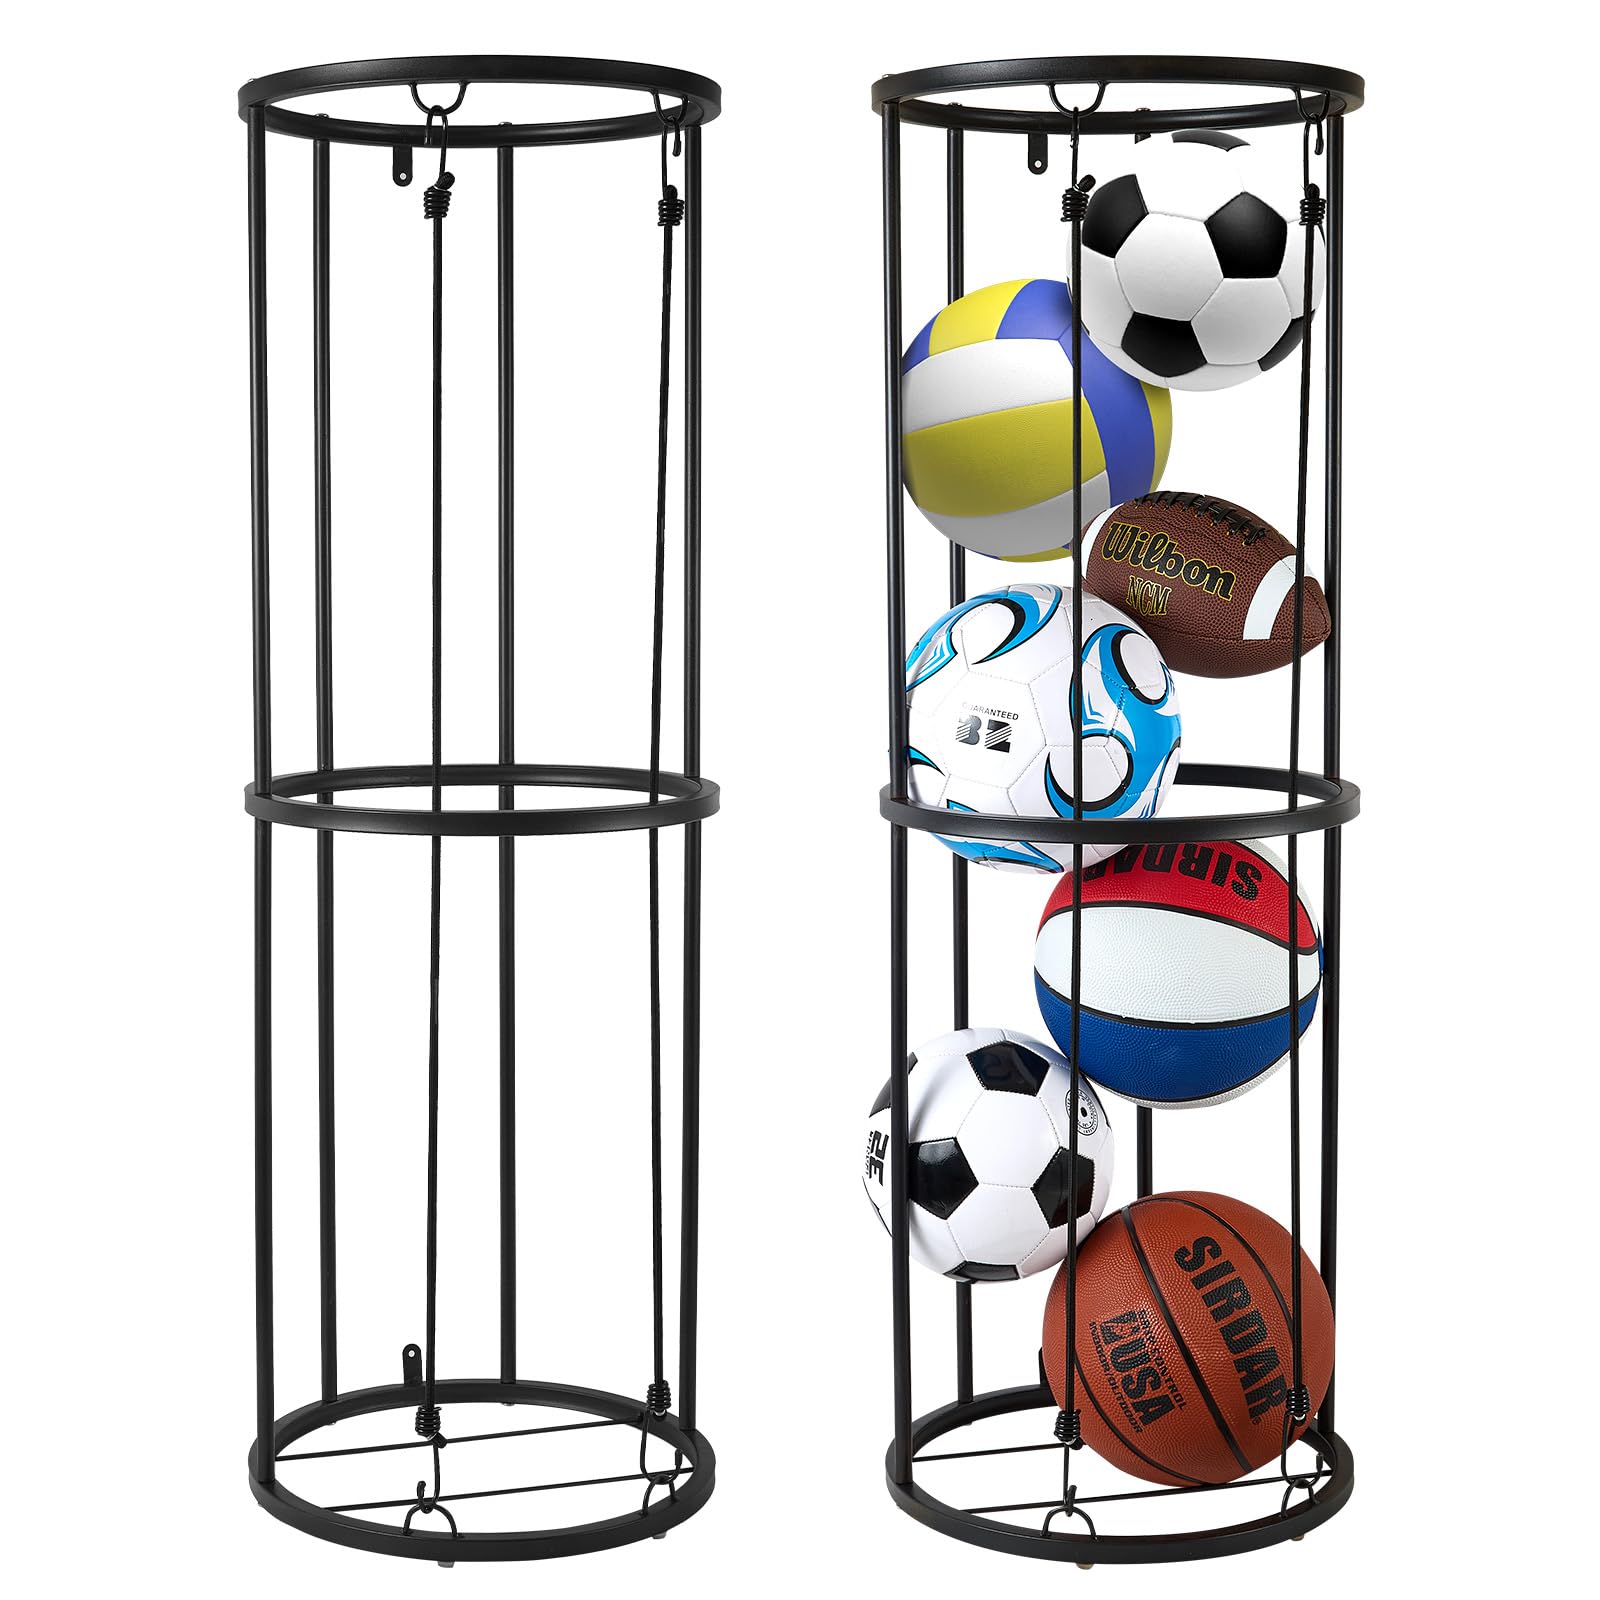
Heat and cold are the obvious enemies. A car trunk in summer can hit 65°C (150°F). At that temperature, the glue holding panel seams softens. The internal bladder expands beyond its design limits. Let it cool, and the ball is left with a weak, overstretched bladder that loses air quickly. Cold below freezing makes the cover brittle, the next hard kick can crack a panel.
Humidity is the silent killer, especially for high-performance balls. The polyurethane (PU) used in match balls is susceptible to hydrolysis. This is a chemical reaction where water molecules break down the polymer chains in the PU. The material loses its elasticity and becomes chalky and weak.
Store a PU match ball in a damp basement or a humid kit bag, and you might as well be leaving it in a slow cooker. The hydrolysis process accelerates with warmth, so a humid room at 20°C does more damage than a dry garage at 5°C.
Your storage location must be indoors, at a stable room temperature (between 15-25°C or 59-77°F), and dry. A bedroom closet, under a bed, or a dedicated gear shelf works. Avoid garages, sheds, attics, and spaces next to radiators, ovens, or windows with direct sun. If you live in a humid climate, consider a small dehumidifier for the room or a moisture-absorbing packet in your storage box.
Valve Care and the Monthly Check
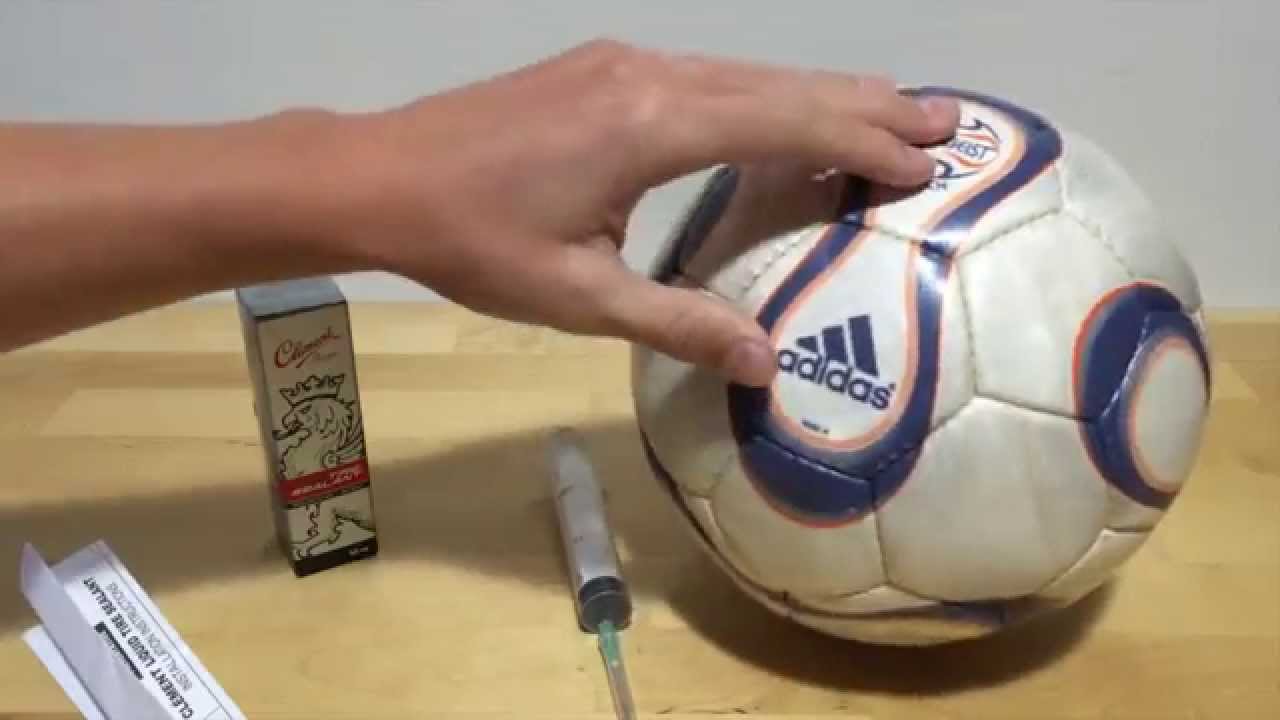
The valve is the only moving part and the primary seal against air loss. Neglect it, and you’ll be pumping up your ball before every session. The enemy is friction and grit.
Every time you prepare to inflate or deflate, lubricate the needle. A drop of glycerine is ideal, it’s pure and doesn’t degrade rubber. Saliva works in a pinch. This creates a slick barrier so the needle doesn’t scrape or tear the rubber valve seal. Never use petroleum-based oils or dubbin; they contain additives that cause the rubber to swell and degrade over time.
Once your ball is in storage, don’t forget it. Set a monthly calendar reminder. The check takes sixty seconds:
* Feel the ball for firmness. Top up the air if it’s soft.
* Inspect the surface for new cracks, cuts, or deep scuffs.
* Look at the overall shape. Does it look perfectly round?
* Give it a gentle squeeze around its equator. It should feel uniformly firm.
This routine catches small problems before they become big ones. A slow leak points to a valve issue. A soft spot might indicate a separated panel.
Choosing the Right Storage Spot and Position
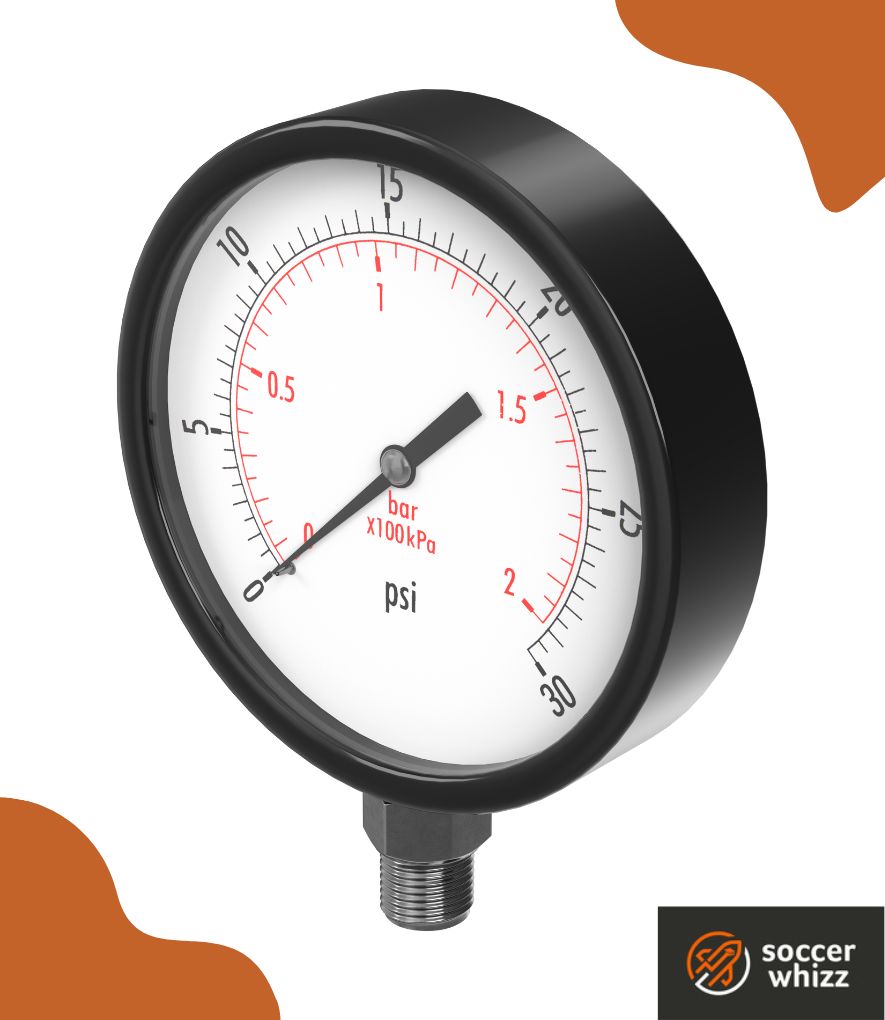
Where you put the ball matters as much as how you prepare it. The goal is to protect its shape and shield it from physical damage.
A dedicated ball stand is the best investment for a frequently used ball. It keeps the ball off the ground, prevents rolling, and ensures no weight is on any single panel. If you don’t have a stand, store the ball on a shelf where it won’t be knocked over. Do not throw it in a corner where boots, bags, or other gear can lean against it.
For long-term storage, a ventilated cardboard box or a mesh laundry bag is perfect. It keeps dust off while allowing air circulation. You can place a single ball inside. Never stack multiple balls on top of each other, the weight deforms the bottom ball.
Before you start: Never store a ball with the valve facing down on a hard surface. The valve core can be pressed in, damaging the seal. Always store it with the valve facing up or to the side.
This attention to position preserves the roundness. A ball that sits lopsided under pressure for months will not magically re-inflate to a perfect sphere. Its memory is set.
Material-Specific Storage Rules
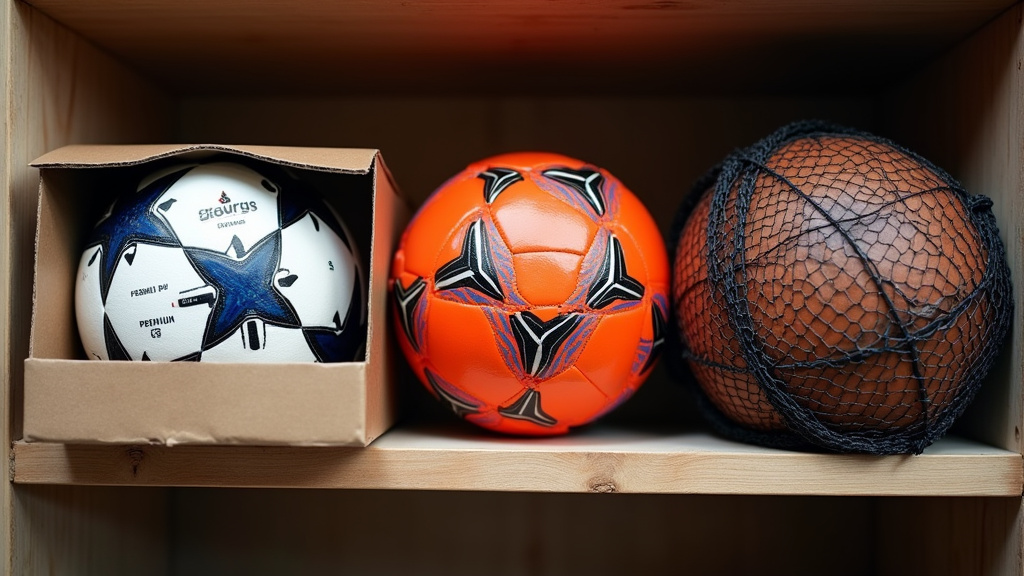
Not all soccer balls are created equal. The care you give a premium match ball differs from a durable training ball. Your storage strategy should match the materials.
For Match Balls (PU Cover, Thermal Bonding):
Priority one is humidity control. These balls are precision instruments. After cleaning and drying, store them in their original box or a similar rigid container in a climate-controlled room. Partial deflation is key for long breaks. Think of them like a good pair of leather boots, they need a stable environment.
For Training Balls (PVC or Rubber Cover, Stitched):
These are workhorses but are prone to temperature extremes. Keep them out of the sun and cold. Full deflation for off-season storage is acceptable and recommended to prolong bladder life. A garage is okay only if it’s dry and doesn’t freeze.
For Leather Balls (Classic or Premium Models):
These require the most care. After cleaning with a barely damp cloth, apply a tiny amount of specialized leather conditioner (not dubbin) to keep the material supple. Store at full inflation in a breathable bag. Leather dries out and cracks if the air is too dry, so avoid arid storage spots.
Understanding your ball’s ball construction materials helps you make these judgment calls. The match ball differences in construction directly dictate these storage protocols.
Travel and Off-Season Storage Plans
Taking your ball to a tournament or storing it for the summer break requires a specific plan.
For Travel:
Deflate the ball by about 50%. This makes it packable and protects it from pressure changes in planes or cars. Wrap it in a soft towel or clothing inside your bag to prevent scuffs. Never check it as baggage without padding, it will get crushed. Upon arrival, re-inflate it to the correct inflation pressure and let it sit for 24 hours before serious use to allow the bladder to settle.
For Off-Season (3+ months):
This is a full storage procedure. Execute the full clean, dry, and correct deflation. Place the ball in a ventilated box in your chosen ideal storage location. Put a note on your calendar for a bi-monthly check instead of a monthly one. The principle is the same as off-season cleat storage, prepare it for dormancy, then leave it be with occasional monitoring.
This approach is part of a broader philosophy of caring for soccer equipment. Your cones, ladders, and jerseys all have their own needs, like agility ladder storage or long-term jersey storage. A systematic approach saves money and hassle.
Frequently Asked Questions
Should you store soccer balls inflated or deflated?
For short-term daily use, keep them inflated at match pressure. For long-term storage exceeding one month, deflate stitched training balls by 20-30% to relieve seam pressure. Only partially deflate modern thermally bonded match balls to avoid creating permanent creases in the fused layers.
Can I store my soccer ball in the garage?
Only if your garage is dry, insulated, and does not experience freezing temperatures or extreme summer heat. Dampness and temperature swings are the primary causes of bladder damage and cover degradation. An indoor closet is always a safer choice.
How do I keep my soccer ball from going flat in storage?
Ensure the valve is clean and lubricated with glycerine before storage. Deflate the ball appropriately for its construction type to reduce internal pressure on the bladder. Store it in a stable, room-temperature environment and perform monthly checks to top up air as needed, which maintains the bladder’s shape.
Does a soccer ball go bad if not used?
Yes, a soccer ball can deteriorate if stored incorrectly, even if unused. Materials like polyurethane (PU) break down via hydrolysis in humid conditions. Latex bladders can oxidize and lose elasticity. Glues can dry out. Proper storage dramatically slows this natural aging process.
What is the best way to store multiple soccer balls?
Store them individually, not stacked. Use separate shelves, individual mesh bags, or a multi-ball rack that supports each ball without them touching. Stacking balls deforms the bottom ones, ruining their roundness and putting uneven pressure on the valves.
The Bottom Line
Storing a soccer ball correctly isn’t about complex rituals. It’s about consistent, simple habits executed with understanding. Clean it after play. Control humidity like you control temperature. Match your deflation strategy to the ball’s construction. These actions preserve the proper air pressure, the perfect roundness, and the satisfying pop off your foot.
The alternative is a collection of dead balls, lumpy, soft, and unreliable. That costs more over time than the minute of care after each game. Start with the clean, get the storage spot right, and your ball will last for seasons, not just months.

I come from the “soccer heart” of Germany, the Ruhrpott. I have played, trained and followed soccer all my life and am a big fan of FC Schalke 04. I also enjoy following international soccer extensively.