How to Break in New Soccer Cleats Without Getting Blisters
This post contains affiliate links. As an Amazon Associate, we earn from qualifying purchases.
To break in new soccer cleats without blisters, you must follow a gradual process that combines controlled wear, material-specific softening, and proactive foot protection. Never wear them for a full match first. Start with 20-30 minute indoor sessions, progress to light training, and use methods like a shoehorn or hairdryer on low heat for tight spots. The most critical step is applying blister prevention tape or balm to friction points before you even feel a hot spot.
Most people ruin new cleats, and their feet, by doing the opposite. They lace up a fresh pair and head straight into a 90-minute game. The result is a predictable cycle of pain, raw skin, and a deep distrust of that expensive boot. Blisters form from repeated friction against stiff, unforgiving materials. That stiffness doesn’t vanish through willpower.
This guide walks through the exact sequence that works for leather and synthetic cleats, including laceless models. It covers how to stretch them safely, which methods to avoid, and how to protect your feet from the first wear to the final match-ready test.
Key Takeaways
- The break-in process is a test of patience, not endurance. Rushing it guarantees blisters and can permanently misshape the cleat’s upper material.
- Leather cleats require a longer, gentler break-in focused on hydration and molding. Synthetic cleats break in faster but offer less stretch; the initial fit is everything.
- Proactive protection beats reactive treatment. Apply blister prevention tape or a dab of petroleum jelly to your heels and the sides of your big toe before you feel any rubbing.
- If a cleat causes sharp pain or numbness during the first try-on, it is a sizing issue. Exchange it. No amount of breaking in will fix a fundamentally wrong fit.
- Proper aftercare during the break-in period, drying with newspaper, cleaning off mud, prevents the materials from stiffening and resetting your progress.
Start Here: The Fit Check You Cannot Skip
Before you attempt any break-in method, you must verify the cleat fits. This is non-negotiable. A break-in adjusts the material to your foot’s contours. It does not create space where none exists.
Put on the exact soccer socks you play in. Lace the cleats up completely. Stand up and walk around on a hard floor.
You are looking for a snug, glove-like fit with no sharp pressure points. Your toes should gently brush the front of the toe box without curling. The midfoot and heel should feel locked in without pinching. There should be no spots that feel numb or cause immediate, acute pain.
A proper soccer cleat fit leaves about a thumbnail’s width of space at the toe, locks the heel firmly, and hugs the midfoot without cutting off circulation. This is the foundation every break-in method builds upon.
If the cleat fails this test, your next step is an exchange, not a hairdryer. Forcing a break-in on a poorly sized cleat is the most common reason players fail. Our guide on proper soccer cleat sizing details how soccer cleat sizing differs from your regular street shoes.
Common mistake: Ignoring a pinch on the side of your little toe during the try-on, that pressure point will become a blister within 20 minutes of running, and no stretching method will reliably fix it without damaging the cleat’s structure.
The 4-Step Gradual Break-In Process (No Shortcuts)
This sequence works for every cleat type. It replaces one long, painful session with several short, controlled ones. The goal is to incrementally soften the material and acclimatize your skin.
Step 1: The Indoor Session
Wear your cleats indoors on a clean, dry surface for 20-30 minutes. Just walk around. Do this for two or three days. This allows the upper to warm from your body heat and begin its initial stretch without the abrasive friction of grass or turf.
Keep the laces snug but not tourniquet-tight. For laceless cleats, this stage is especially critical. You are letting the one-piece upper find its shape against your foot. If they feel unbearably tight here, consult our resource on choosing soccer cleats for your specific foot shape before proceeding.
Step 2: Light Ball Work
Move outside to a flat, smooth surface like a patio or driveway. Jog lightly, practice footwork drills, and pass a ball against a wall for 30-45 minutes. The focus is on low-impact movement that continues to flex the cleat.
This is where you identify “hot spots”, areas that begin to warm up from friction. Do not ignore them. Stop and apply a protective measure immediately.
Step 3: Controlled Field Training
Now take them to the training pitch. Integrate the new cleats into a full technical session: dribbling, light shooting, possession drills. Avoid full-speed sprints or hard tackles for the first one or two sessions.
Always have your old, trusted pair in your bag. The moment you feel a hotspot evolving into pain, switch cleats. Pushing through is how you lose a week of training to a burst blister.
Step 4: The First Match Test
Only after completing the previous steps without significant discomfort should you consider a match. Even then, have your old cleats on the bench. Use the new pair for the first half, then assess your feet at halftime.
TL;DR: Break in cleats over 4-5 short sessions, not one marathon. Move from indoors to light drills to full training, and always have a backup pair ready for immediate substitution.
Material-Specific Methods: Leather vs. Synthetic
The core break-in philosophy is the same, but the tools change based on your cleat’s upper. Using a leather method on a synthetic cleat can ruin it.
| Material | Break-In Character | Best Method | Risk If Wrong Method Used |
|---|---|---|---|
| Kangaroo Leather | Molds and stretches significantly over time. Becomes a second skin. | Conditioner + gentle wear. Light damp cloth to hydrate before indoor sessions. | Over-saturation can waterlog and weaken the leather, leading to premature tearing. |
| Calfskin Leather | Softer initial feel than kangaroo, still molds well. | Similar to kangaroo leather; conditioner is beneficial. | Using intense heat (hairdryer on high) can dry out and crack the leather. |
| Synthetic (PU, Teijin) | Minimal stretch. Break-in is mostly about softening stiff areas. | Hairdryer on low heat + manual flexing. Shoehorn for spot stretching. | Soaking or excessive heat can delaminate the synthetic layers or melt glue bonds. |
Working With Leather Cleats
Leather is alive. It responds to moisture and oils. The goal is to hydrate it gently to increase pliability.
After your indoor session, wipe the upper with a barely damp cloth. Let it air dry for a few minutes, then apply a small amount of leather conditioner (like Lexol) specifically made for athletic footwear. Massage it in, then let the cleat dry fully overnight stuffed with newspaper.
The “warm water method” is a debated shortcut for leather. It involves wearing thin socks, soaking the cleats in lukewarm water for 10 minutes, then wearing them until they dry on your feet. It works by relaxing the leather fibers and stitching. The risk is over-saturation, which can warp the insole and soleplate if not dried perfectly. I use it only on all-leather classics with no synthetic components.
Working With Synthetic Cleats
Synthetic materials don’t stretch much. Your leverage is heat and mechanical persuasion.
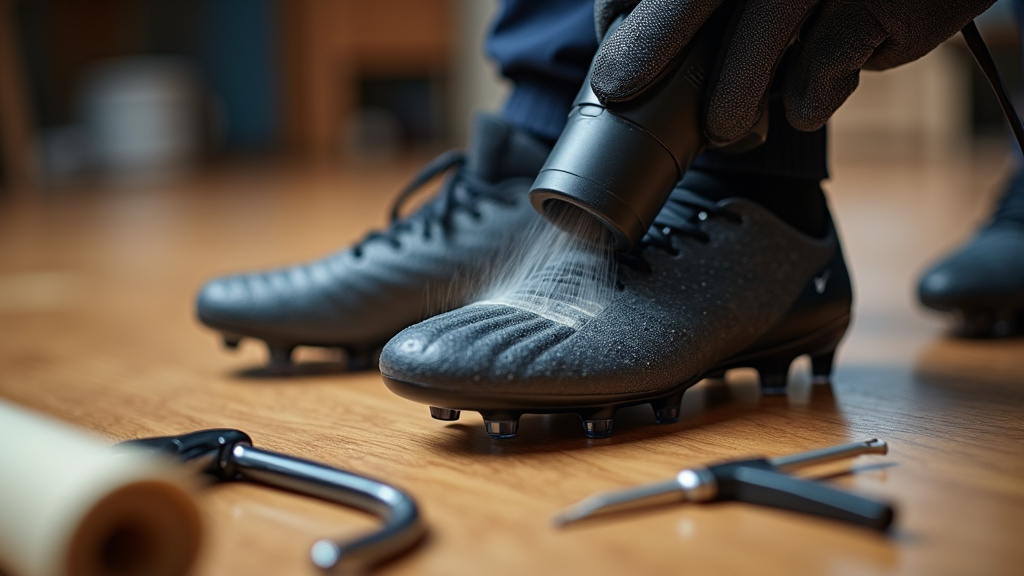
The hairdryer method is effective. Wear two pairs of socks, lace up the cleats, and apply low heat from a hairdryer for 60-90 seconds to a tight area like the toe box. Keep the dryer moving. While the material is warm, flex your foot repeatedly, point your toes, curl them, roll your ankle. The heat temporarily makes the polymer more pliable, and the movement sets it in a slightly expanded shape.
A shoe stretcher or a cleat-specific steamer can help for very localized pressure points, like a bump over your little toe. These are more aggressive tools. Use them sparingly.
Understanding your cleat upper materials is key to picking the right softening approach.
Proactive Blister Defense: Your Toolkit
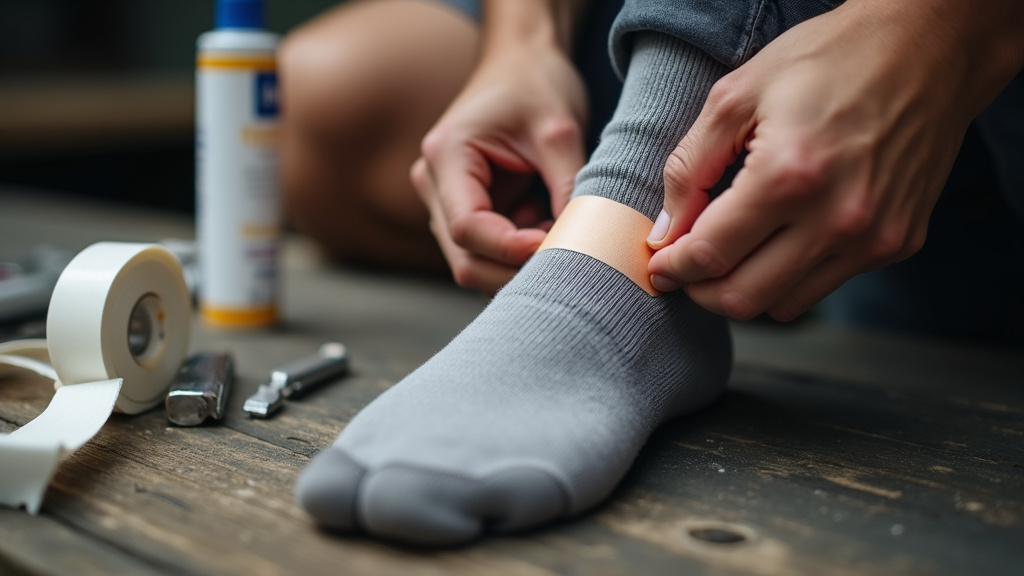
Blisters are a tactical problem. You see the friction point coming. Attack it first.
Before you start: The two most common blister locations are the back of the heel (from heel slip) and the medial side of the big toe (from foot splay on cuts). Pre-taping these areas before your first wear session reduces friction by over 70 percent.
Your defense layers are simple. Use them in combination.
- The Sock Layer: This is your first line of defense. Moisture-wicking soccer socks are mandatory. For maximum protection, wear grip socks. The silicone dots on the bottom and sides eliminate internal foot slippage, which is a primary blister cause. Double-socking (a thin inner sock under your soccer sock) can add cushioning during early break-in but may reduce agility later.
- The Barrier Layer: Apply a physical barrier between your skin and the cleat. Blister prevention tape (like Engo patches or Hypafix) is the best. Stick it directly to your skin over the hotspot. Moleskin is thicker; cut a donut shape to surround a budding blister and relieve pressure. A dab of petroleum jelly or a specialized anti-friction foot balm reduces shear forces.
- The Lacing Adjustment: Sometimes friction comes from a loose fit. For heel blisters, use a “lock lacing” technique at the top eyelets to secure the heel. For pressure on the top of your foot, skip an eyelet over the painful area.
I learned the value of grip socks the hard way. I wore a new pair of synthetic speed cleats for a full training session without them. The lack of internal grip meant my foot slid a millimeter with every push-off. By the end, I had a nickel-sized blister on each heel that kept me out for four days. Now, grip socks are non-negotiable for any new cleat.
What Absolutely Does Not Work (And Can Ruin Your Cleats)
The internet is full of bad advice. These methods compromise the cleat’s integrity or your foot’s safety.
- The Oven or Clothes Dryer. Extreme, uncontrolled heat melts glues, warps soleplates, and can shrink materials. It’s a guaranteed way to destroy $250 boots.
- Freezing Cleats with Water Inside. The theory is that expanding ice will stretch the material. In reality, it stresses seams and can crack synthetic uppers. It doesn’t provide controlled stretch where you need it.
- Using Harsh Chemicals or Alcohol. Rubbing alcohol or strong solvents can strip coatings, dry out leather irreversibly, and break down the dyes and adhesives.
- Cutting or Slitting the Material. If a cleat is too narrow, a shoe stretcher is the tool. Taking a knife to it voids the warranty and creates a weak point that will tear open.
- “Just Play Through the Pain.” This isn’t toughness. It’s ignoring a mechanical problem. Friction damage is cumulative. A hot spot turns into a blister, which bursts, leading to a raw wound that then gets infected. You lose more training time.
Common mistake: Soaking synthetic cleats in warm water to mimic the leather method, the water seeps into the foam layers and midsole, compromising cushioning and causing a foul smell that never fully leaves. The cleat is never the same.
Your cleat’s longevity depends on the studs and soleplate as much as the upper. Knowing when to replace soccer cleats due to worn-down studs is part of long-term care.
Special Considerations: Laceless Cleats and Different Foot Shapes
Laceless cleats present a unique challenge. The fit is fixed by the one-piece upper and internal band system. There is no lacing to adjust pressure.
Your try-on fit must be perfect. There should be zero pressure points. The break-in for laceless models is purely about softening the material against your foot’s shape. Use the indoor wear and hairdryer methods diligently. If a specific spot remains tight after several sessions, a professional shoe stretcher with a targeted attachment is your only safe option.
For players with wide feet, high arches, or bony prominences, the standard break-in might not be enough.
- Wide Feet: Consider cleats for your foot shape designed with a wider last from the start. For minor tightness, use a shoe stretcher overnight on the forefoot area only.
- High Arches: The stiffness across the midfoot can be pronounced. Focus heat from a hairdryer on the midfoot area while flexing your arch up and down. Consider an aftermarket, thin insole if the arch support is lacking.
- Bony Prominences (e.g., tailor’s bunion): Pre-taping with a thick moleskin pad is essential. You may need to create a permanent “pocket” by having a cobbler gently stretch that exact spot.
The playing surface also matters. The break-in process for firm ground cleats is the same, but ensure you’re breaking them in on a similar surface to what you’ll play on. Breaking in SG (soft ground) cleats on concrete will prematurely blunt the metal studs.
The Care Routine That Locks In Your Progress
Breaking in cleats is a two-part process: softening them and then not letting them stiffen back up.
After every wear session, even a 20-minute indoor walk, you must dry them properly. Remove the insole. Stuff the cleat loosely with crumpled newspaper or paper towels. This absorbs moisture from sweat and the environment, which is the main cause of material stiffening. Never place them near a direct heat source like a radiator.
Knock off mud and debris while it’s still wet. For a deeper clean, follow our steps for cleaning soccer cleats using the correct cleaners for your upper material. Proper care extends the comfortable life you just worked hard to achieve.
Once the season ends, proper storing soccer cleats in a cool, dry place away from direct sunlight will preserve the molded shape you’ve created.
Frequently Asked Questions
How long does it take to break in soccer cleats?
For synthetic cleats, a proper break-in takes 3-5 hours of total wear over 4-7 days. For leather cleats, plan on 5-10 hours of wear over 7-14 days. Kangaroo leather continues to mold to your foot for weeks.
Can you break in cleats in one day?
You can soften them significantly in one day using methods like the hairdryer and extended indoor wear, but it is not recommended. Rushing the process skips the vital step of allowing your skin to adapt gradually, which is how blisters are avoided. A one-day break-in is high-risk.
Do blisters mean my cleats are too small?
Not necessarily. Blisters are caused by friction, which can happen even with a correct fit if the material is stiff. However, if blisters are accompanied by numbness, tingling, or sharp pain in a specific area, the cleats are likely too small or the wrong shape for your foot.
What is the fastest way to stretch soccer cleats?
The fastest safe method is the low-heat hairdryer technique combined with wearing thick socks and flexing your foot. For leather, a professional cleat steamer used by a knowledgeable repair shop can accelerate the process. The fastest unsafe methods (oven, boiling water) will ruin them.
Should soccer cleats be tight at first?
Yes, they should feel snug and secure everywhere, like a firm handshake for your foot. They should not be painfully tight, cause sharp pinching, or cut off circulation. “Snug” is correct; “painful” is a sizing error.
The Bottom Line
Breaking in cleats is a controlled negotiation between your foot and a rigid object. You win that negotiation with patience, targeted softening, and pre-emptive strikes against friction. Leather rewards a gentle, hydrating approach. Synthetic demands careful heat and mechanical persuasion. Your feet require protection before they send a pain signal.
Skip the folklore and shortcuts. Follow the gradual wear sequence, use the right tool for your cleat’s material, and never play through a developing hot spot. The result is a cleat that feels like an extension of your foot, not a weapon against it. That feeling is worth every minute of the process.
I come from the “soccer heart” of Germany, the Ruhrpott. I have played, trained and followed soccer all my life and am a big fan of FC Schalke 04. I also enjoy following international soccer extensively.